Sweet Red Plum Jelly

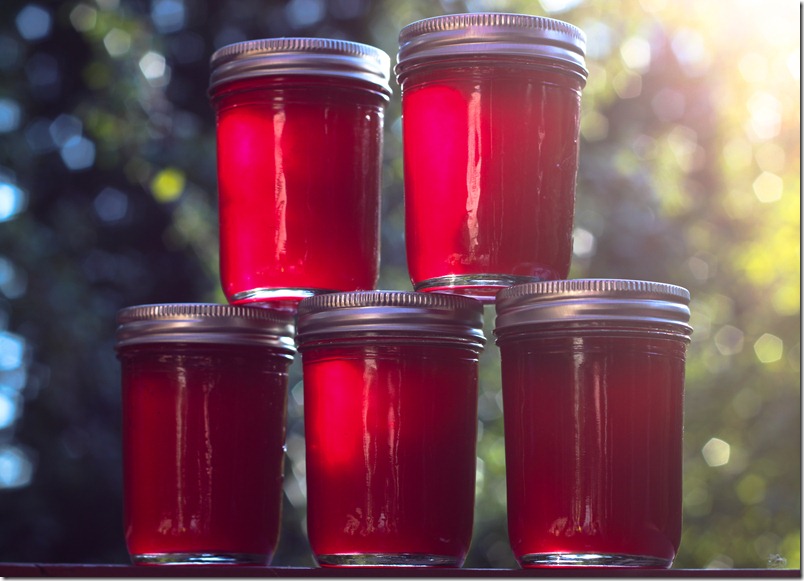
Plum Jelly (2 of 3)

I love fresh sweet plums from my backyard tree. It produces such juicy plums, they are best eaten leaning over the kitchen sink or out in the yard. This year, the tree was so overloaded with fruit that even giving them away to friends and neighbors didn’t dent the crop so I had to find other uses for them. They are juicy and delightful but don’t keep very long in the fridge. I find that jelly is one of the nicer uses for sweet plums since different plum varieties have different ratios of juice, making this recipe work well, regardless of the variety.

Sweet Red Plum Jelly

8 – 1 cup jelly jars, canning lids, and rings

5 1/2 cups – Fresh plum juice, about 5 lbs of plums (see instructions below)

1 box – pectin

6 cups – sugar

1/4 cup – lemon juice (optional)


To extract the plum juice, pit plums (even though it will be strained, removing pits makes it easier to squeeze later) lightly chop, and place in a medium sauce pan. If your plums are firmer, add a little water. Simmer fruit until very soft (5 to 20 minutes, depending on the fruit). Let cool slightly and strain through several layers of cheese cloth or a jelly juicing bag.

Fill a large heavy canner or pot about half full (enough to cover the jars with 1-2 inches of water) and heat to a simmer. Remember that the jars take up space in the pot as you don’t want the pot to overflow when you start to process them.

Prepare the jars, lids, and rings by washing then dipping for several minutes in boiling water.

In the meantime, add juice and pectin to large pot, bring to a boil on high heat, stirring frequently. Once boiling, add sugar and keep stirring constantly until dissolved. Let return to a boil and boil for 1 minute (stirring constantly). It will double in volume as it boils so make sure and use a large enough pot. Remove from heat and allow to settle. Skim the foam (it’s still tasty to set aside and use when cool!). Ladle into hot jars, leaving 1/4 inch headspace from the top of the jars. Using a clean wet cloth or paper towel, wipe the rims of the jars to remove any jelly residue to ensure a good seal. Add the lids and rings.

Set in the boiling water and allow process for 10 minutes. Remove from water and allow to cool completely. You should hear each one seal with a ‘pop’ of the lid! After entirely cooled, check seal by pressing the middle of the lid—you should not hear any popping or see the lid give as you push. Store in a cool location. Jelly can keep in jars on the shelf for 1-2 years.
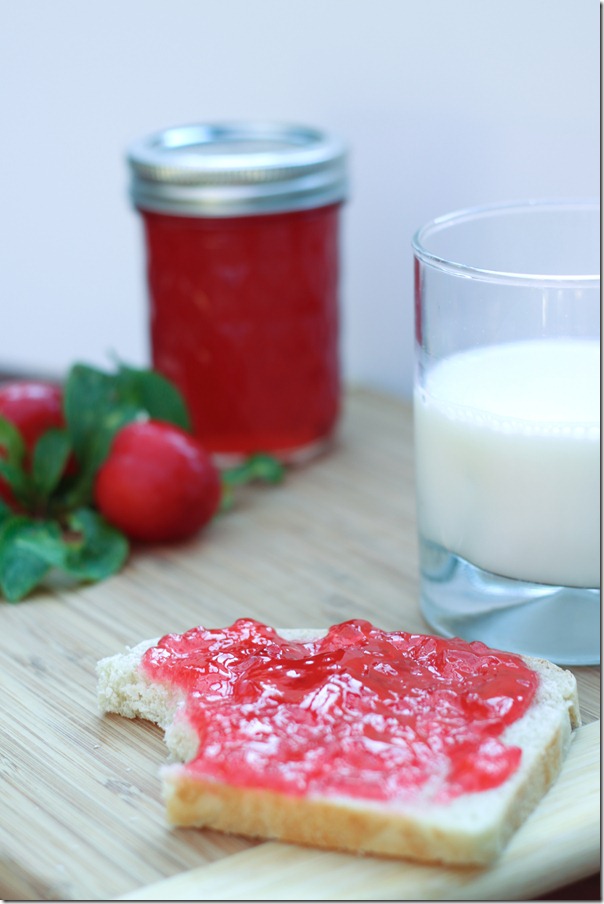
 

Plum Jelly (3 of 3)

Beans and Ham Hocks

Beans and Ham Hocks

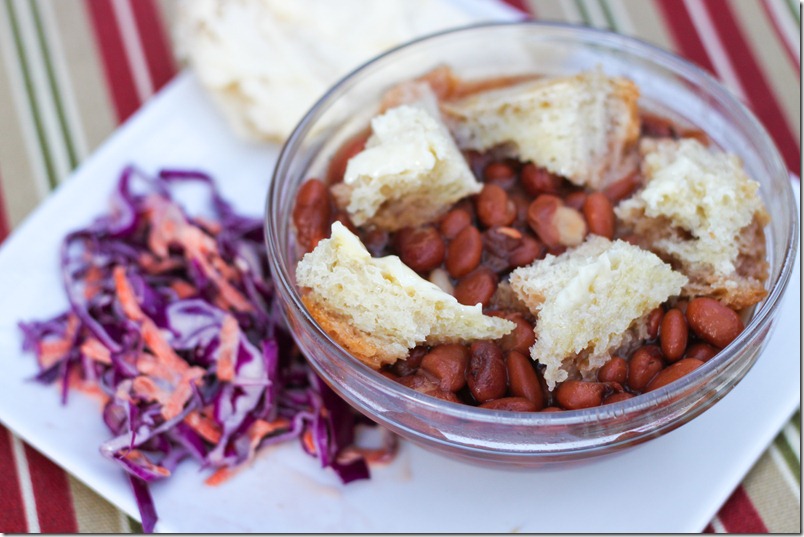
Beans and ham hocks is one of the simplest recipes that I know, but is it also one of the recipes that I can most describe as comfort food. It’s also considered “soul food”. When I eat this, it invokes memories of childhood and home. This recipe originates from a time of extreme poverty in the South and is often eaten with sautéed greens to the side (which is wonderful, by the way and not pictured above). My family has eaten it for many generations. I’ve heard stories of my great-grandfather eating it while working on the railroad. I find it amazing and slightly ironic that this recipe requires a handful of ingredients and yet is both delicious and incredibly healthy. While I don’t want to get into the politics of eating healthy, this is a great example of a food that is filling, flavorful, and full of nutrients while being inexpensive to make and requiring little cooking ability.

An aspect of this dish that some might find odd is the “soggy bread” but believe me that it is tasty!

Bean and Ham Hocks with Sautéed Greens

2 – Smoked ham hocks (recipe below or can be bought in most stores)

2 cups – Dried pinto beans

1 bunch – Kale (or other greens will do as well)

1 Tbsp – Olive oil or rendered pork fat

white vinegar

kosher salt

1 – Crusty baguette

butter


Rinse beans in cold water. Add hocks and beans to a crock pot, along with enough water to cover it all. Cook all day (about 8 hours) or until the beans are soft and cooked and the hocks are falling apart. Remove the hocks from the beans and pick the meat from the bones, skin, and connective tissue. Shred the meat and return it to the beans. Taste for salt. Most smoked hocks will have enough salt to have adequately salted the beans, if not then add to taste.

Heat a large skillet on medium-high heat (I prefer a cast iron skillet). Rinse and chop the kale into 1/2 inch strips. Add the olive oil or pork fat to the skillet. Once the oil starts to smoke, add the greens, tossing quickly for about 10 seconds. Remove from heat and sprinkle with vinegar and salt to taste. Cover the pan and let sit for 1 minute (they will continue cooking).

To serve, ladle portions into bowls and add vinegar to taste (about 1/2 tsp.). Slice and butter the baguette. Tear pieces of the buttered bread into each bowl (which will sop up much of the broth). Serve with greens to the side.

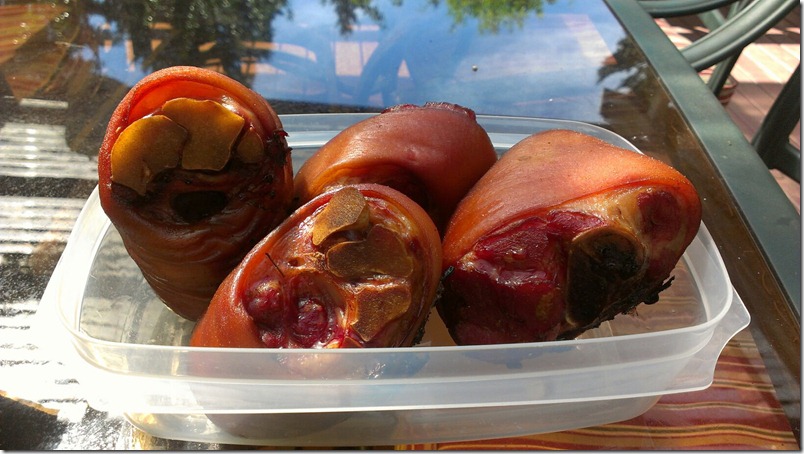
Smoked Ham Hocks

1/4 cup – sugar

1/4 cup – kosher salt

2 – Raw ham hocks


Combine the sugar and salt to make a simple curing rub. Pack the hocks in a plastic bag with the rub and refrigerate overnight. The next day, rinse the hocks and pat dry. Smoke on 160 degree heat with hickory smoke for 3 hours. Let cool.

HamHocks