Over the years I’ve tried many different approaches to cooking turkey. A full turkey can be tricky because it is a huge hunk of poultry, made even bigger through modern breeding and farming. Usually when you have large meat you are cooking, say brisket, whole pig, roast beef, etc., you can slow braise the meat to a fairly high temperature as you cook through the whole thing. For example, I grill brisket to an internal temperature of 207 degrees F. Poultry doesn’t fair so well at high temp, where it dries out, even if well rendered.
Why Sous Vide?
The goal with turkey is to get it to exactly the “done” temp, which for safety from food-borne illness is considered 150 degrees F. The problem is that a turkey doesn’t cook uniformly; the legs and wings finish long before the breast. I’ve tried several of the popular ways to work through this. One of my favorite techniques over the past few years is to spatchcock the bird. By breaking the turkey open and creating a simple plane to heat, you get a much more even roast.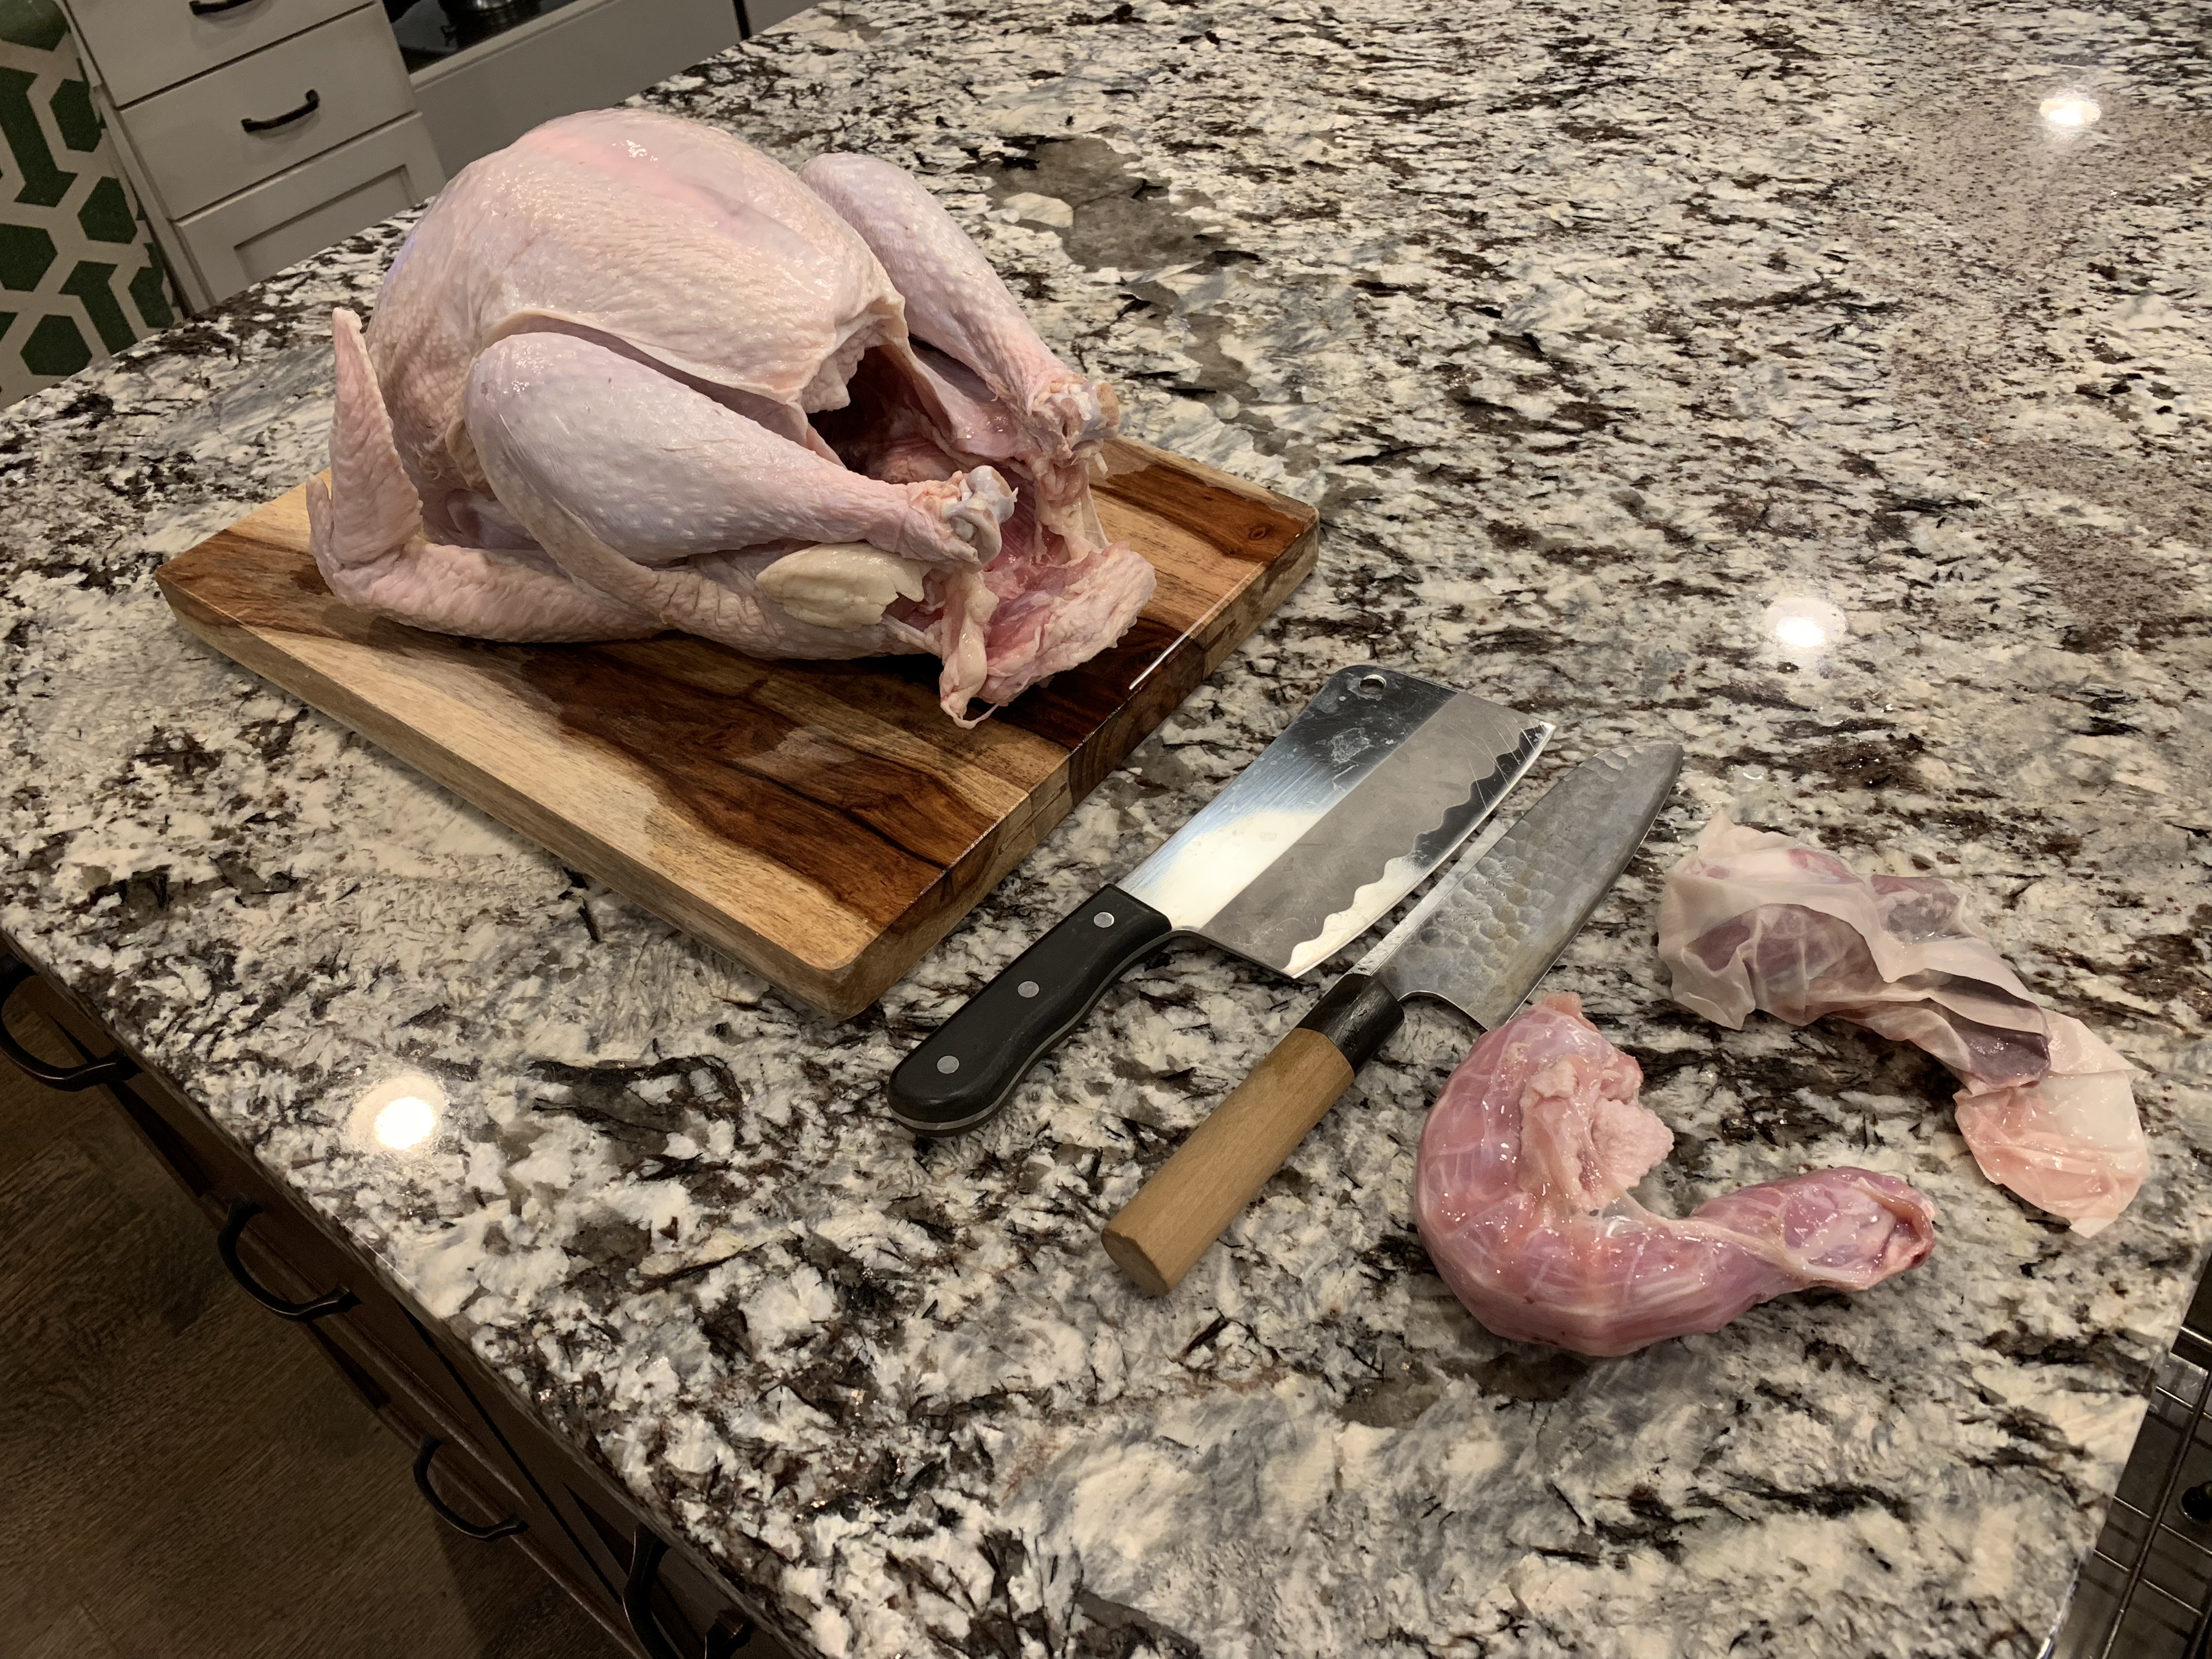
The past two years, I’ve used sous vide to get the perfect turkey. Sous vide, the water bath technique for exactly heating food, is a big trend these days. There are a bunch of different immersion circulators (the hardware needed to sous vide) on the market these days. When I first started playing around with the sous vide technique, the cheapest immersion circulator still came out of an industrial lab and was well over $1000, so I built my own from parts on Amazon. Since then, many options have hit the market, and the price and simplicity has improved to where the average home cook can get their hands on one. I currently use an Anova, but my guess is that most immersion circulators will do.
The recipe that follows is now my favorite way to do turkey. It is the most juicy and flavorful turkey I have ever had!
Flexibility
I love how flexible this approach is. With sous vide cooking, you get immense control over the exact inner temperature of the meat. Here we slowly heat the meat up to 150 degrees F and let it render there for a while. The wings, legs, and thighs will cook exactly as “hot” as the breasts, ensuring that nothing ends up overcooked. I break my turkey down, first, because I don’t have a good way to vacuum pack a whole turkey, and second, because I cook the legs, thighs, and wings longer than the breasts.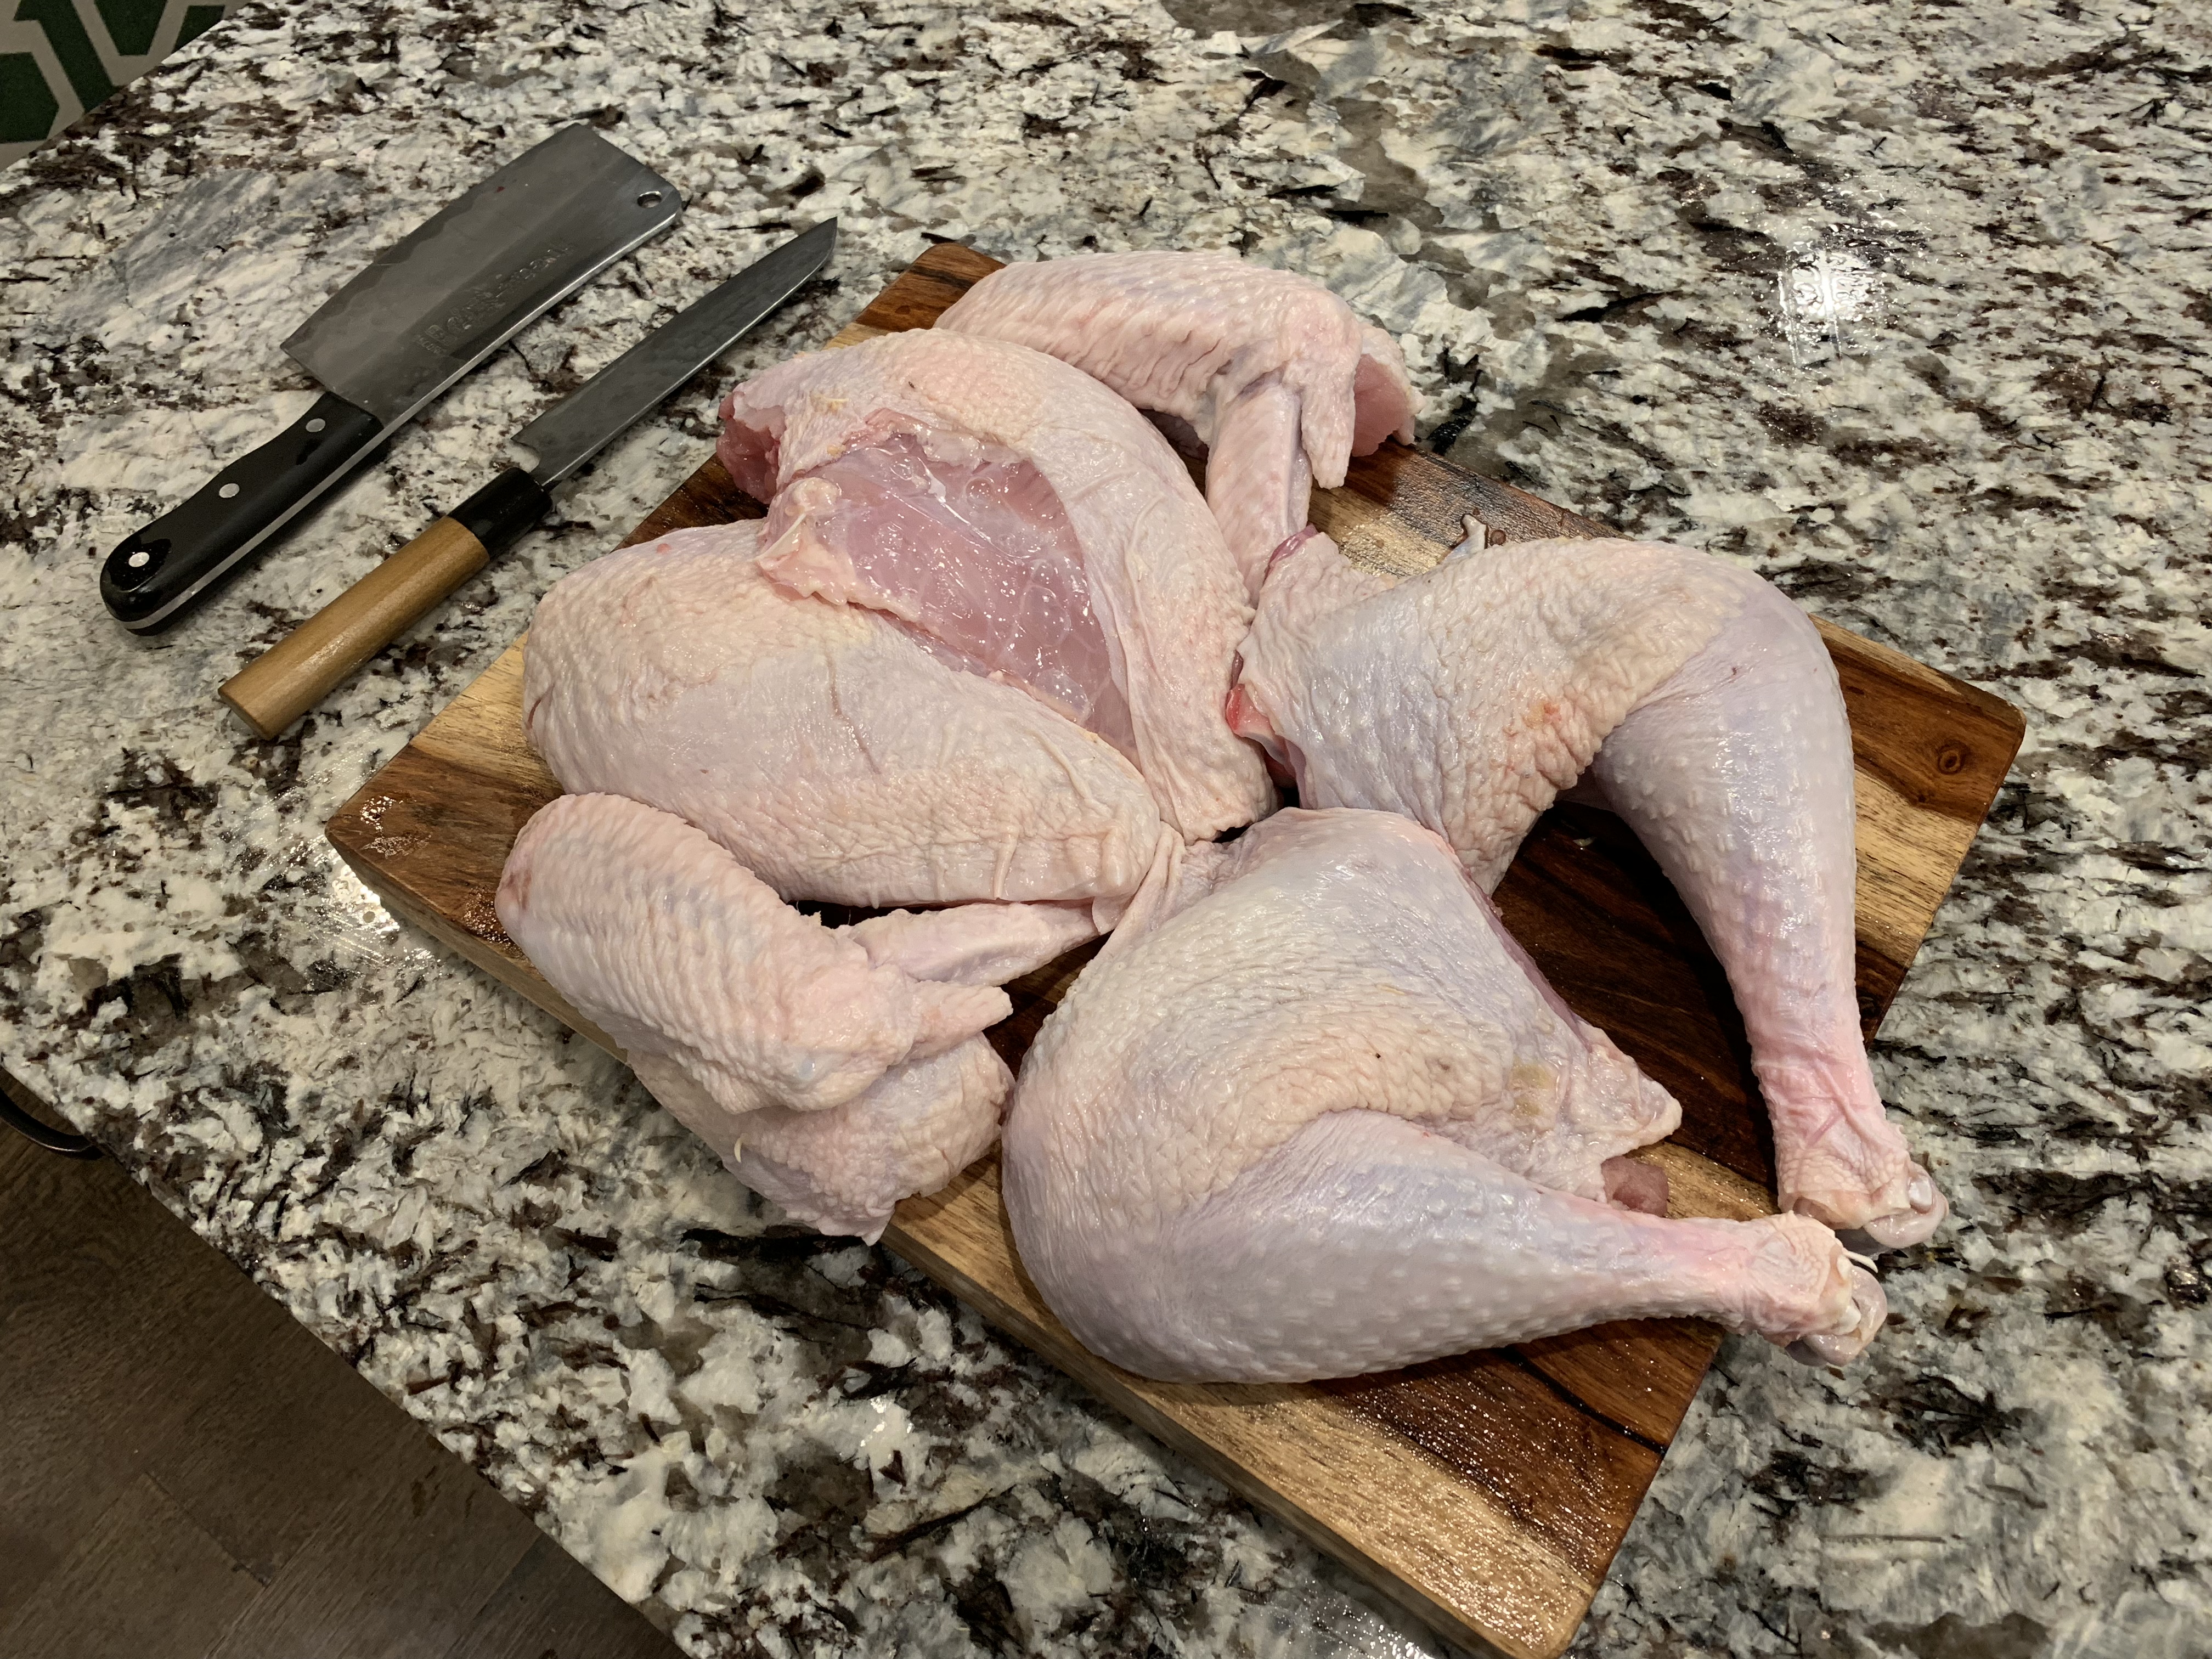
There is another benefit of this flexible approach. Usually, the Thanksgiving feast must be carefully planned around when the turkey is finished. In this recipe, there is a step where you finish poaching the turkey in the water bath and place the turkey on ice in the refrigerator, to complete later with a quick finishing step.
Last year one of our dinner guests tore his ankle the morning of Thanksgiving while playing football. He spent the afternoon in the ER and we ended up postponing our dinner by several hours. Guess what? No problem! When the time came to eat, we pulled the turkey out, finished it, and enjoyed a perfect turkey. I was sold from that moment on!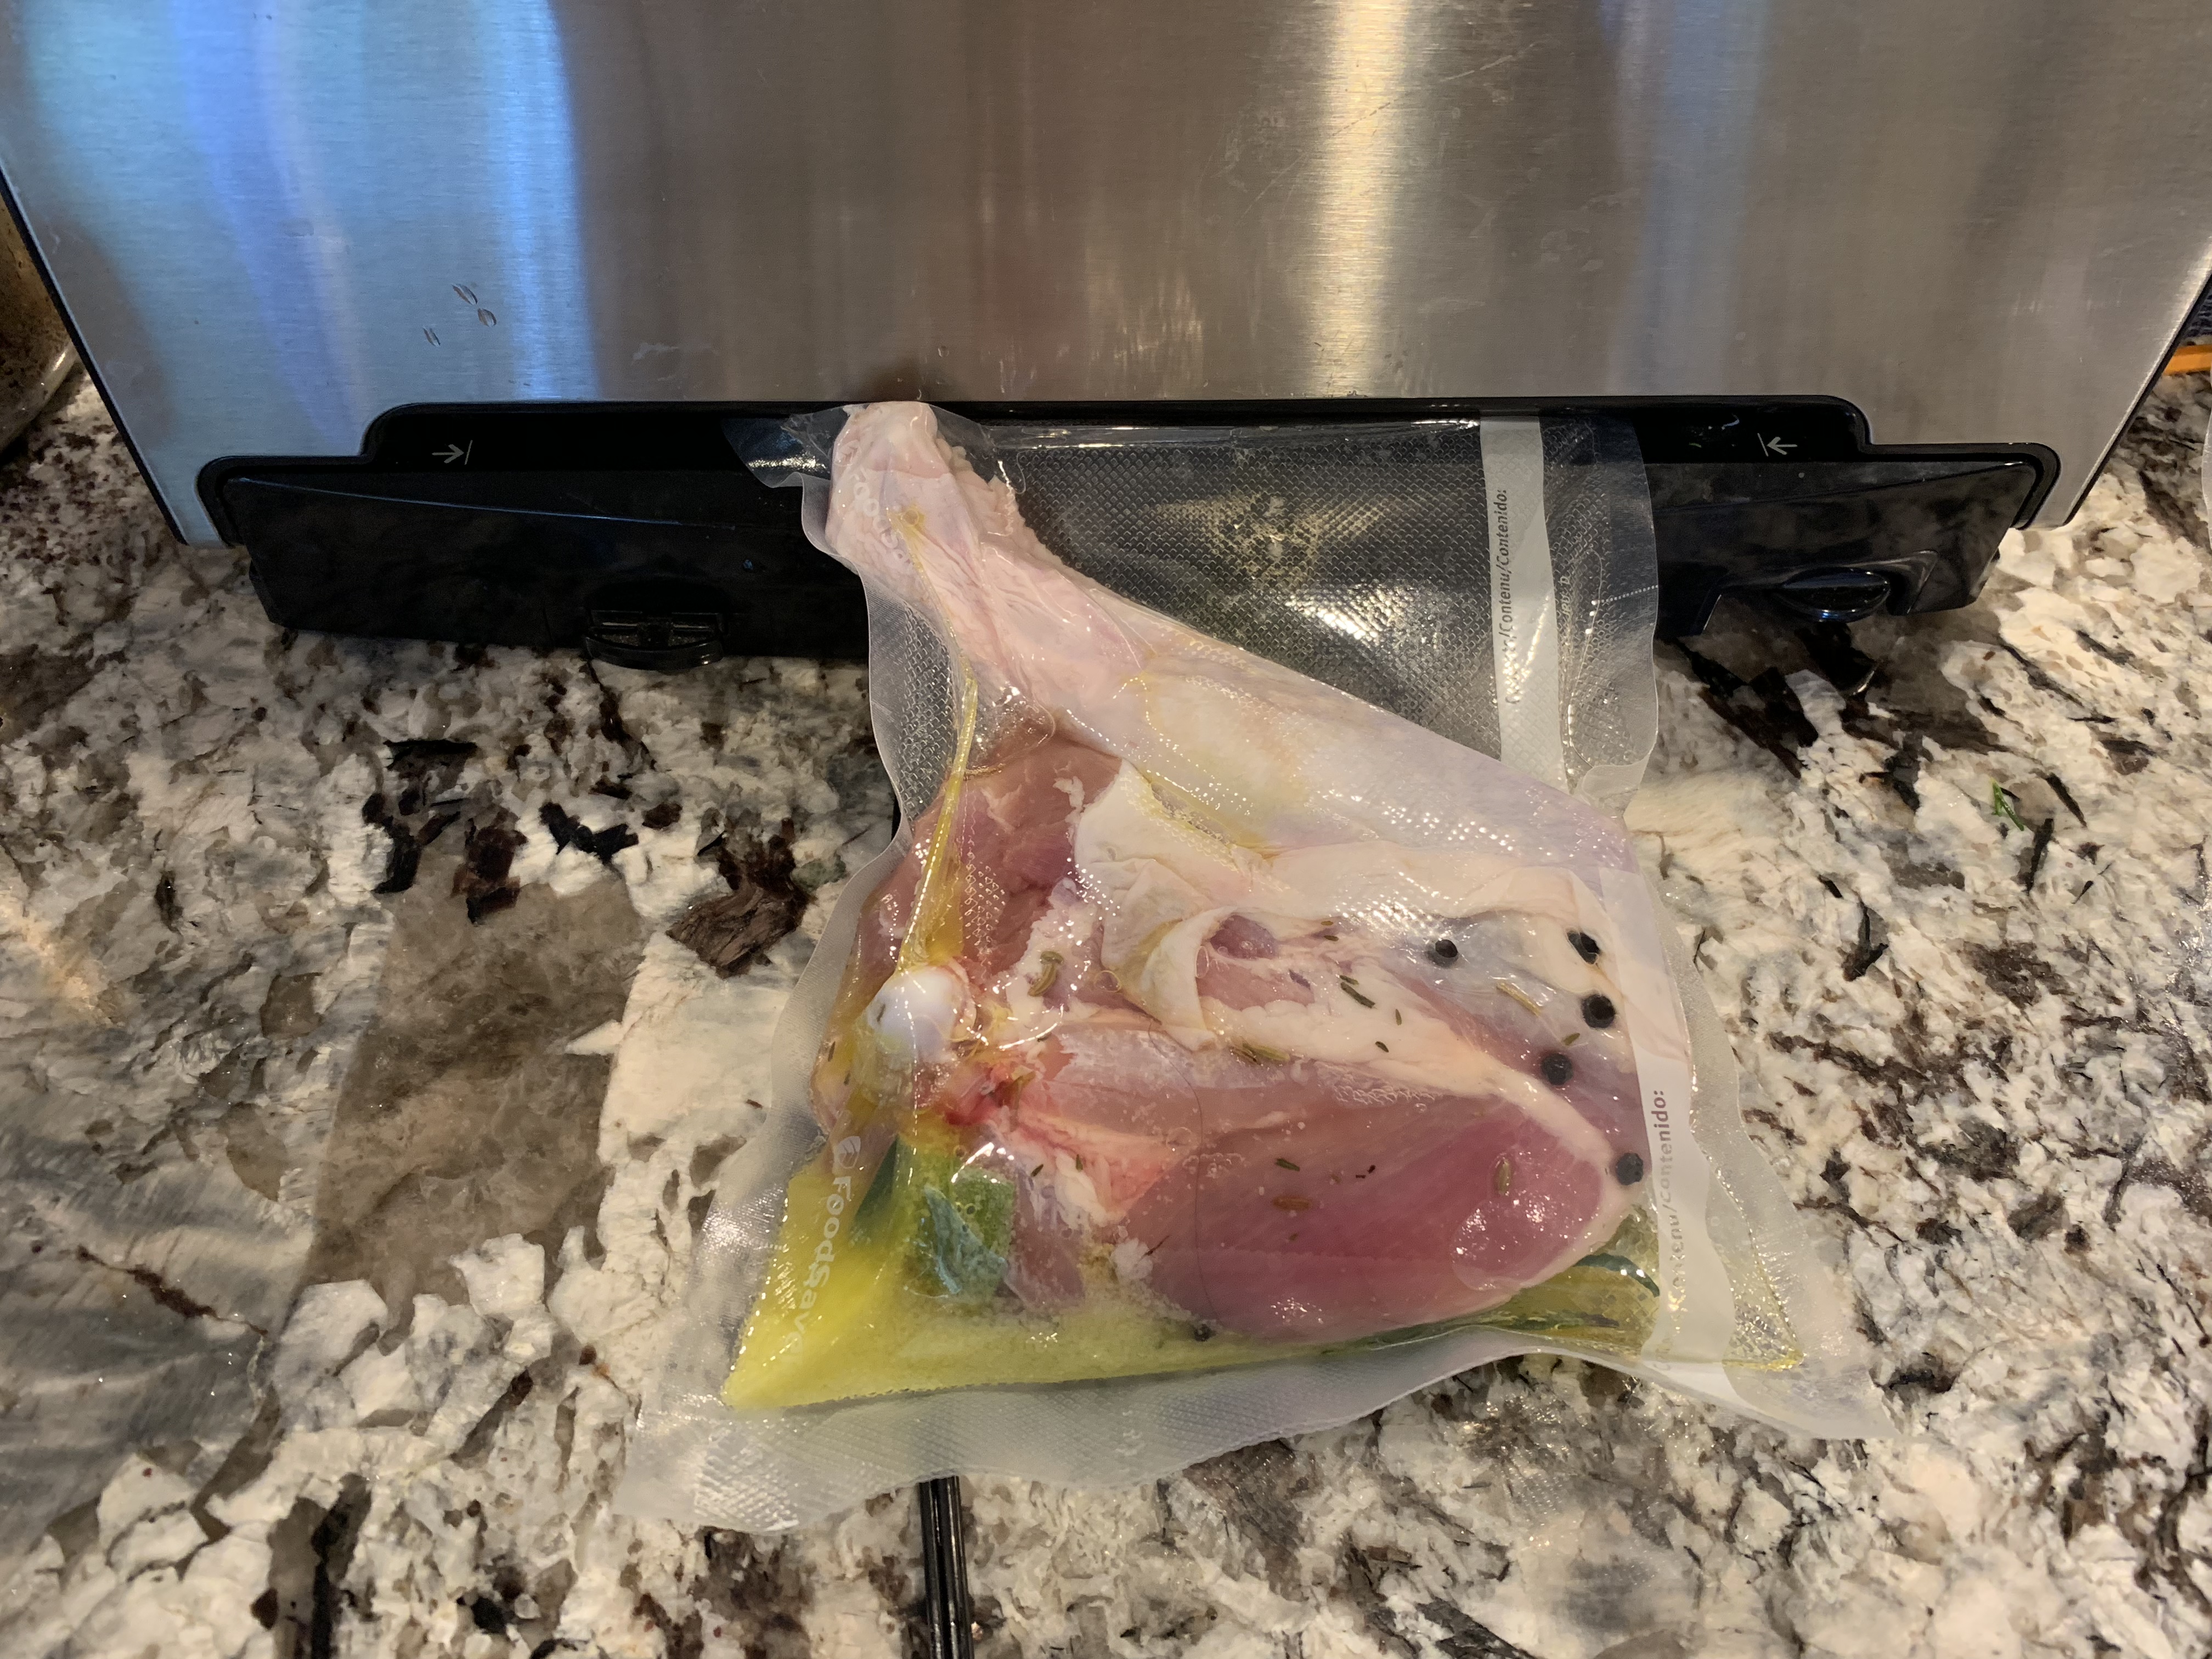
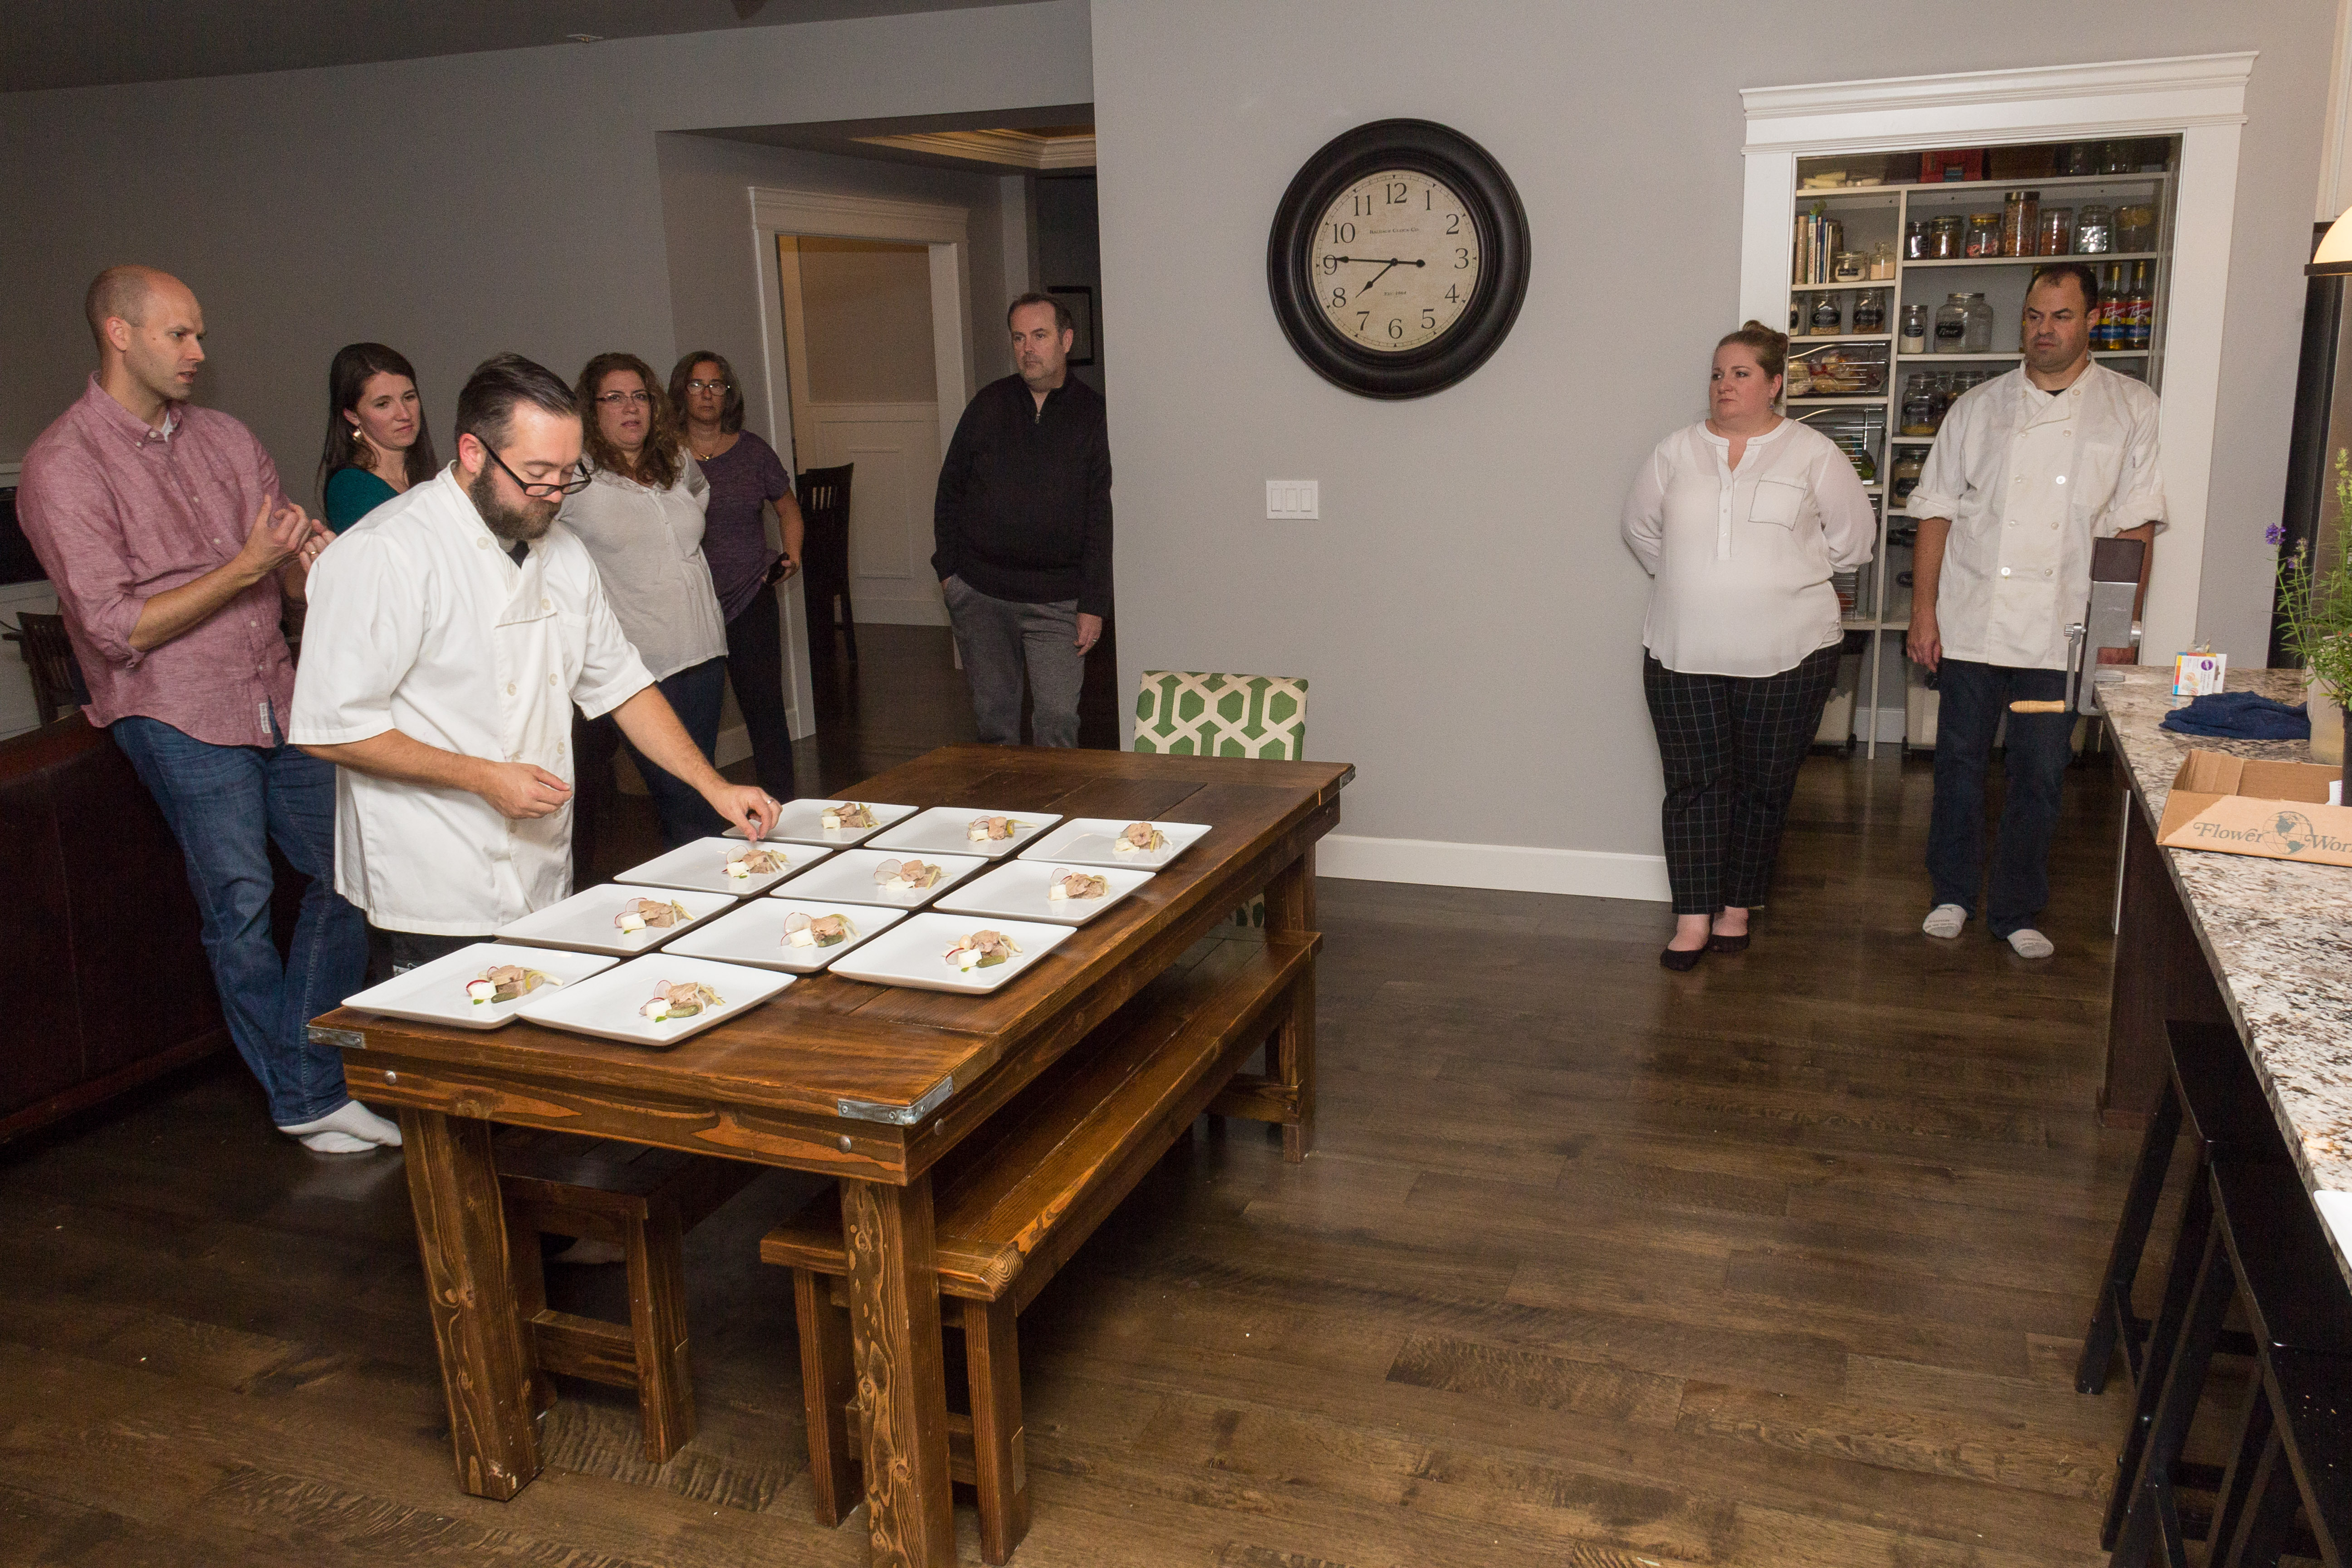
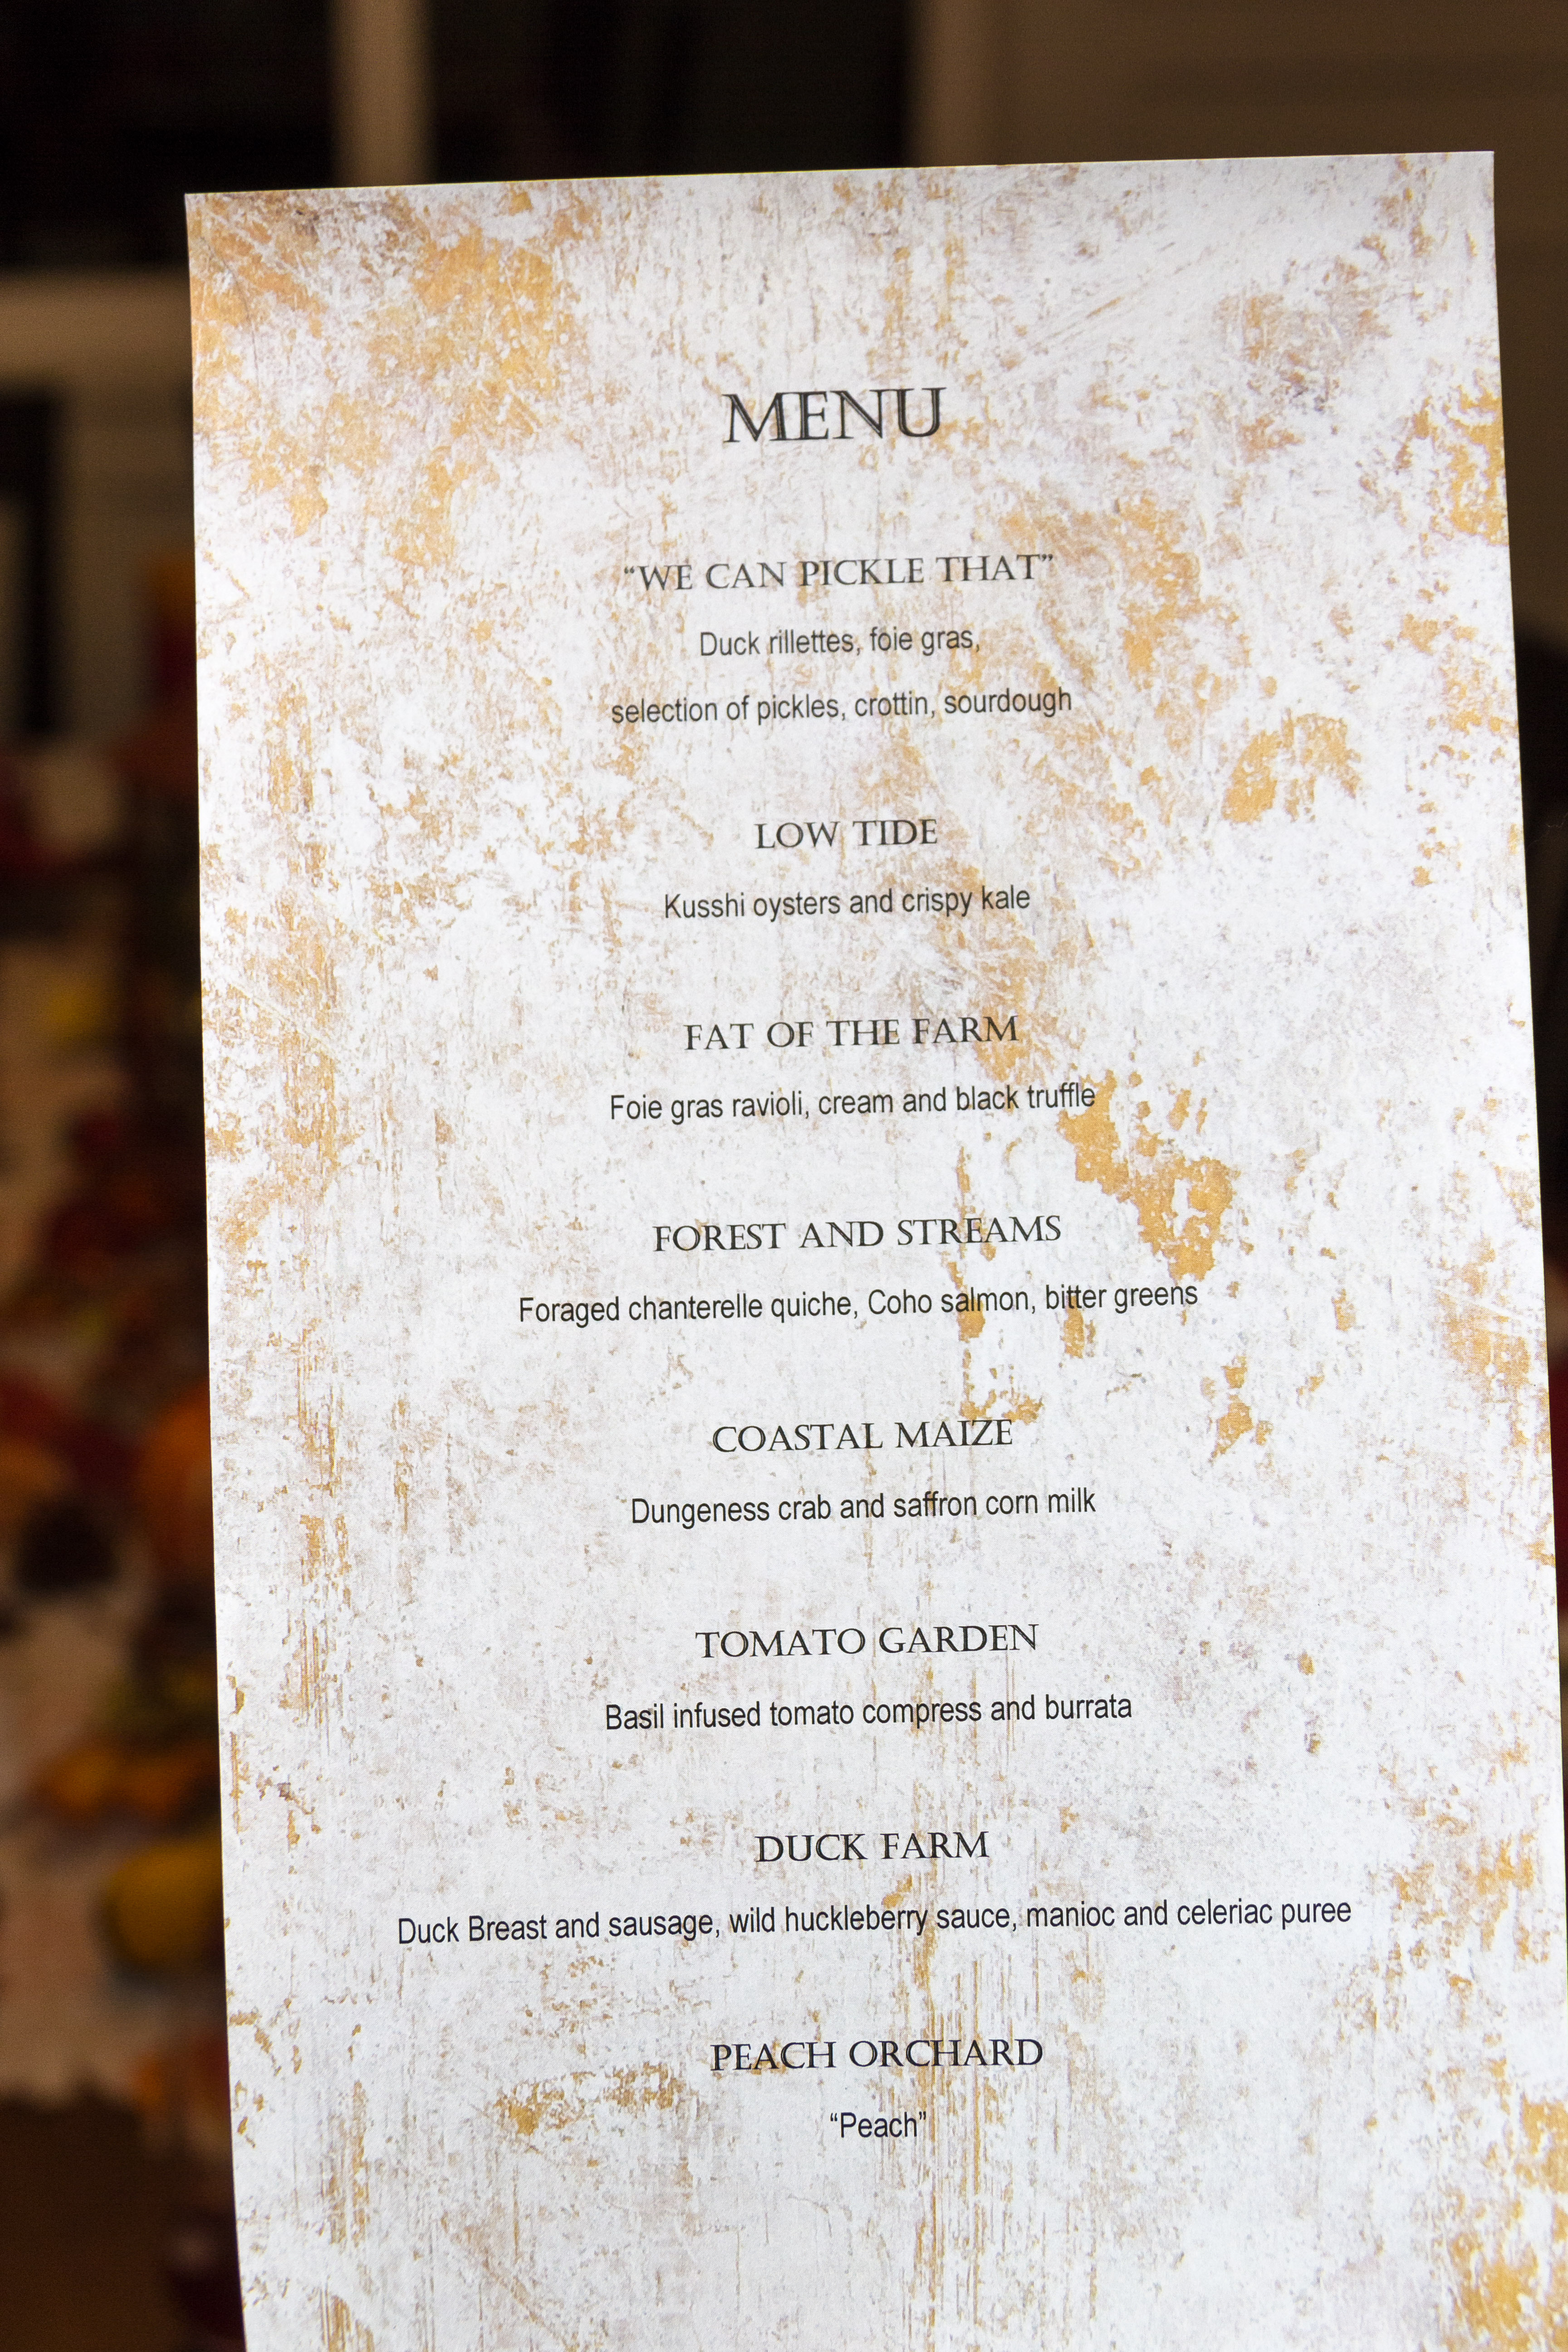
In fact, you could easily make your turkey 1-2 days ahead, giving you the time to focus on grandma’s famous pie recipe, place settings, or other last minute concerns while prepping your big meal. One thing I’ve learned from my large multi-course dinners (such as this 27 course dinner) is that when you have a lot of people to feed or many parts to your meal, prepping ahead is key.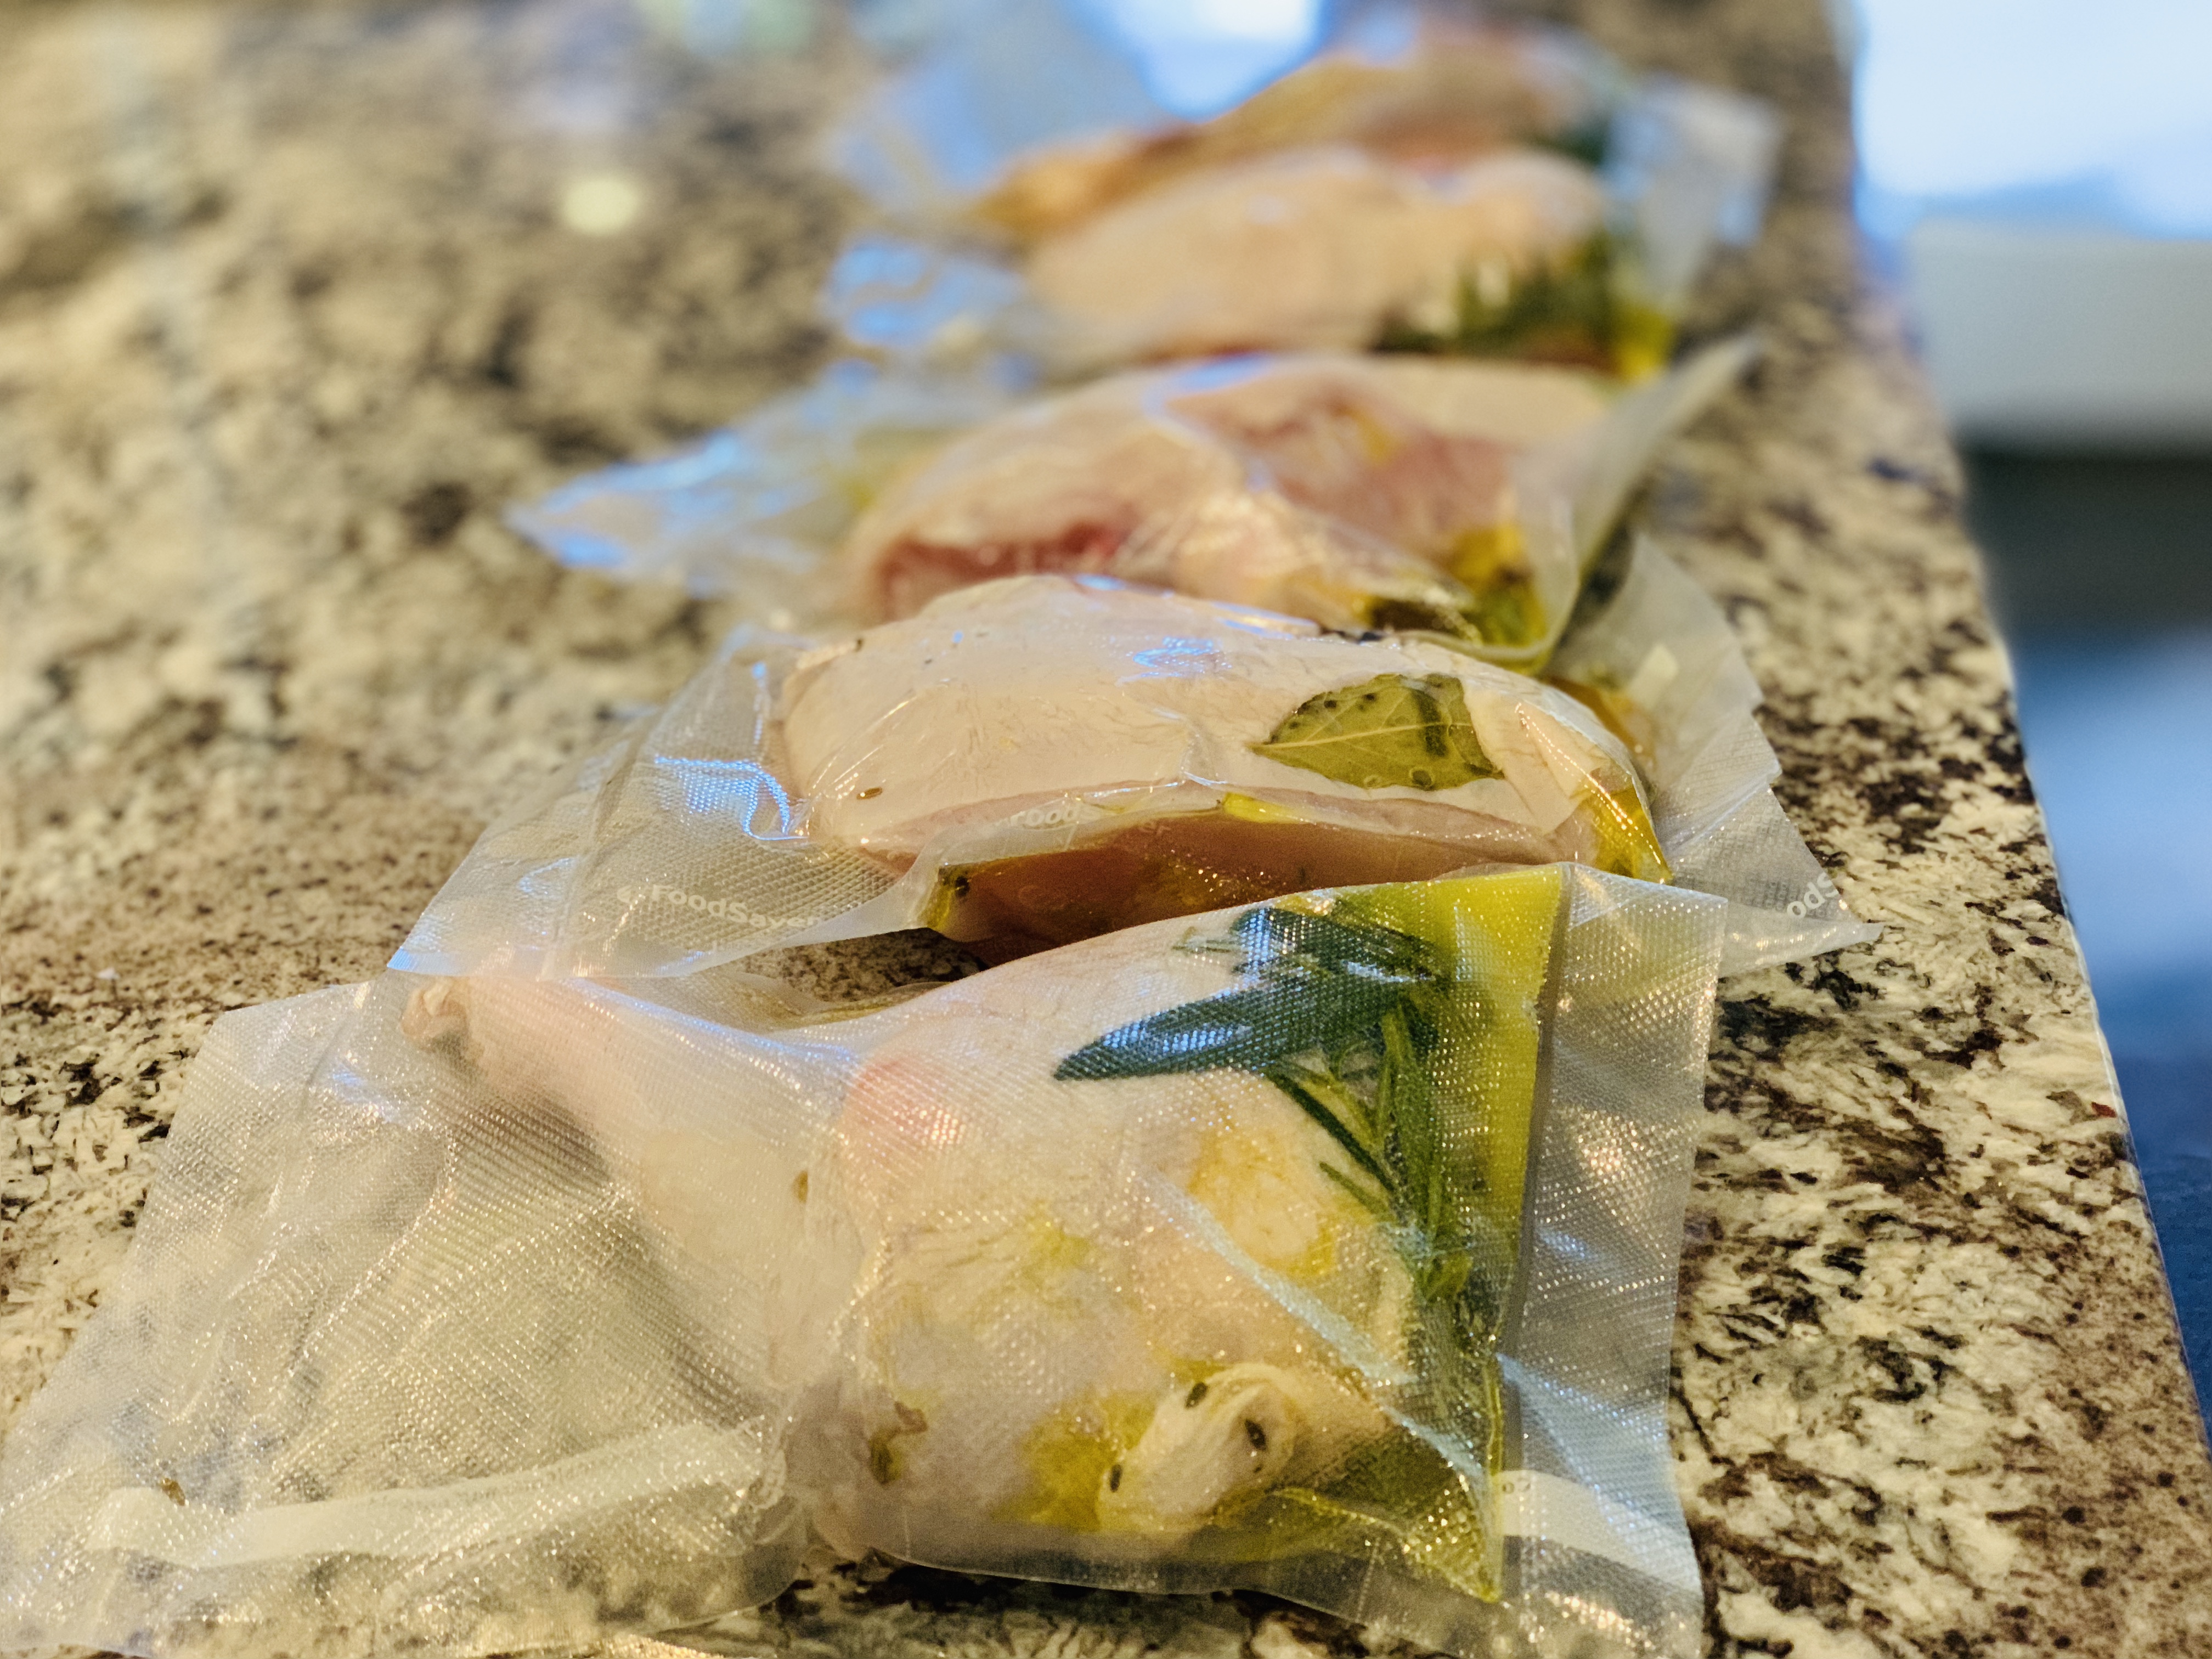
The vacuum packs include duck fat or oil, which will effectively “confit” the meat while it poaches.
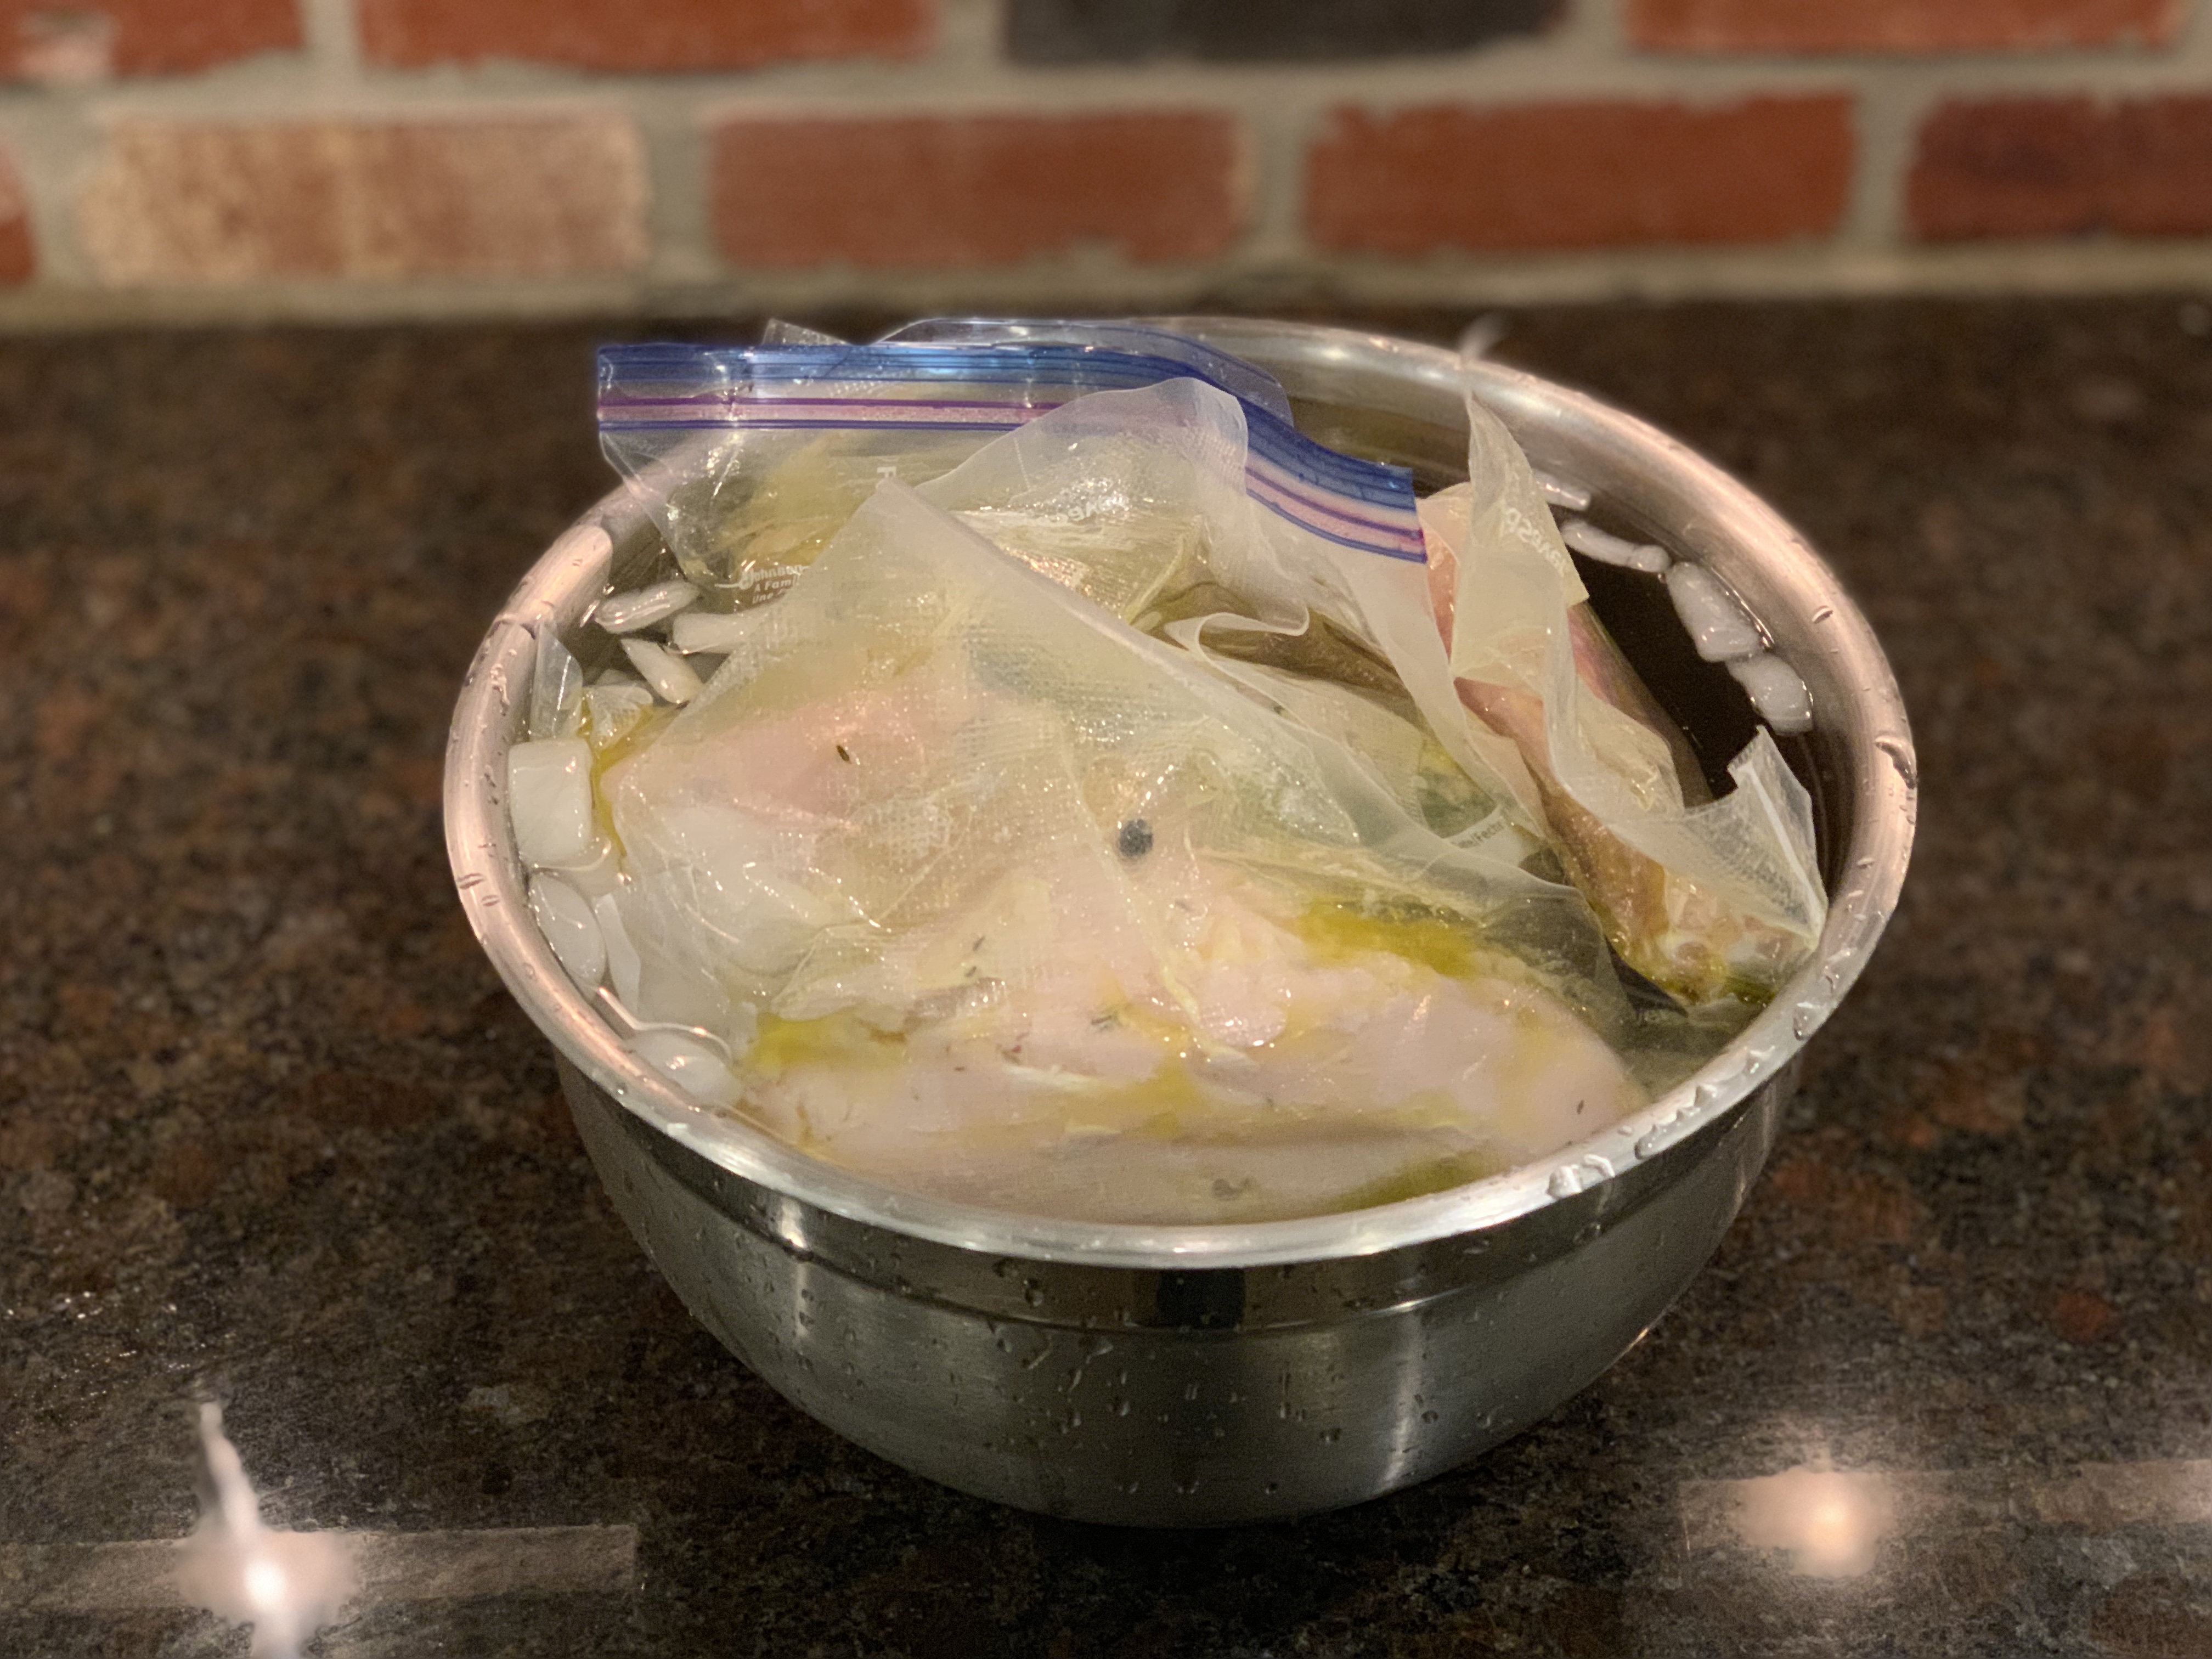
Here you see the meat after its been poached, in an ice bath
Brining
Another common trend in cooking turkey is to brine the bird in either a wet or dry brine. This is meant to help the bird retain more water, hence a juicier bird. Most brines, including the one I use here, also employ a bunch of spices and aromatics to impart flavor to the meat. Sadly, with other methods of roasting the turkey, I’ve never noticed any difference in taste by brining. I have seen the impact to the juiciness of the final meat, but never that improvement of taste. I’m pretty pragmatic and brines can be expensive! You are often adding half a box of salt, several dollars in spices, and ~$10 in fresh citrus and juices. All of which you throw away before you even begin cooking your bird.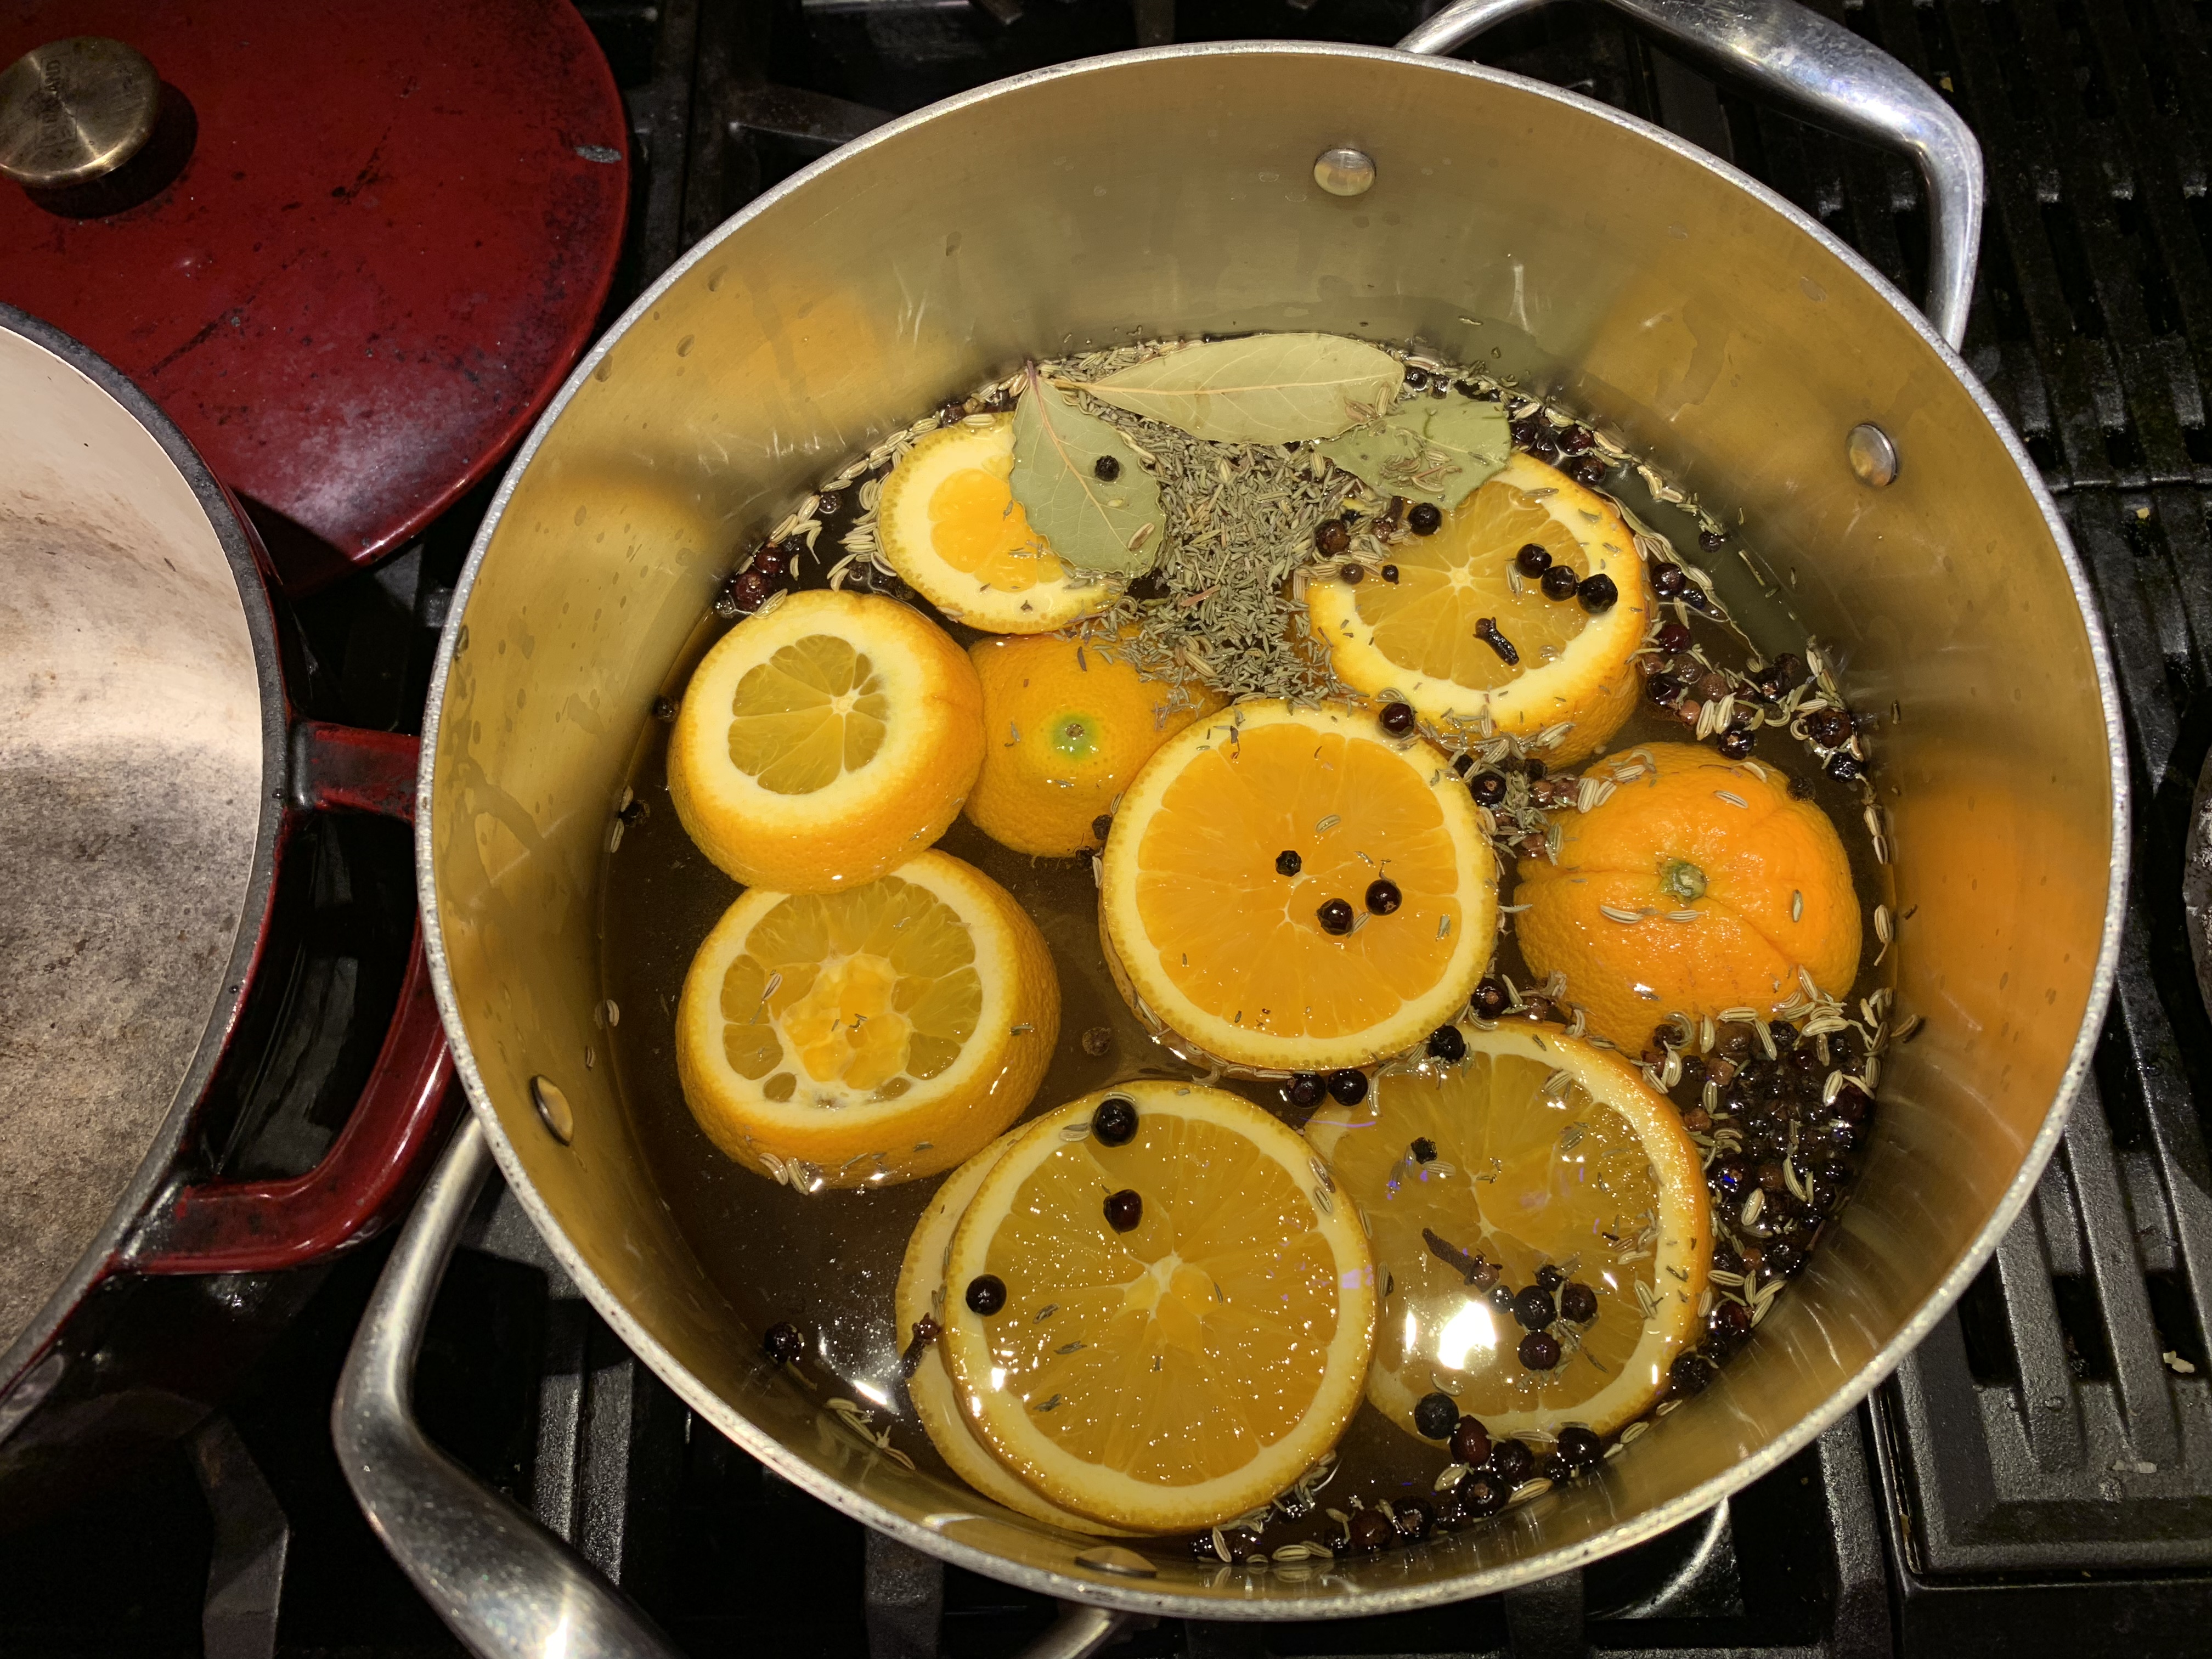
Another reason I like the sous vide approach is because you can actually taste the aromatics in the brine at the end of the day! I’m not sure if this is because the meat is cooked so gently, or if its because I brine the meat after it is broken down, but I can definitely taste the seasoning in the final product.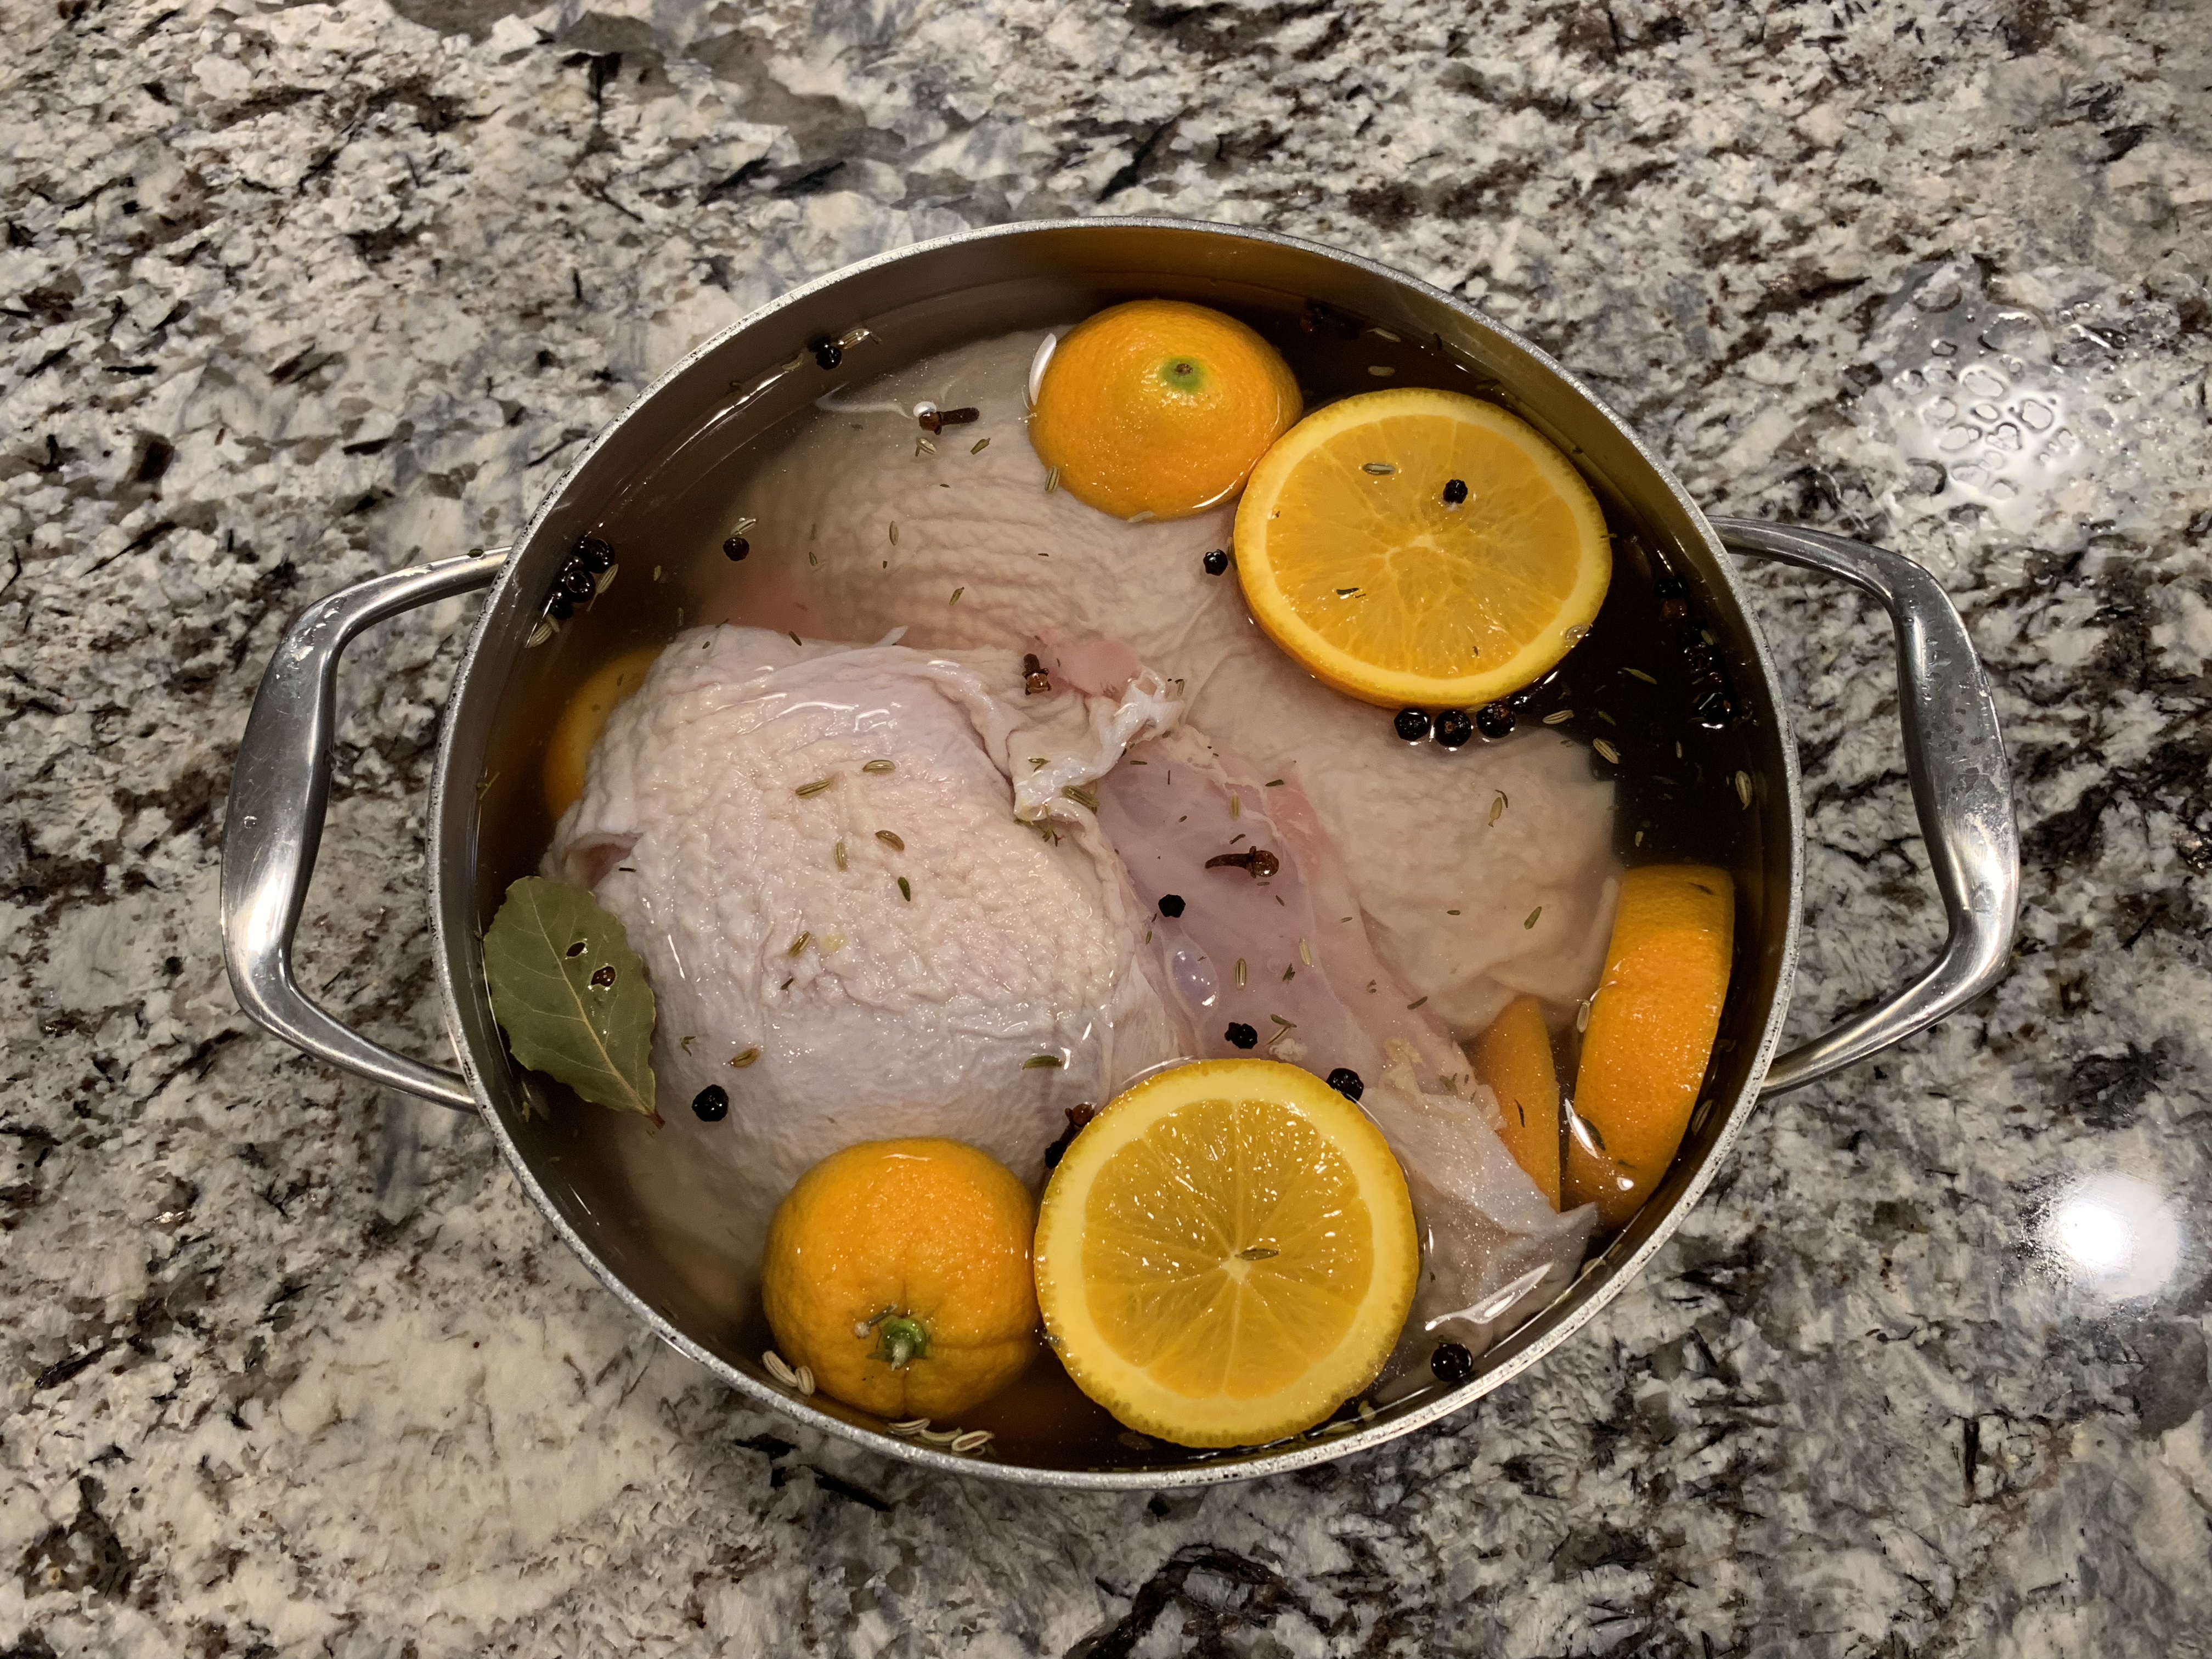
Stock
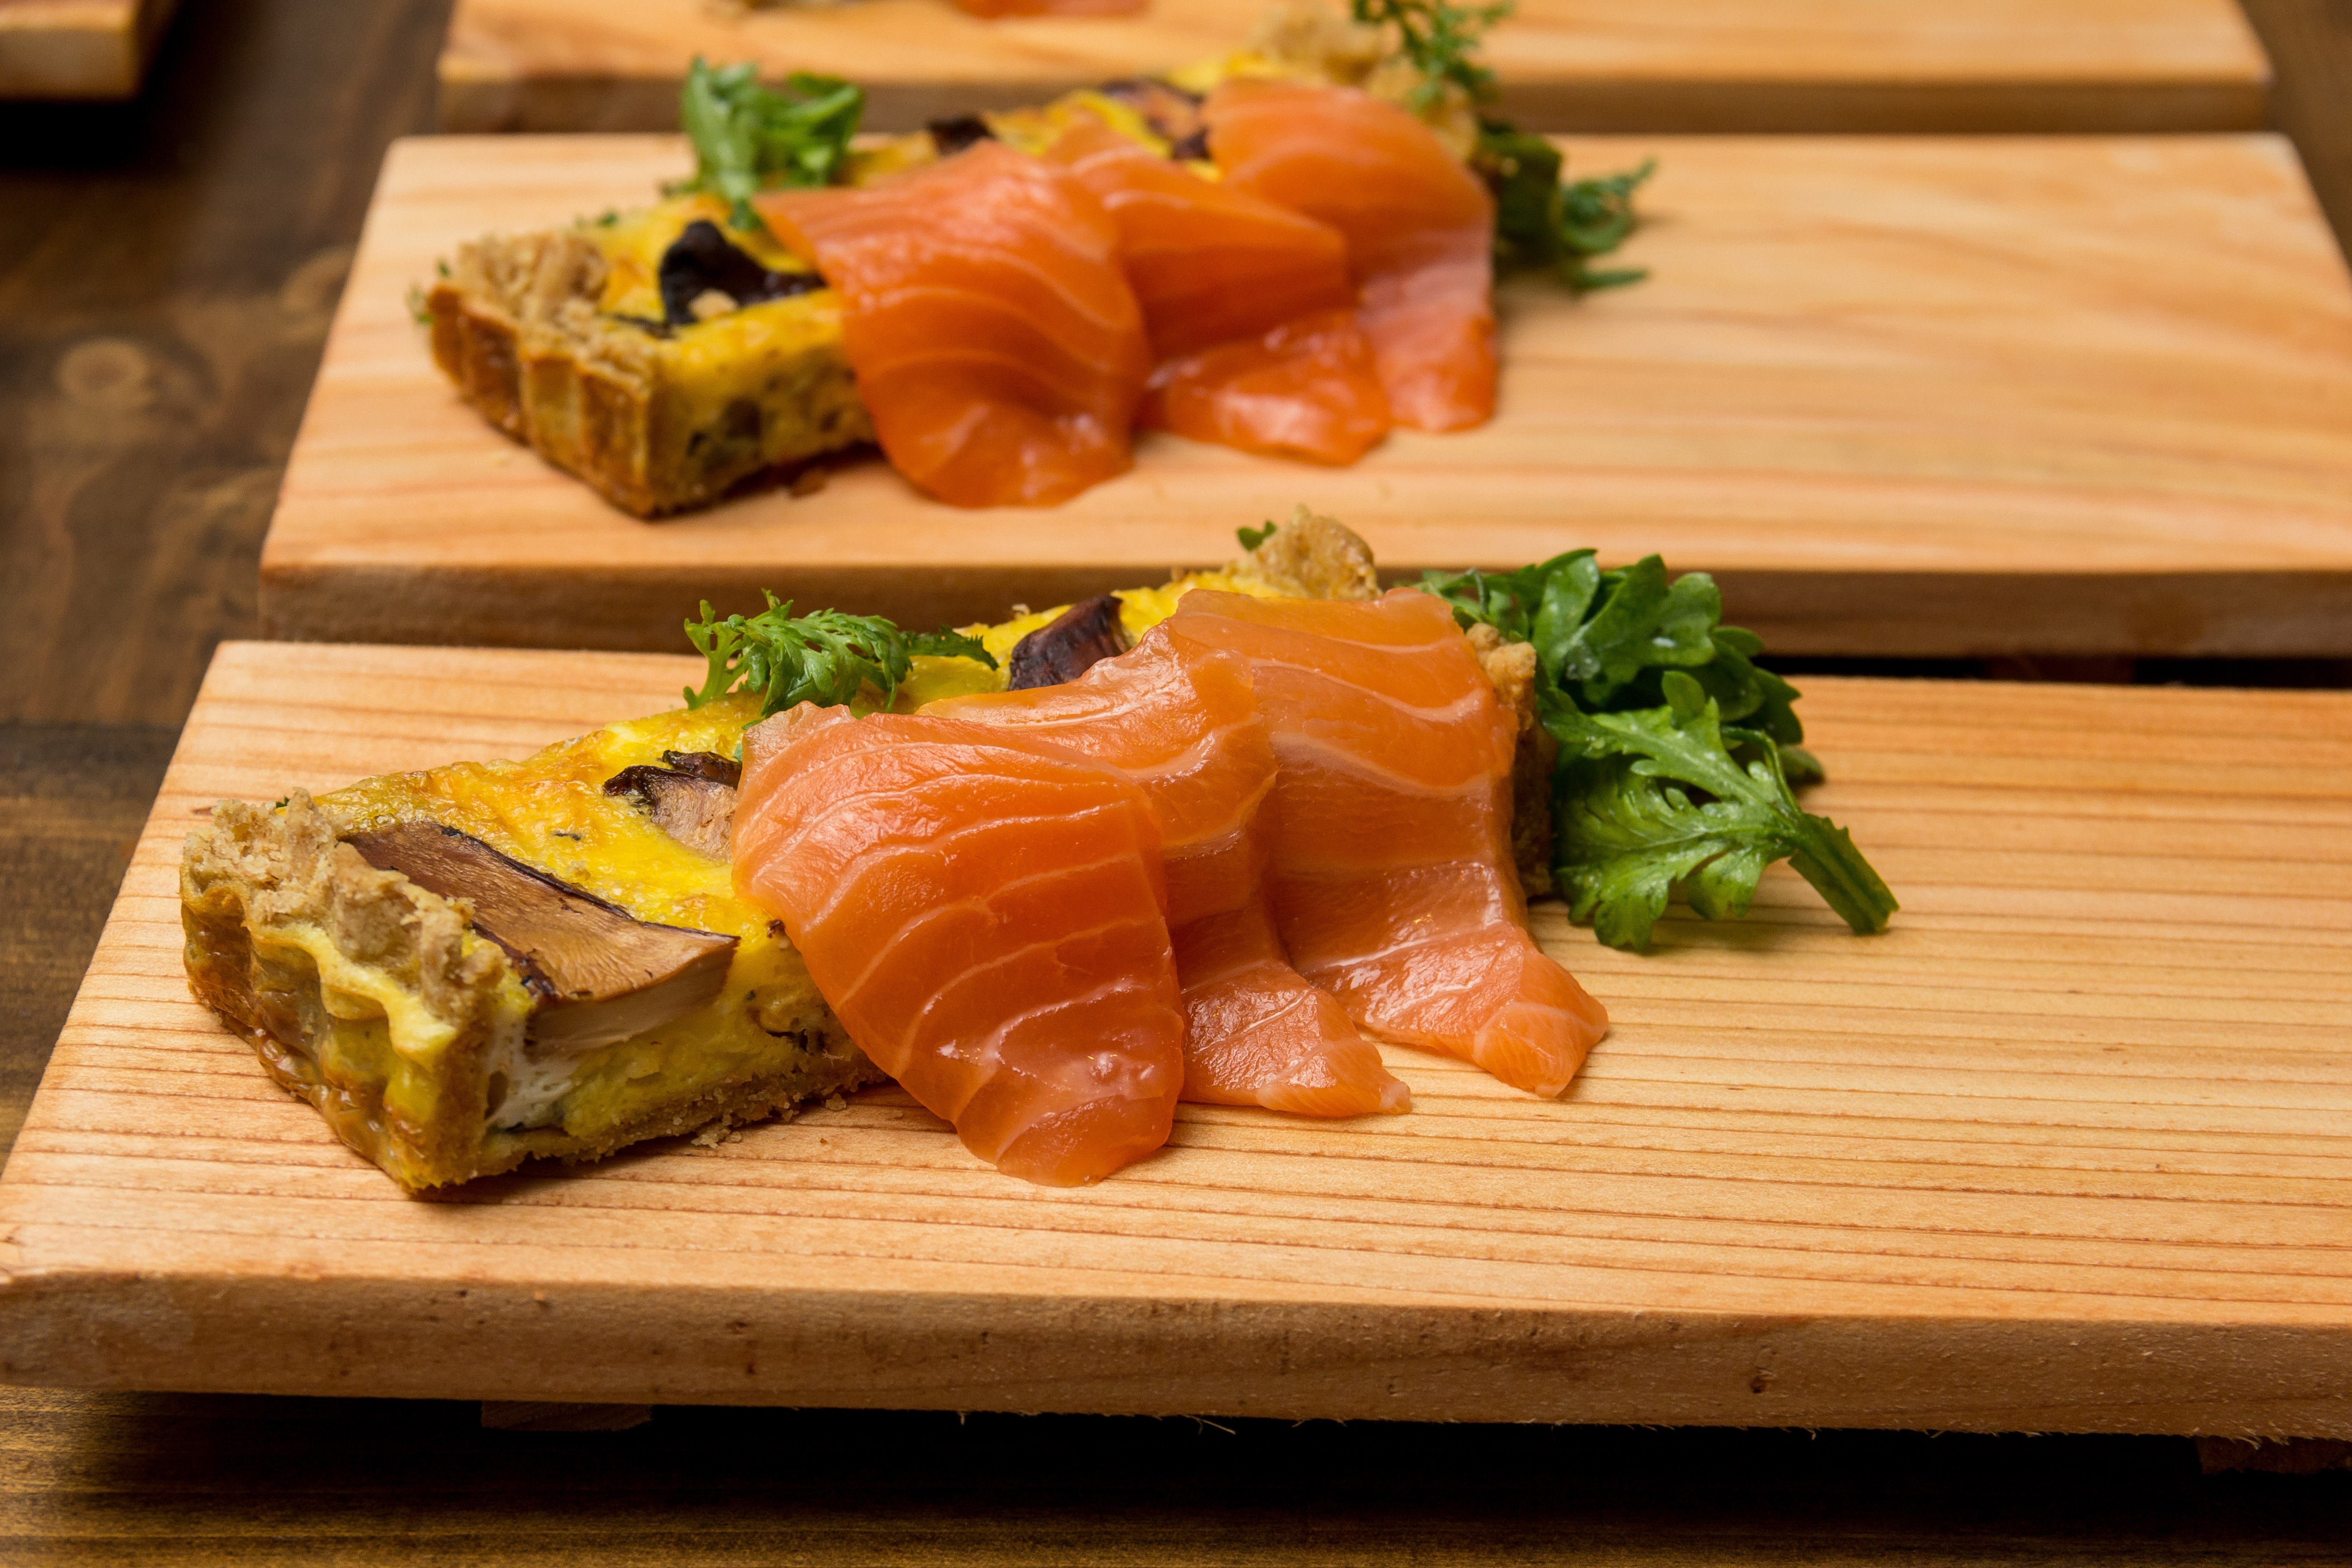
Another benefit of this approach is that since you break down your bird many days in advance, you have plenty of time to make a great stock. I place all of the extra bits, including the carcass, giblets and neck, on a baking sheet.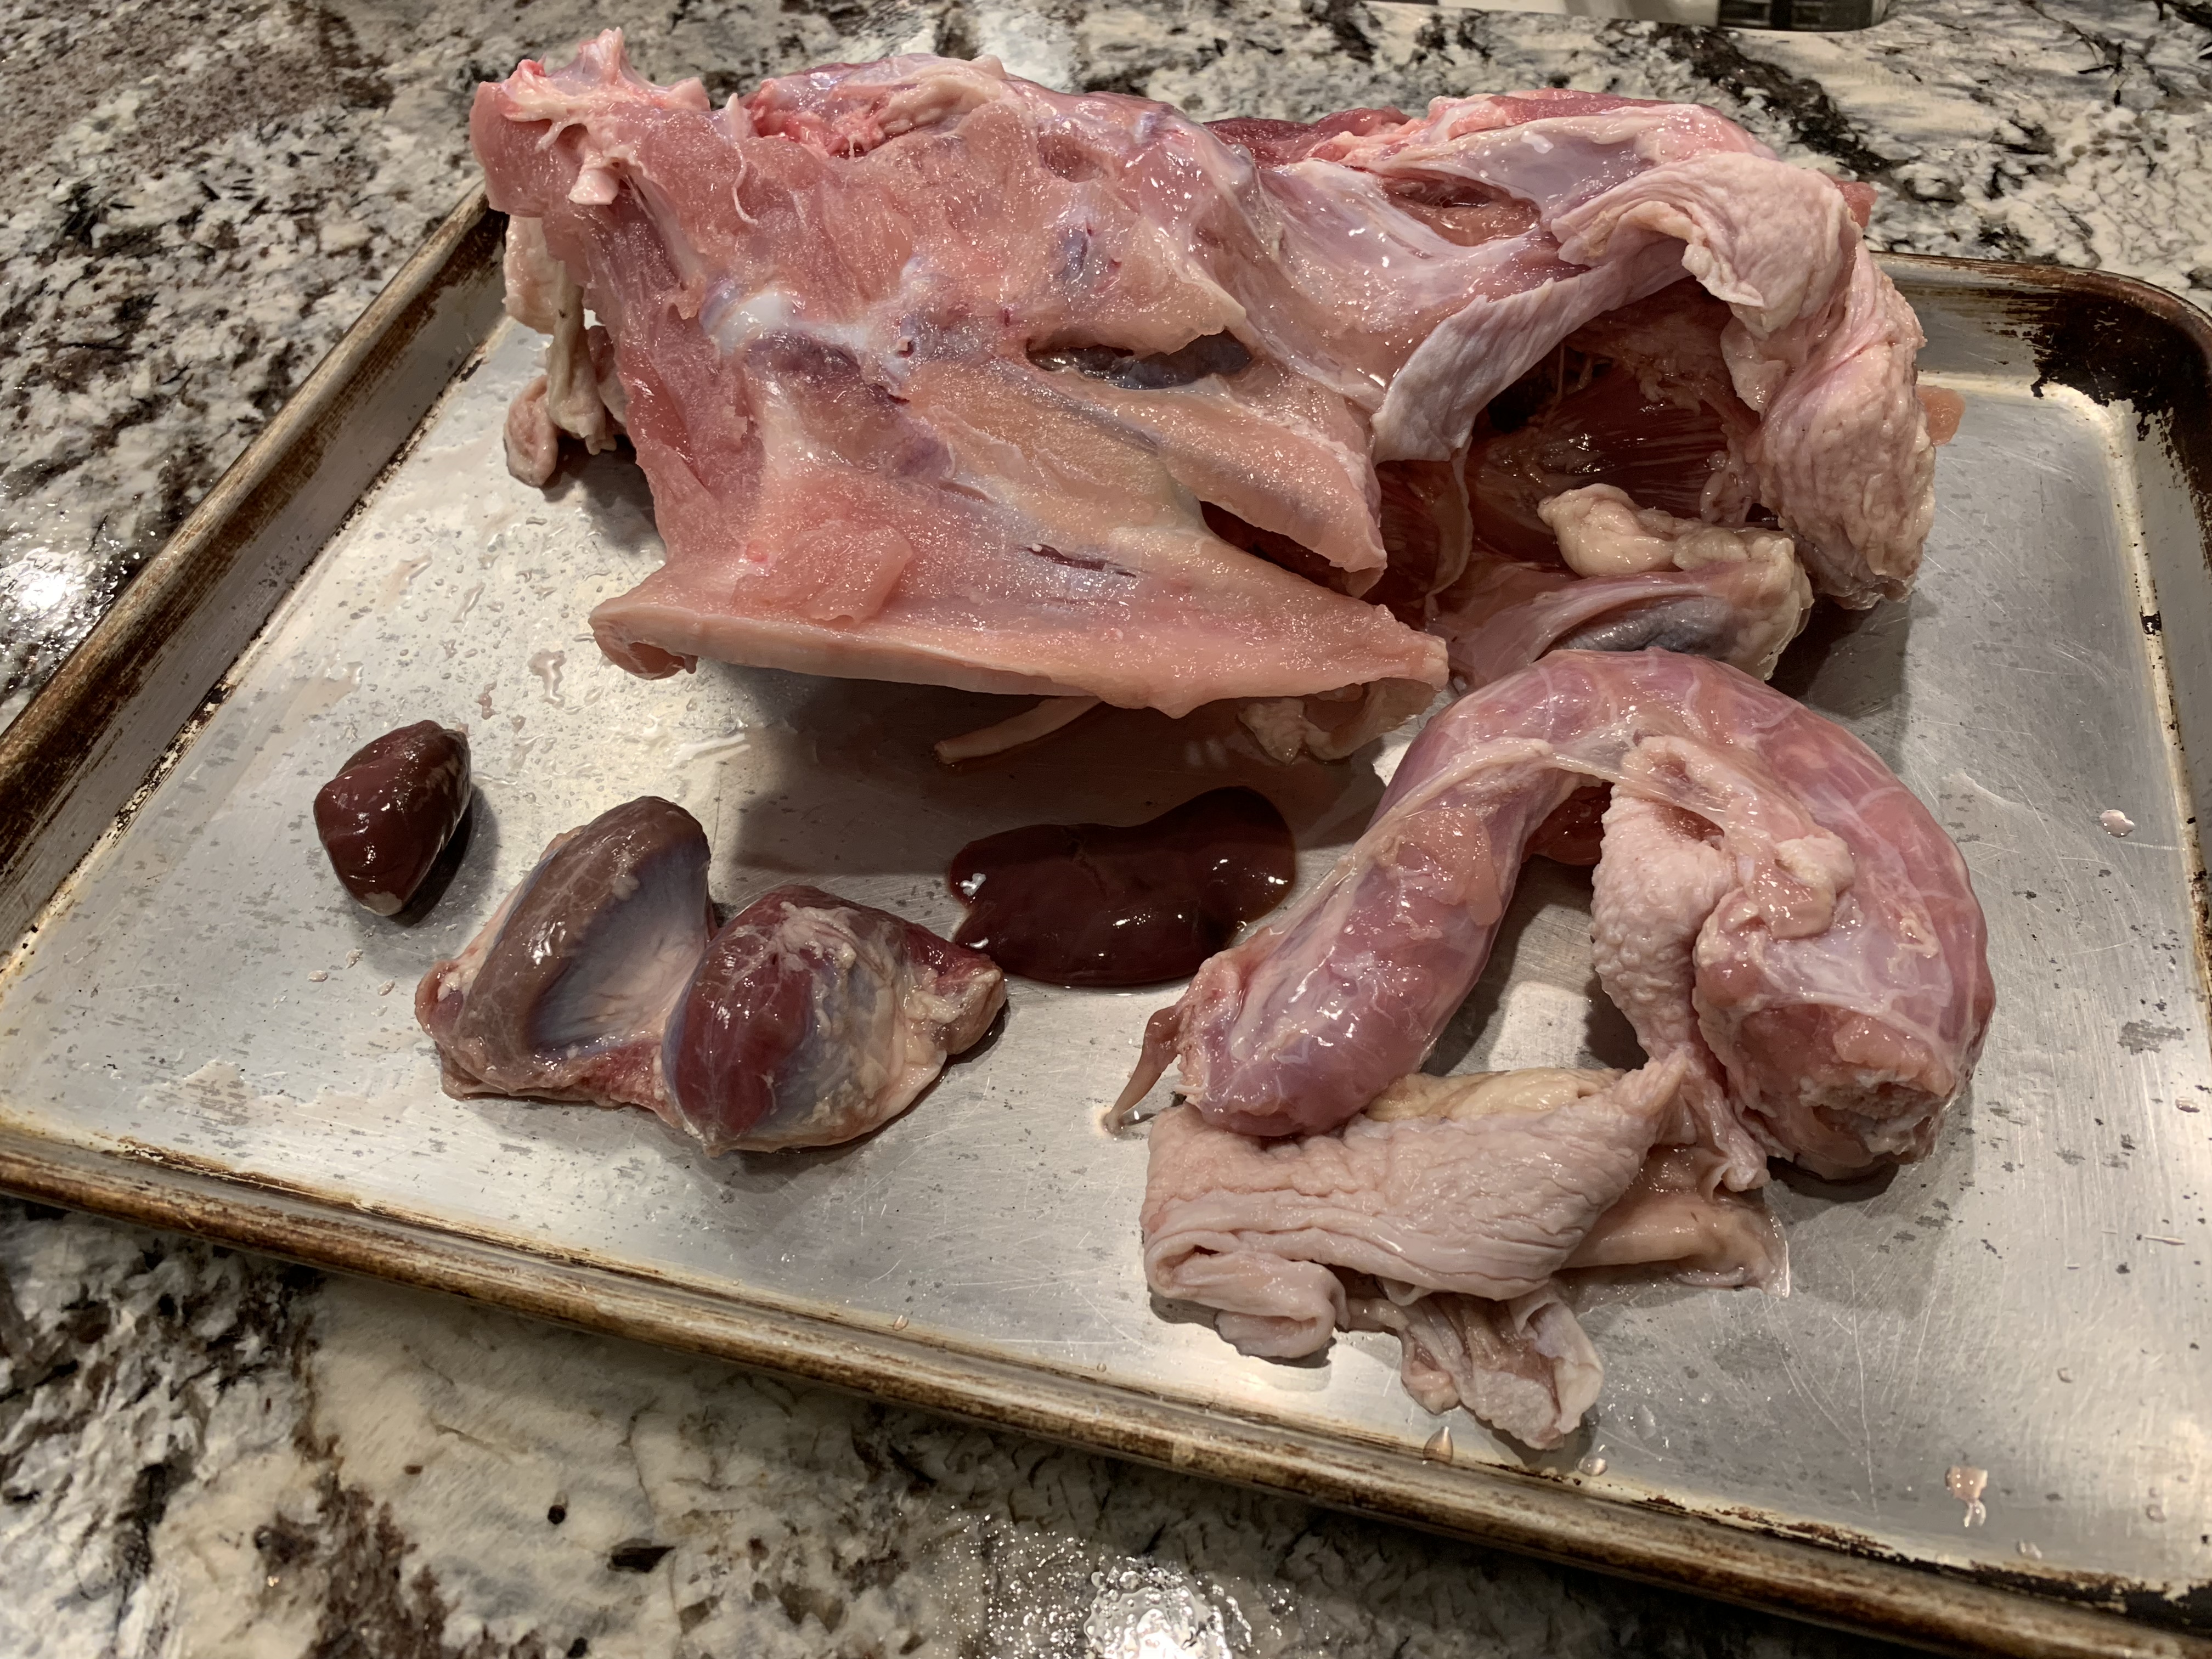
I then roast them in the oven on 425 for 30 minutes or until everything is nice and toasty.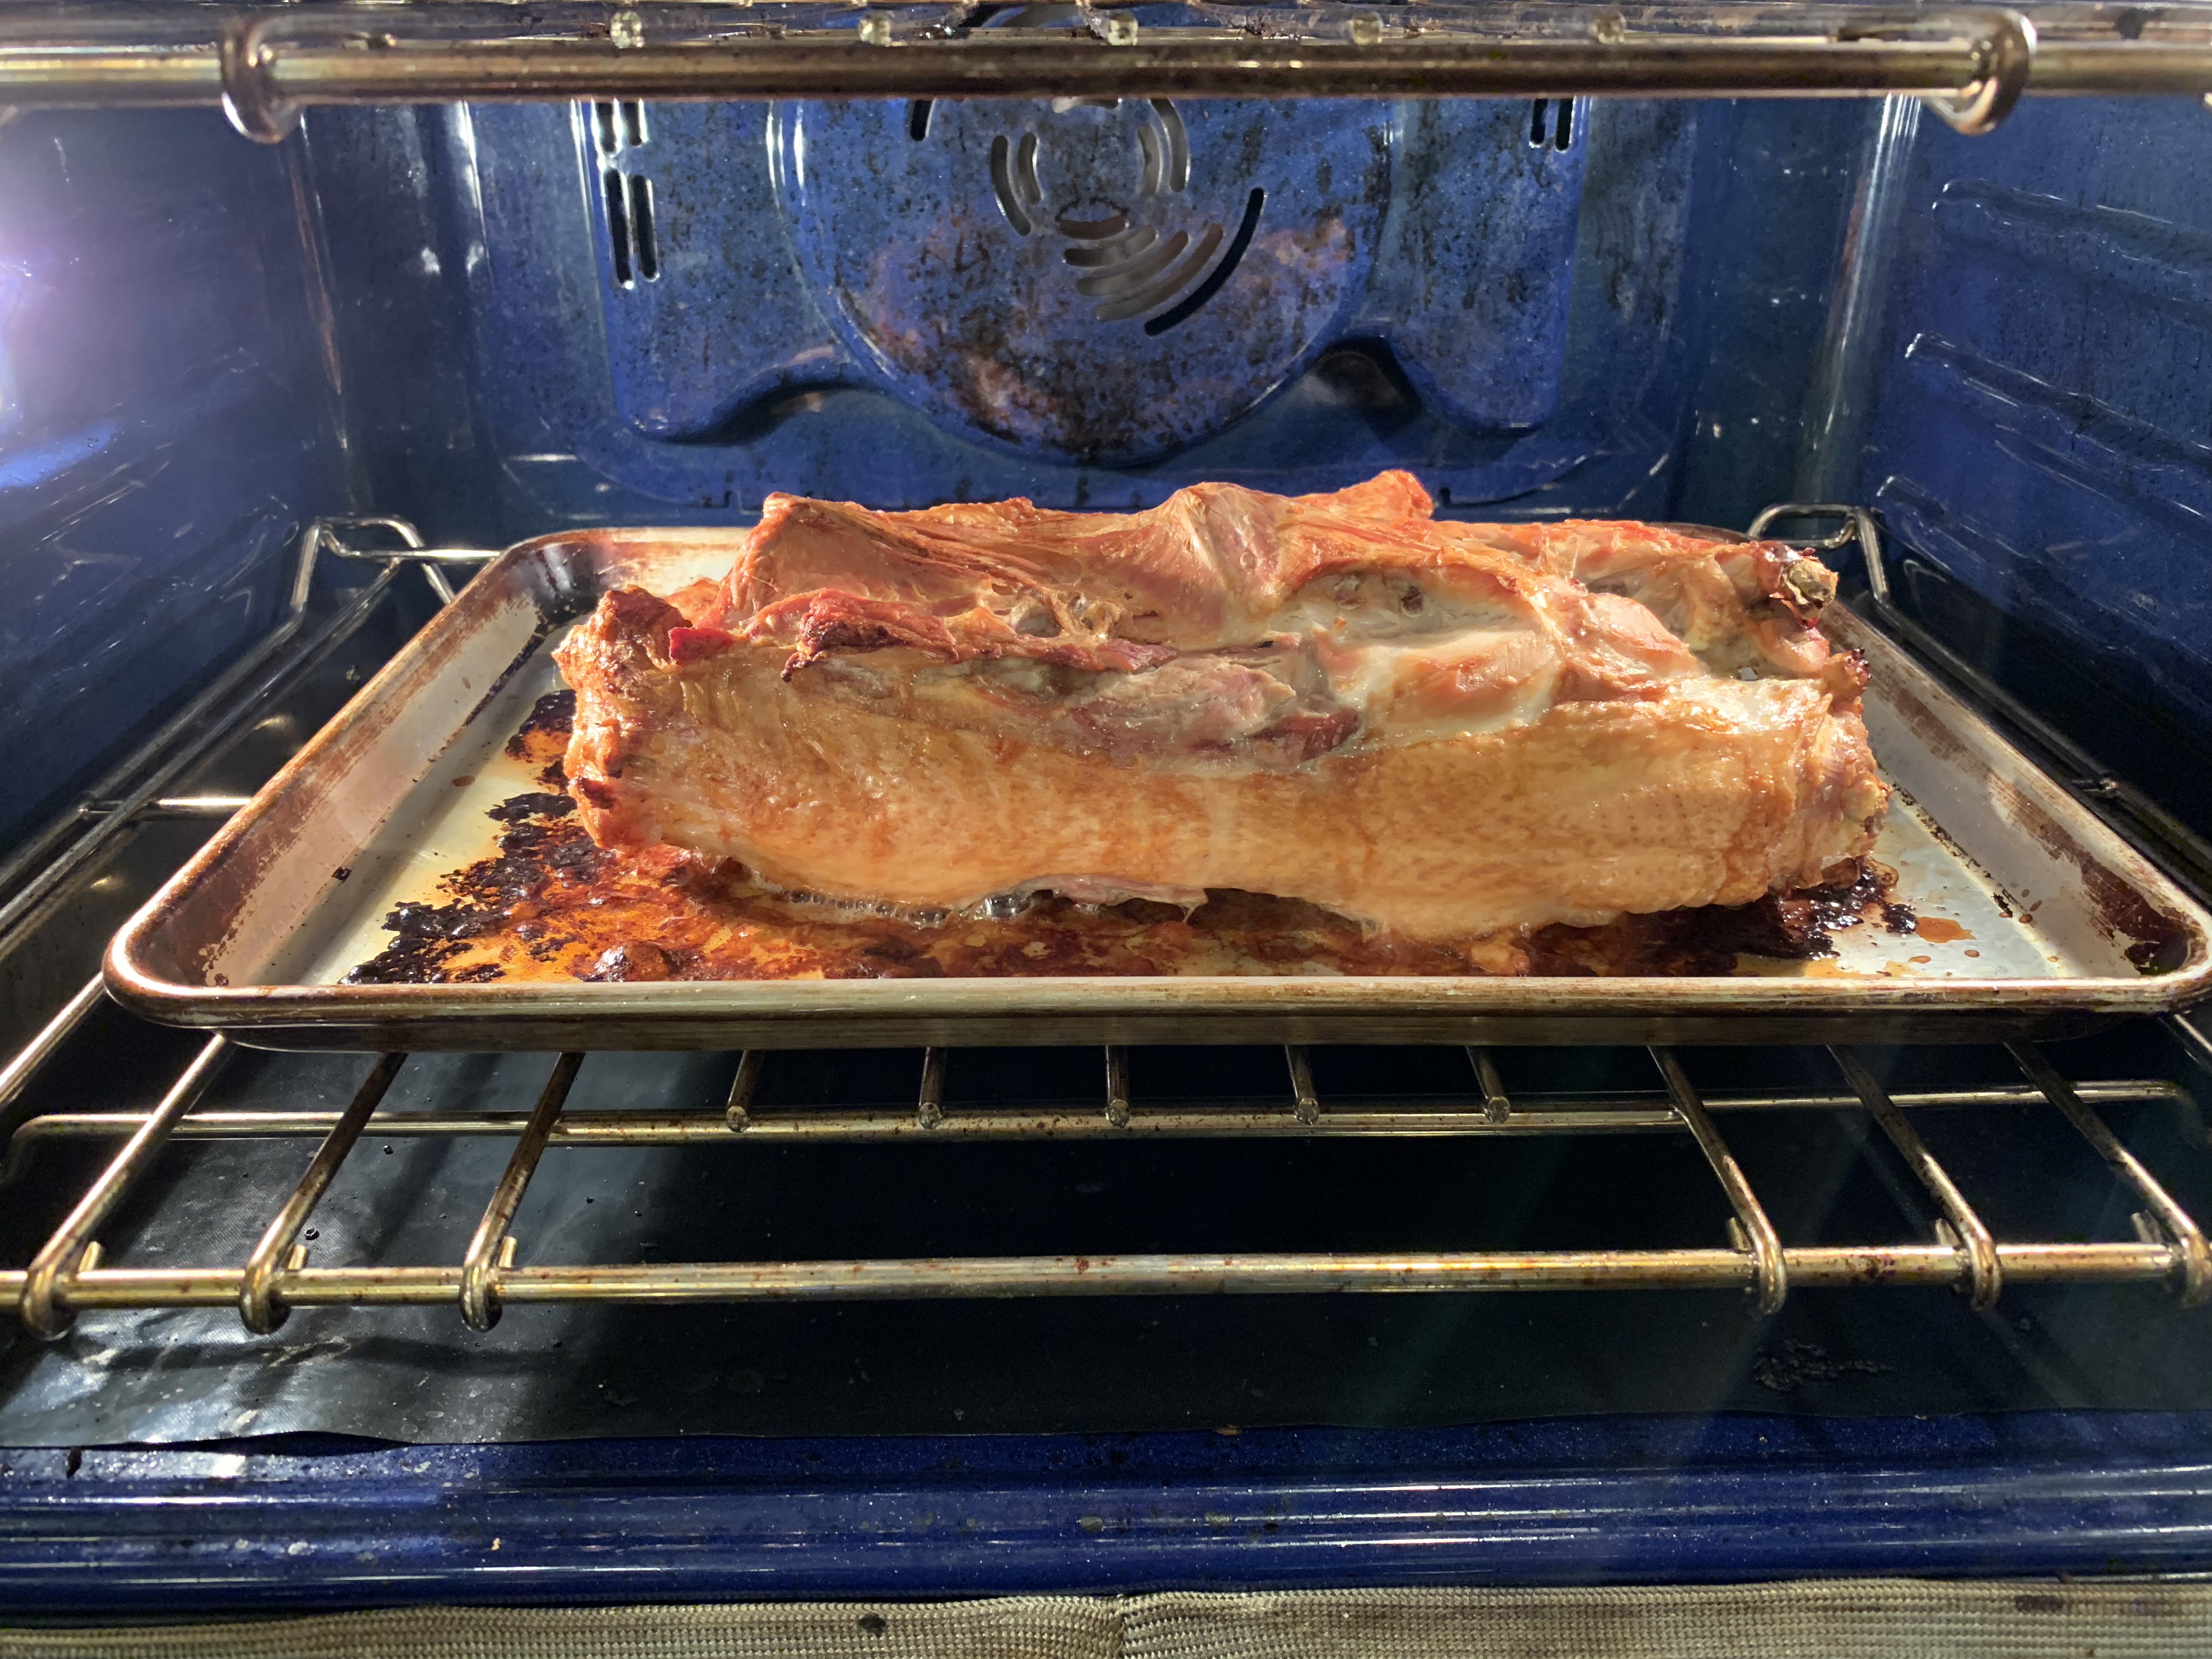
These parts, as well as the scrapings from the baking sheet, all end up in my stock pot, covered in water, to slow simmer for the next day. I end up with a rich broth to be used in the dressing and gravy on Thanksgiving day, and for soup from the leftovers.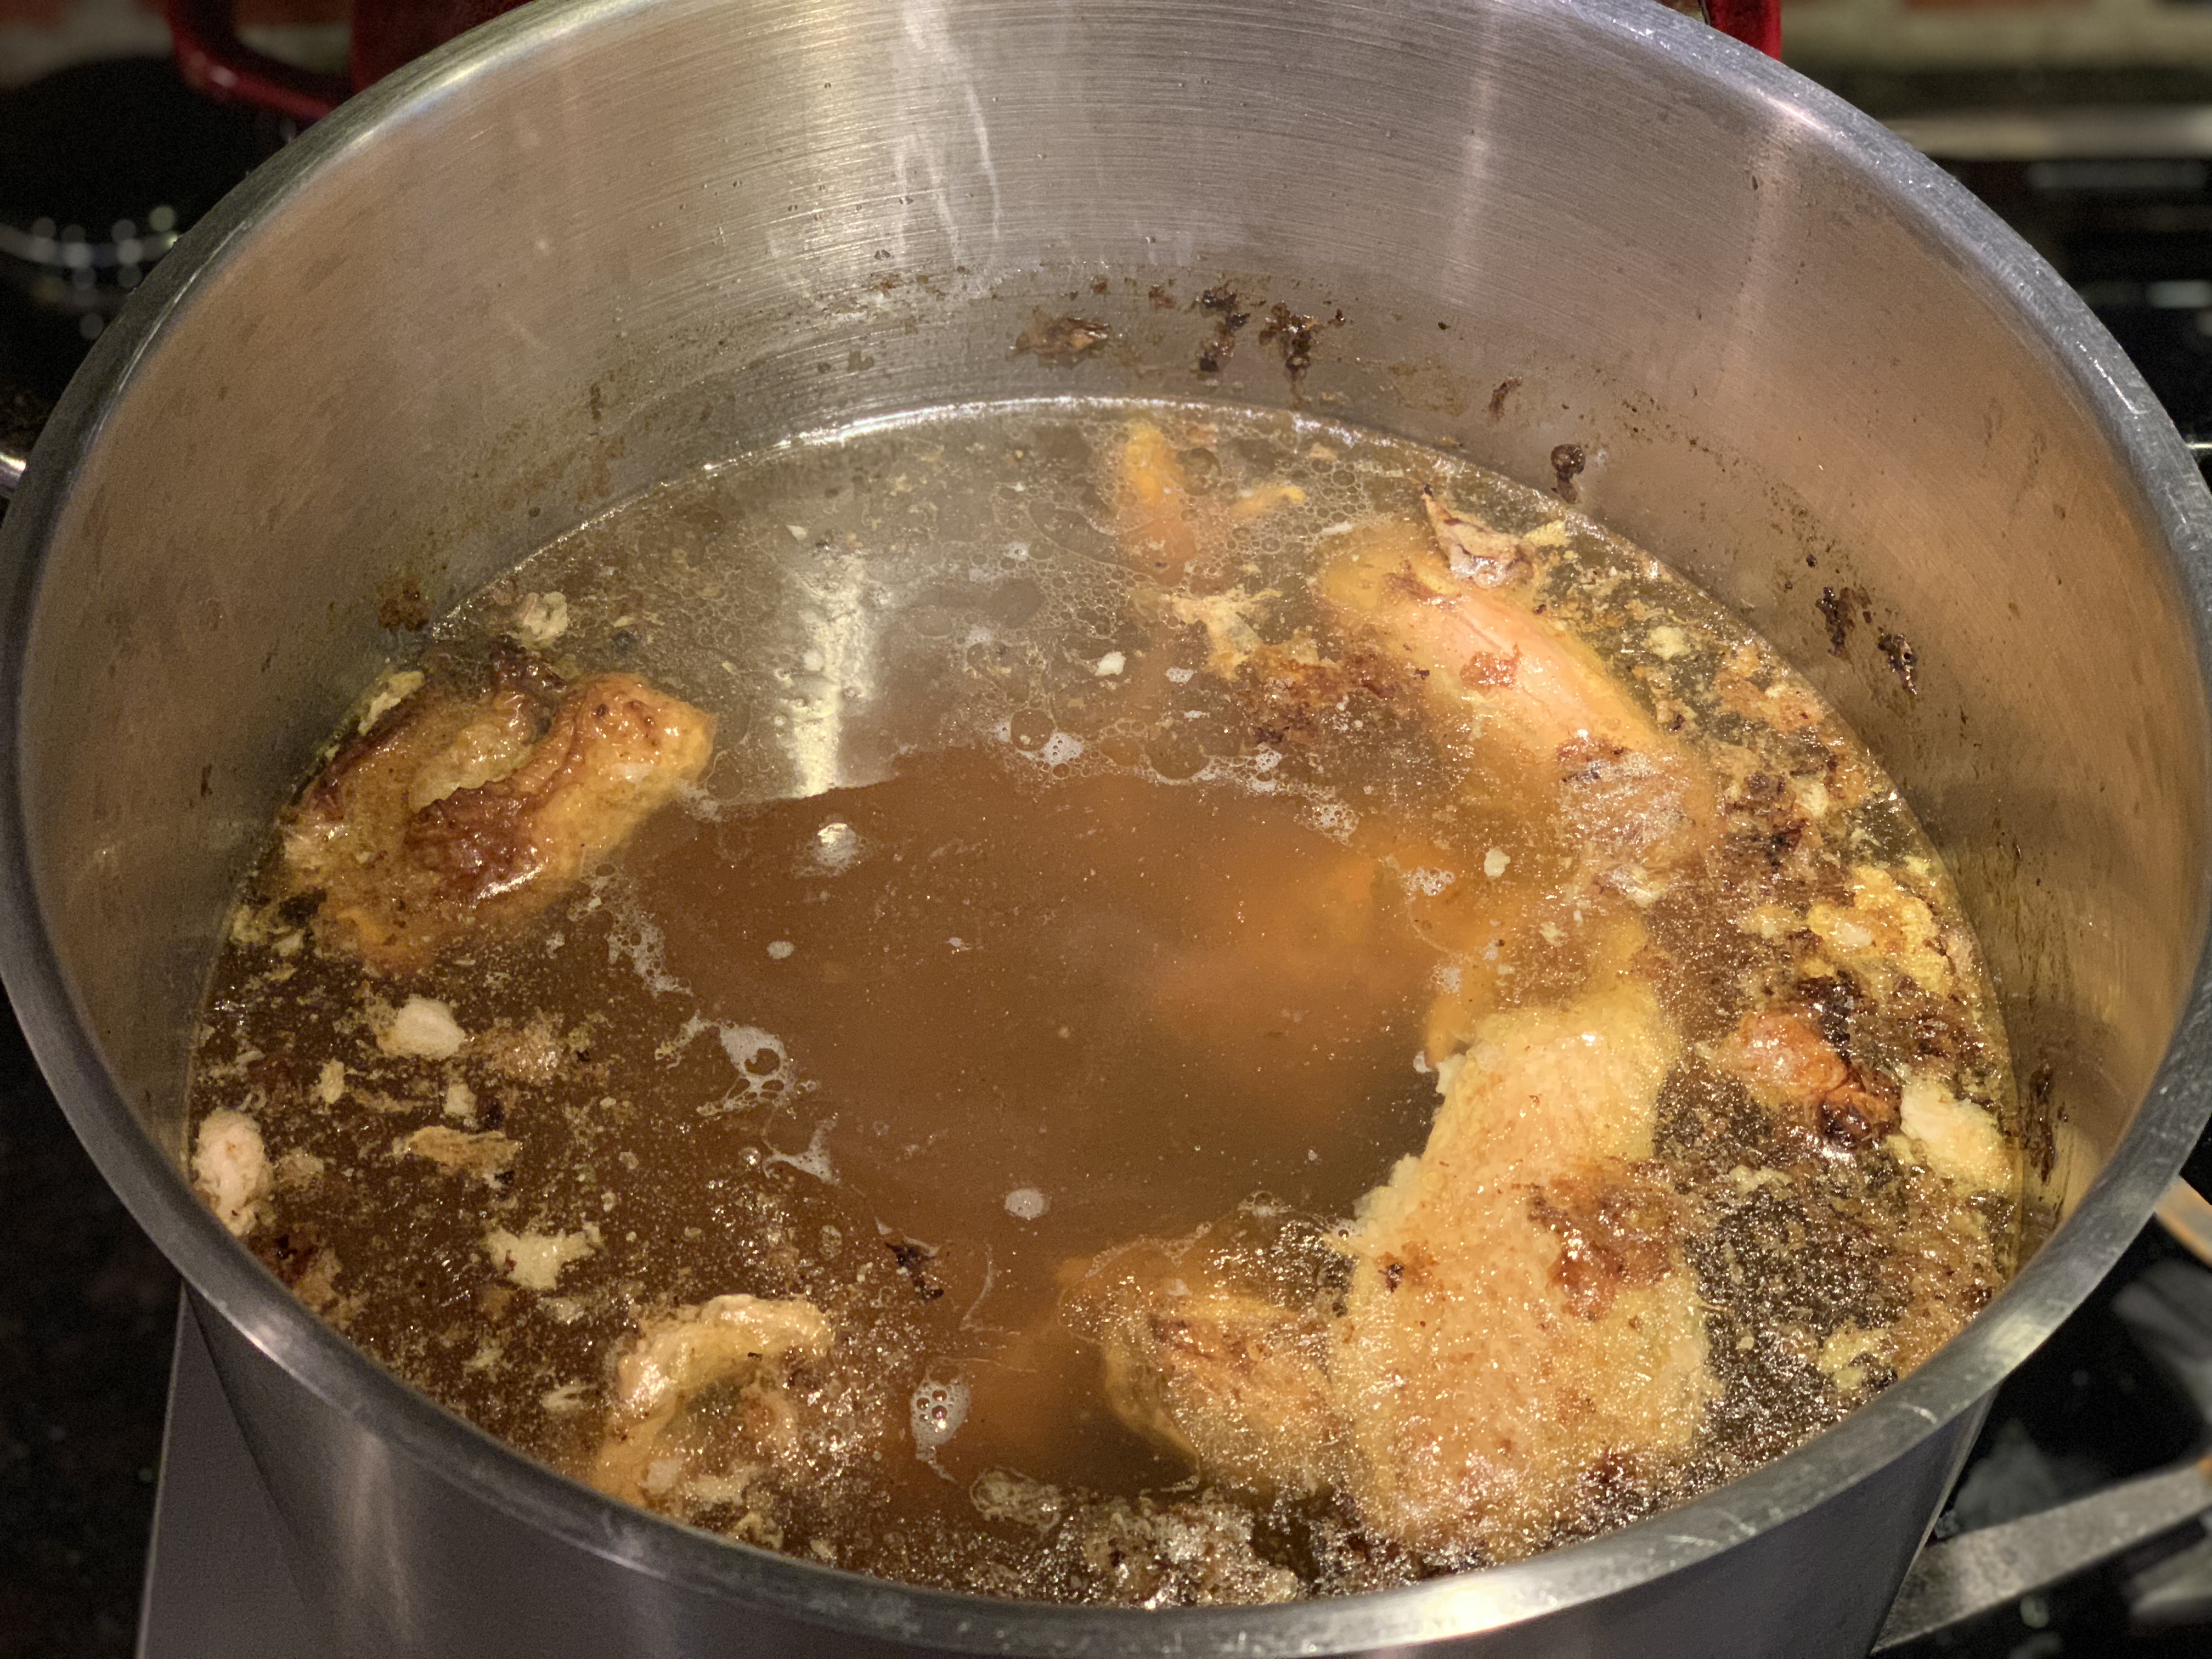
Finishing
Sous vide is not always a popular approach with poultry because the texture can seem “off”. This is partially because with a good vacuum pack, food prepared in a water bath doesn’t always oxidize the way food normally does. This can make meat seem raw, both in texture and color. Also, an important part of cooking meat is the maillard reaction, where food just tastes better if its been browned. I solve this by deep frying the meat as a finishing step. This heats up the meat to a temp for eating and gives it a nice crispy skin and fatty taste (something important for something as lean as turkey!). 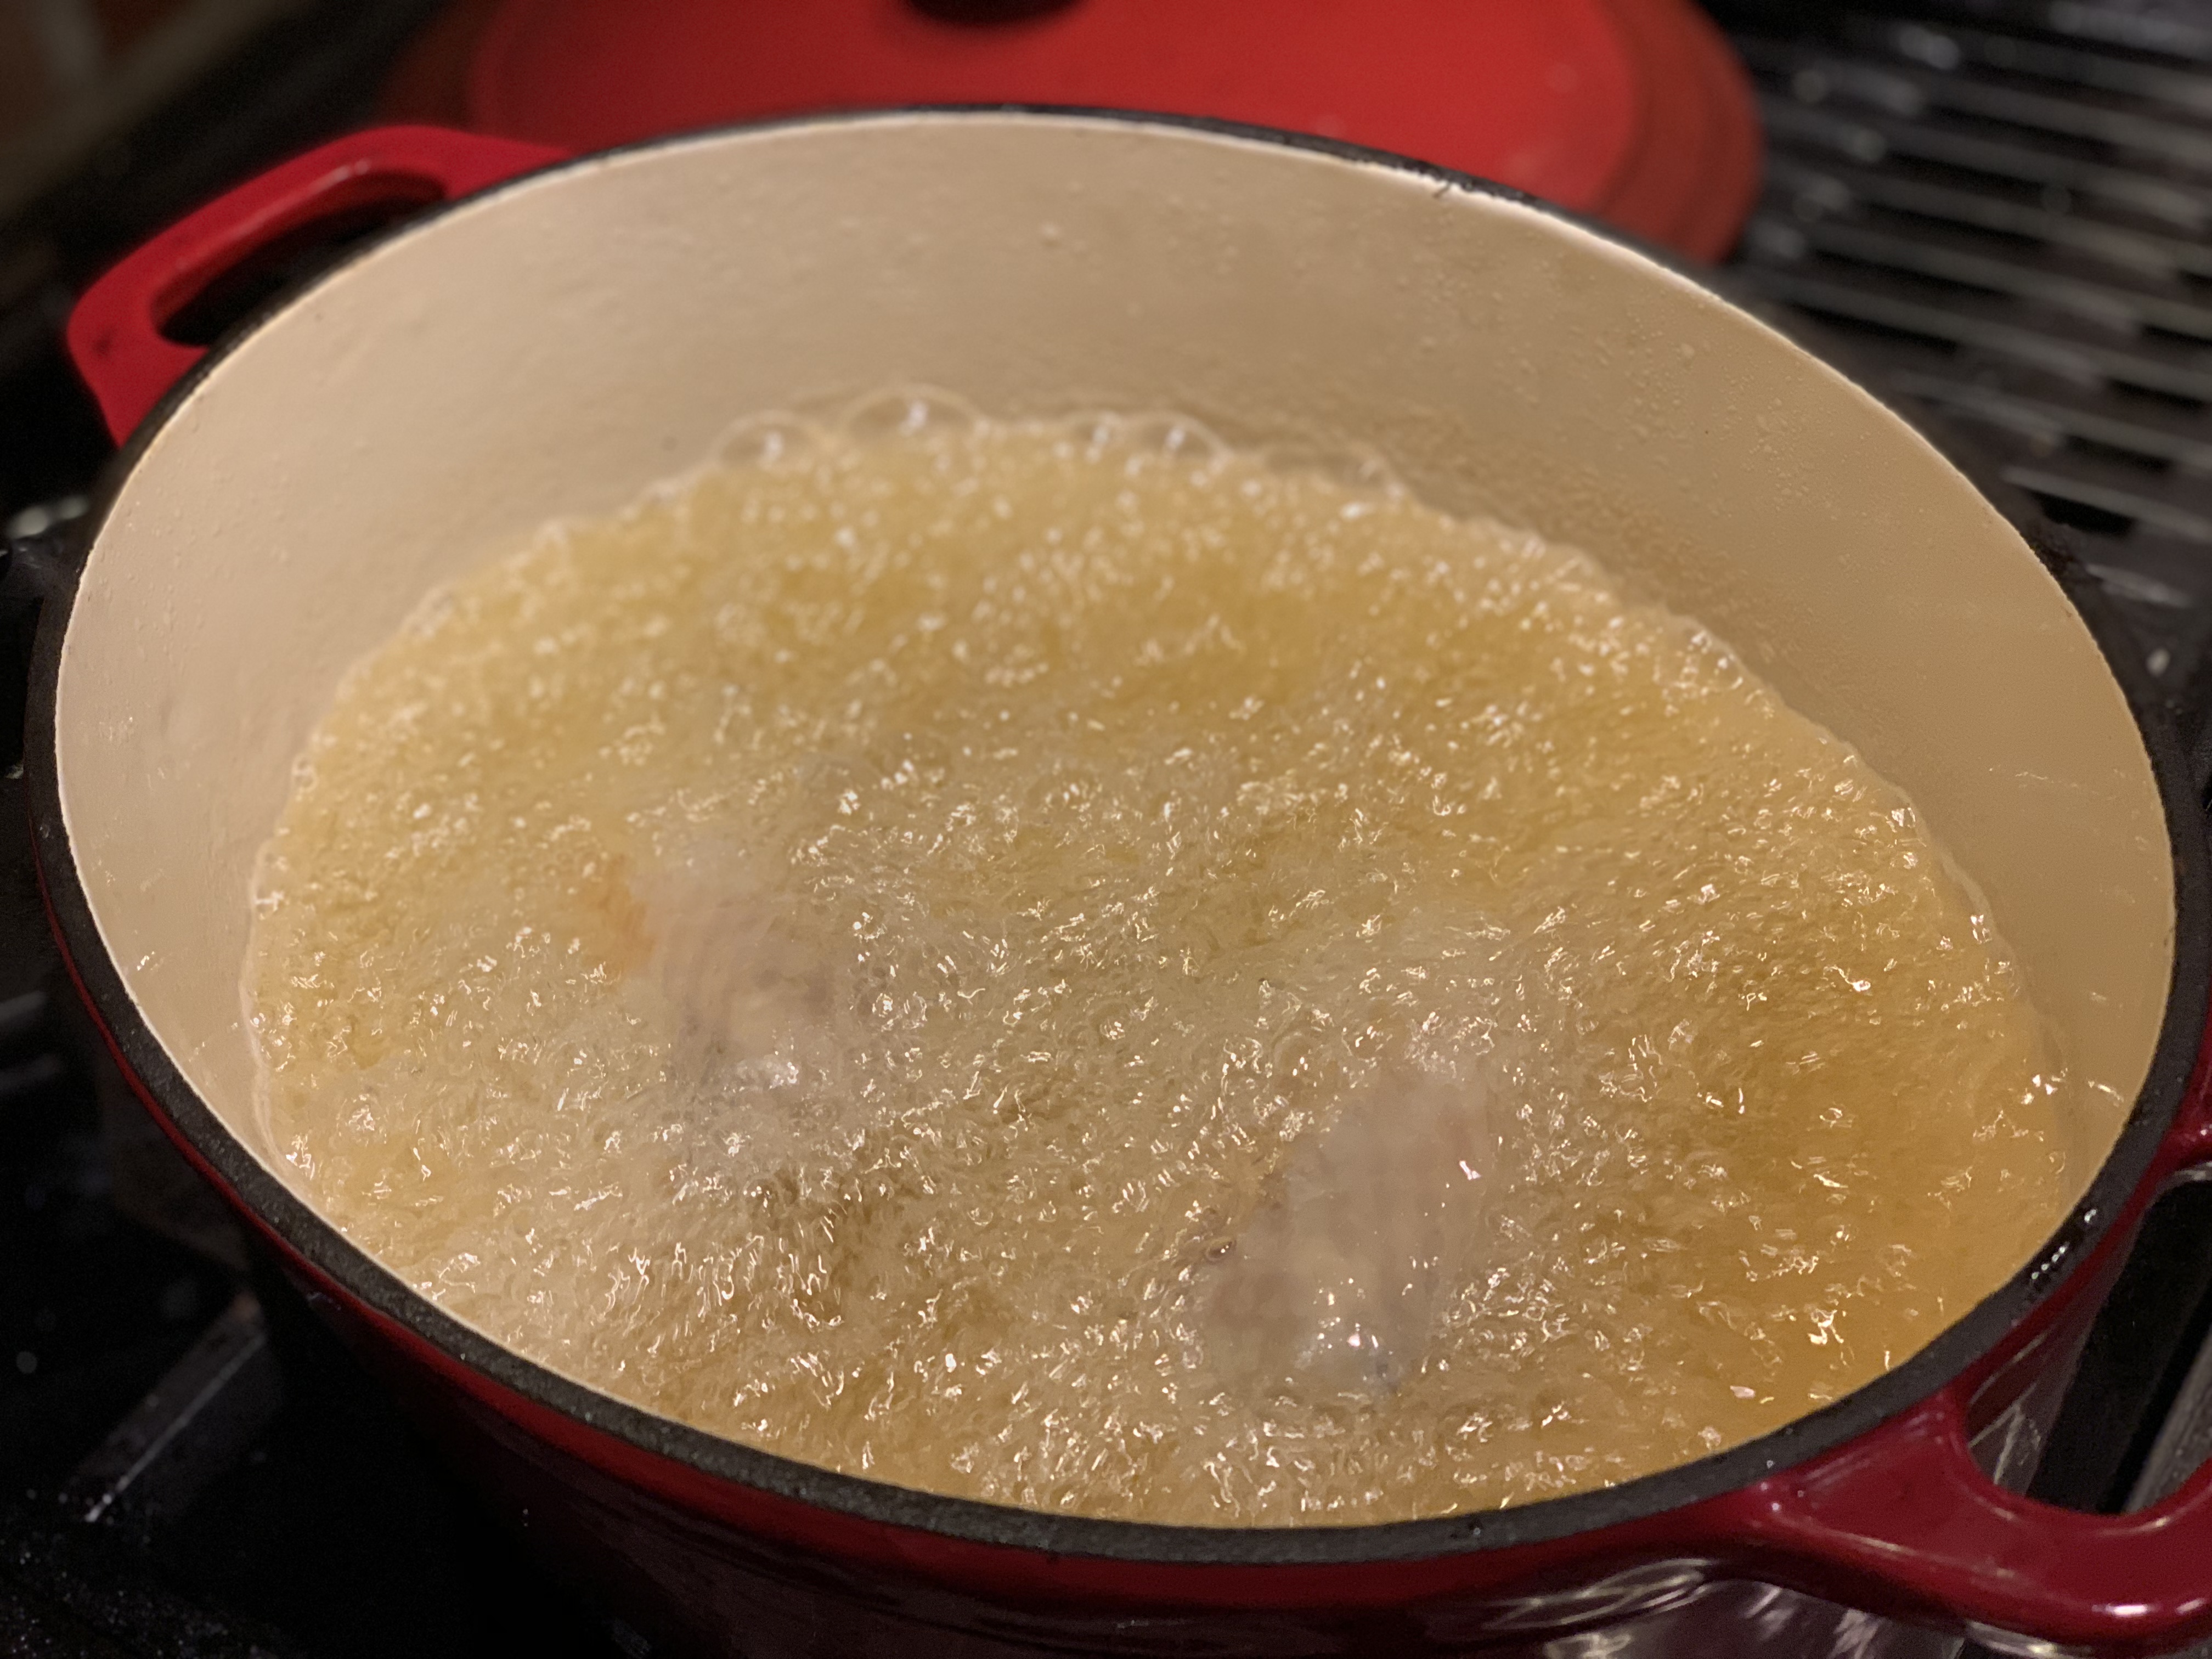
You can deep fry like I do here, in a heavy cast iron Dutch oven, or in a deep fryer. You can also just fry the pieces in a large cast iron skillet, which uses less oil but will give a less even look to your finish. You can also roast the pieces on the highest setting in your oven (since the meat is already cooked, you don’t need to cook it again), if you don’t want to fry.
Recipe – Sous Vide Turkey
Ingredients
- 1 – Turkey (10-20 lbs), thawed
- 1 gallon – Water, divided
- 1 cup – Kosher salt
- 1 packed cup – Brown sugar
- 2 Tbsp – Whole peppercorns
- 2 Tbsp – Whole cloves
- 2 Tbsp – Brown mustard seeds
- 5 – Bay leaves
- 2 Tbsp – Whole allspice
- 1 Tbsp – Juniper berries (optional)
- 1 Tbsp – Whole coriander
- 2 – Oranges, sliced
- 2 – Lemons, sliced
- Several whole sprigs – rosemary, sage, thyme
- 1 1/2 cups – Duck fat
- Kosher salt
- Olive oil
- Oil for frying (Peanut, Vegetable, Corn)
4 Days Ahead
Break down the turkey using a sharp knife, butcher knife, or fillet knife. You should end up with 6 skin-on parts, 2 breasts, 2 legs+thighs, and 2 wings. The rest, including the back, tail, neck, and giblets can be reserved for stock.
Prepare a brine by adding a 1/2 gallon of water to a large stock pot. Add the salt, sugar, peppercorns, cloves, mustard, bay leaves, allspice, juniper, and coriander. Bring to a light simmer, stirring occasionally until the salt and sugar dissolve. Remove from heat. Add the citrus, and remaining 1/2 gallon of cold water. Add 6-8 cups of crushed ice to cool the brine down. Let cool to at least 40 degrees.
Add your turkey pieces, cover, and keep in a refrigerated location.
1 Day Ahead
Heat your water bath to 150 degrees F using an immersion circulators. Place each turkey portion in its own vacuum pack bag. You can also use gallon size resealable bags. Add 1/4 cup of duck fat, course ground pepper, salt, and fresh sprigs of sage, rosemary, and thyme to each bag. Vacuum seal each bag. If you are using resealable bags, use the submersion method to press the air out of each bag.
Place all portions minus the breasts into the water bath. Let poach for 4 hours. Add the breasts and poach an additional 30 minutes. Remove from the water bath (still sealed in the vacuum bags) and plunge directly into an ice bath to cool quickly. Store in a refrigerated location.
1 Hour before Eating
Remove each turkey portion from the vacuum sealed bag. Reserve liquid to add to stock. Thoroughly pat each portion dry with fresh paper towels, repeatedly until fully dry. Let sit for 15 minutes to air dry further.
Preheat oven to 175 degrees F.
Heat oil in a deep fryer or heavy cast iron pan to 375 degrees F. Working batches, fry each portion until golden brown, about 5 minutes each. Place in a baking pan, cover with aluminum foil, and store in the preheated oven until ready to serve.
Plate with fresh sliced citrus and herb sprigs.