There is a lot of controversy these days about foie gras. People are divided between love for the delicious silky goodness that is foie gras and the potentially cruel practice of force feeding, known as gavage. I personally love eating foie gras but have been curious and troubled by the potential that gavage is cruel or painful.
If you look at the physiology of the gavage technique, it shouldn’t be painful. I later saw Dan Barber’s famous TED talk about harvesting foie gras a gentler way.
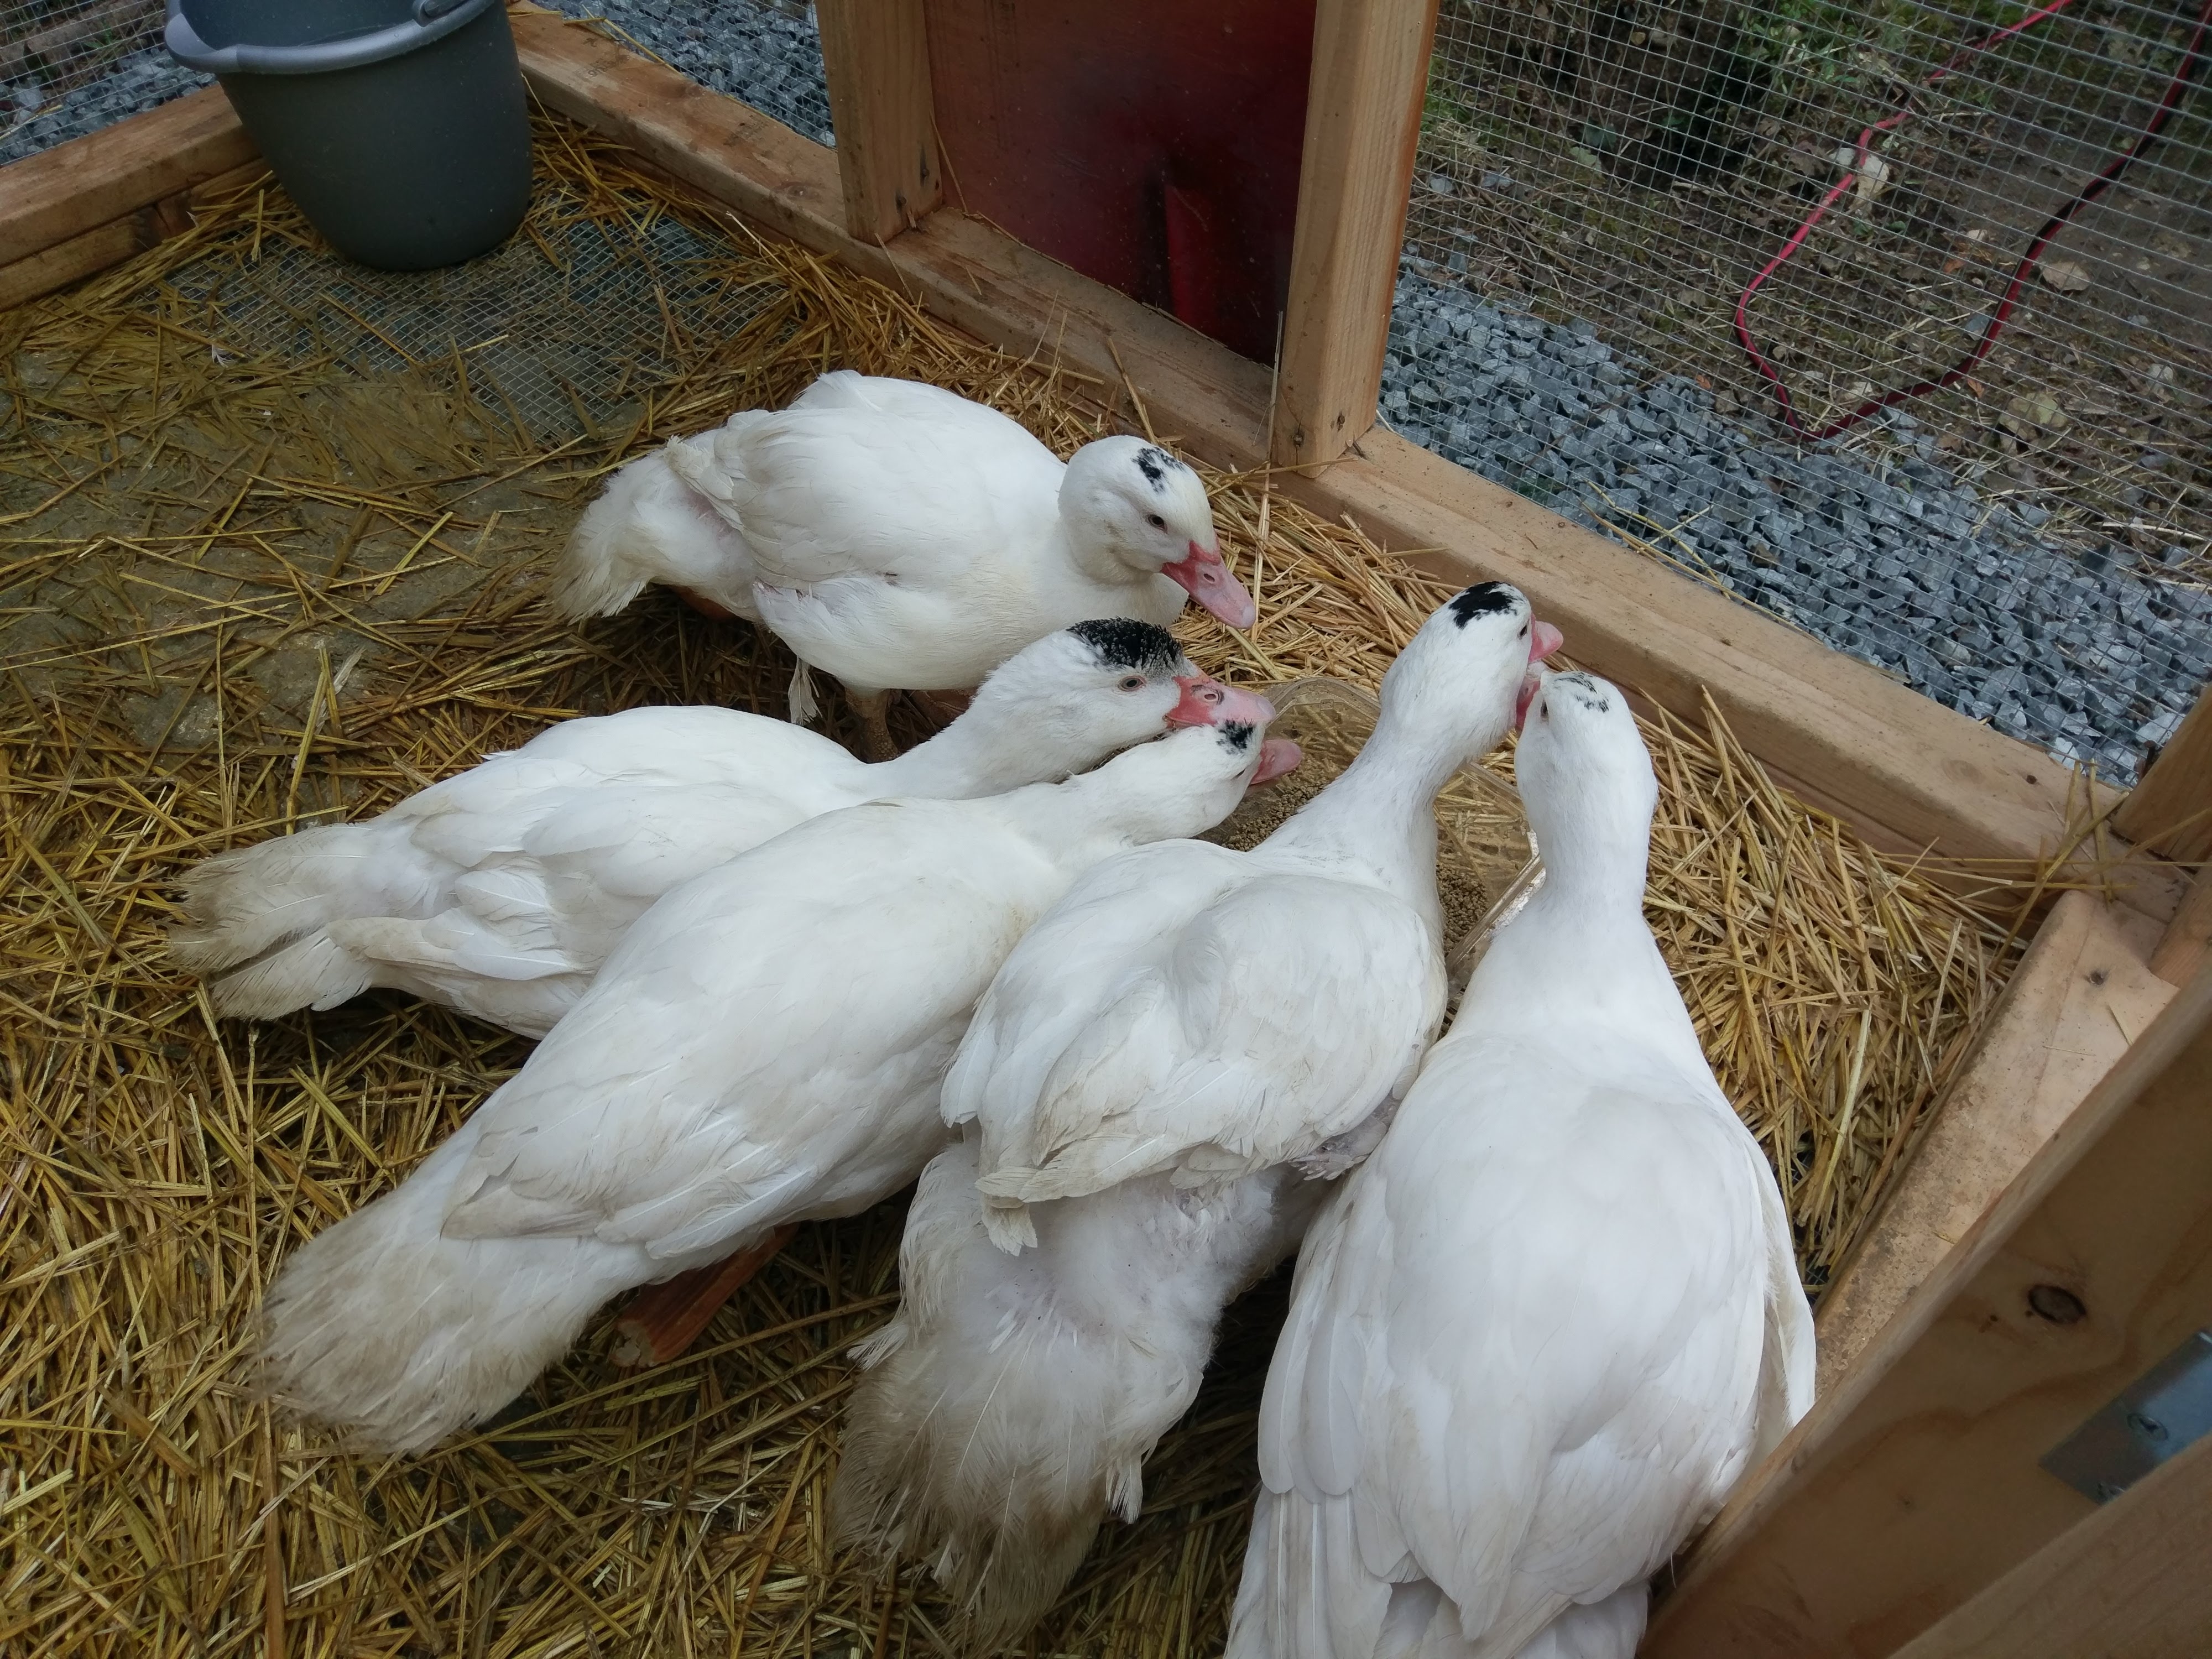
I decided to give it a try and grow my own ducks for foie gras. The most common duck for foie gras is a moulard, often called a mule duck. It is a cross between a muscovy and pekin duck. They are always male and sterile, a cross breed. They also grow huge. I searched for a long time and didn’t find a good source for moulard ducks. In the end I ordered male muscovy ducks (a close second to moulard) from Freedom Ranger Hatchery.
I ordered 15 ducks (16 were shipped) and sadly only 8 arrived alive and 3 more were lost within the first few hours.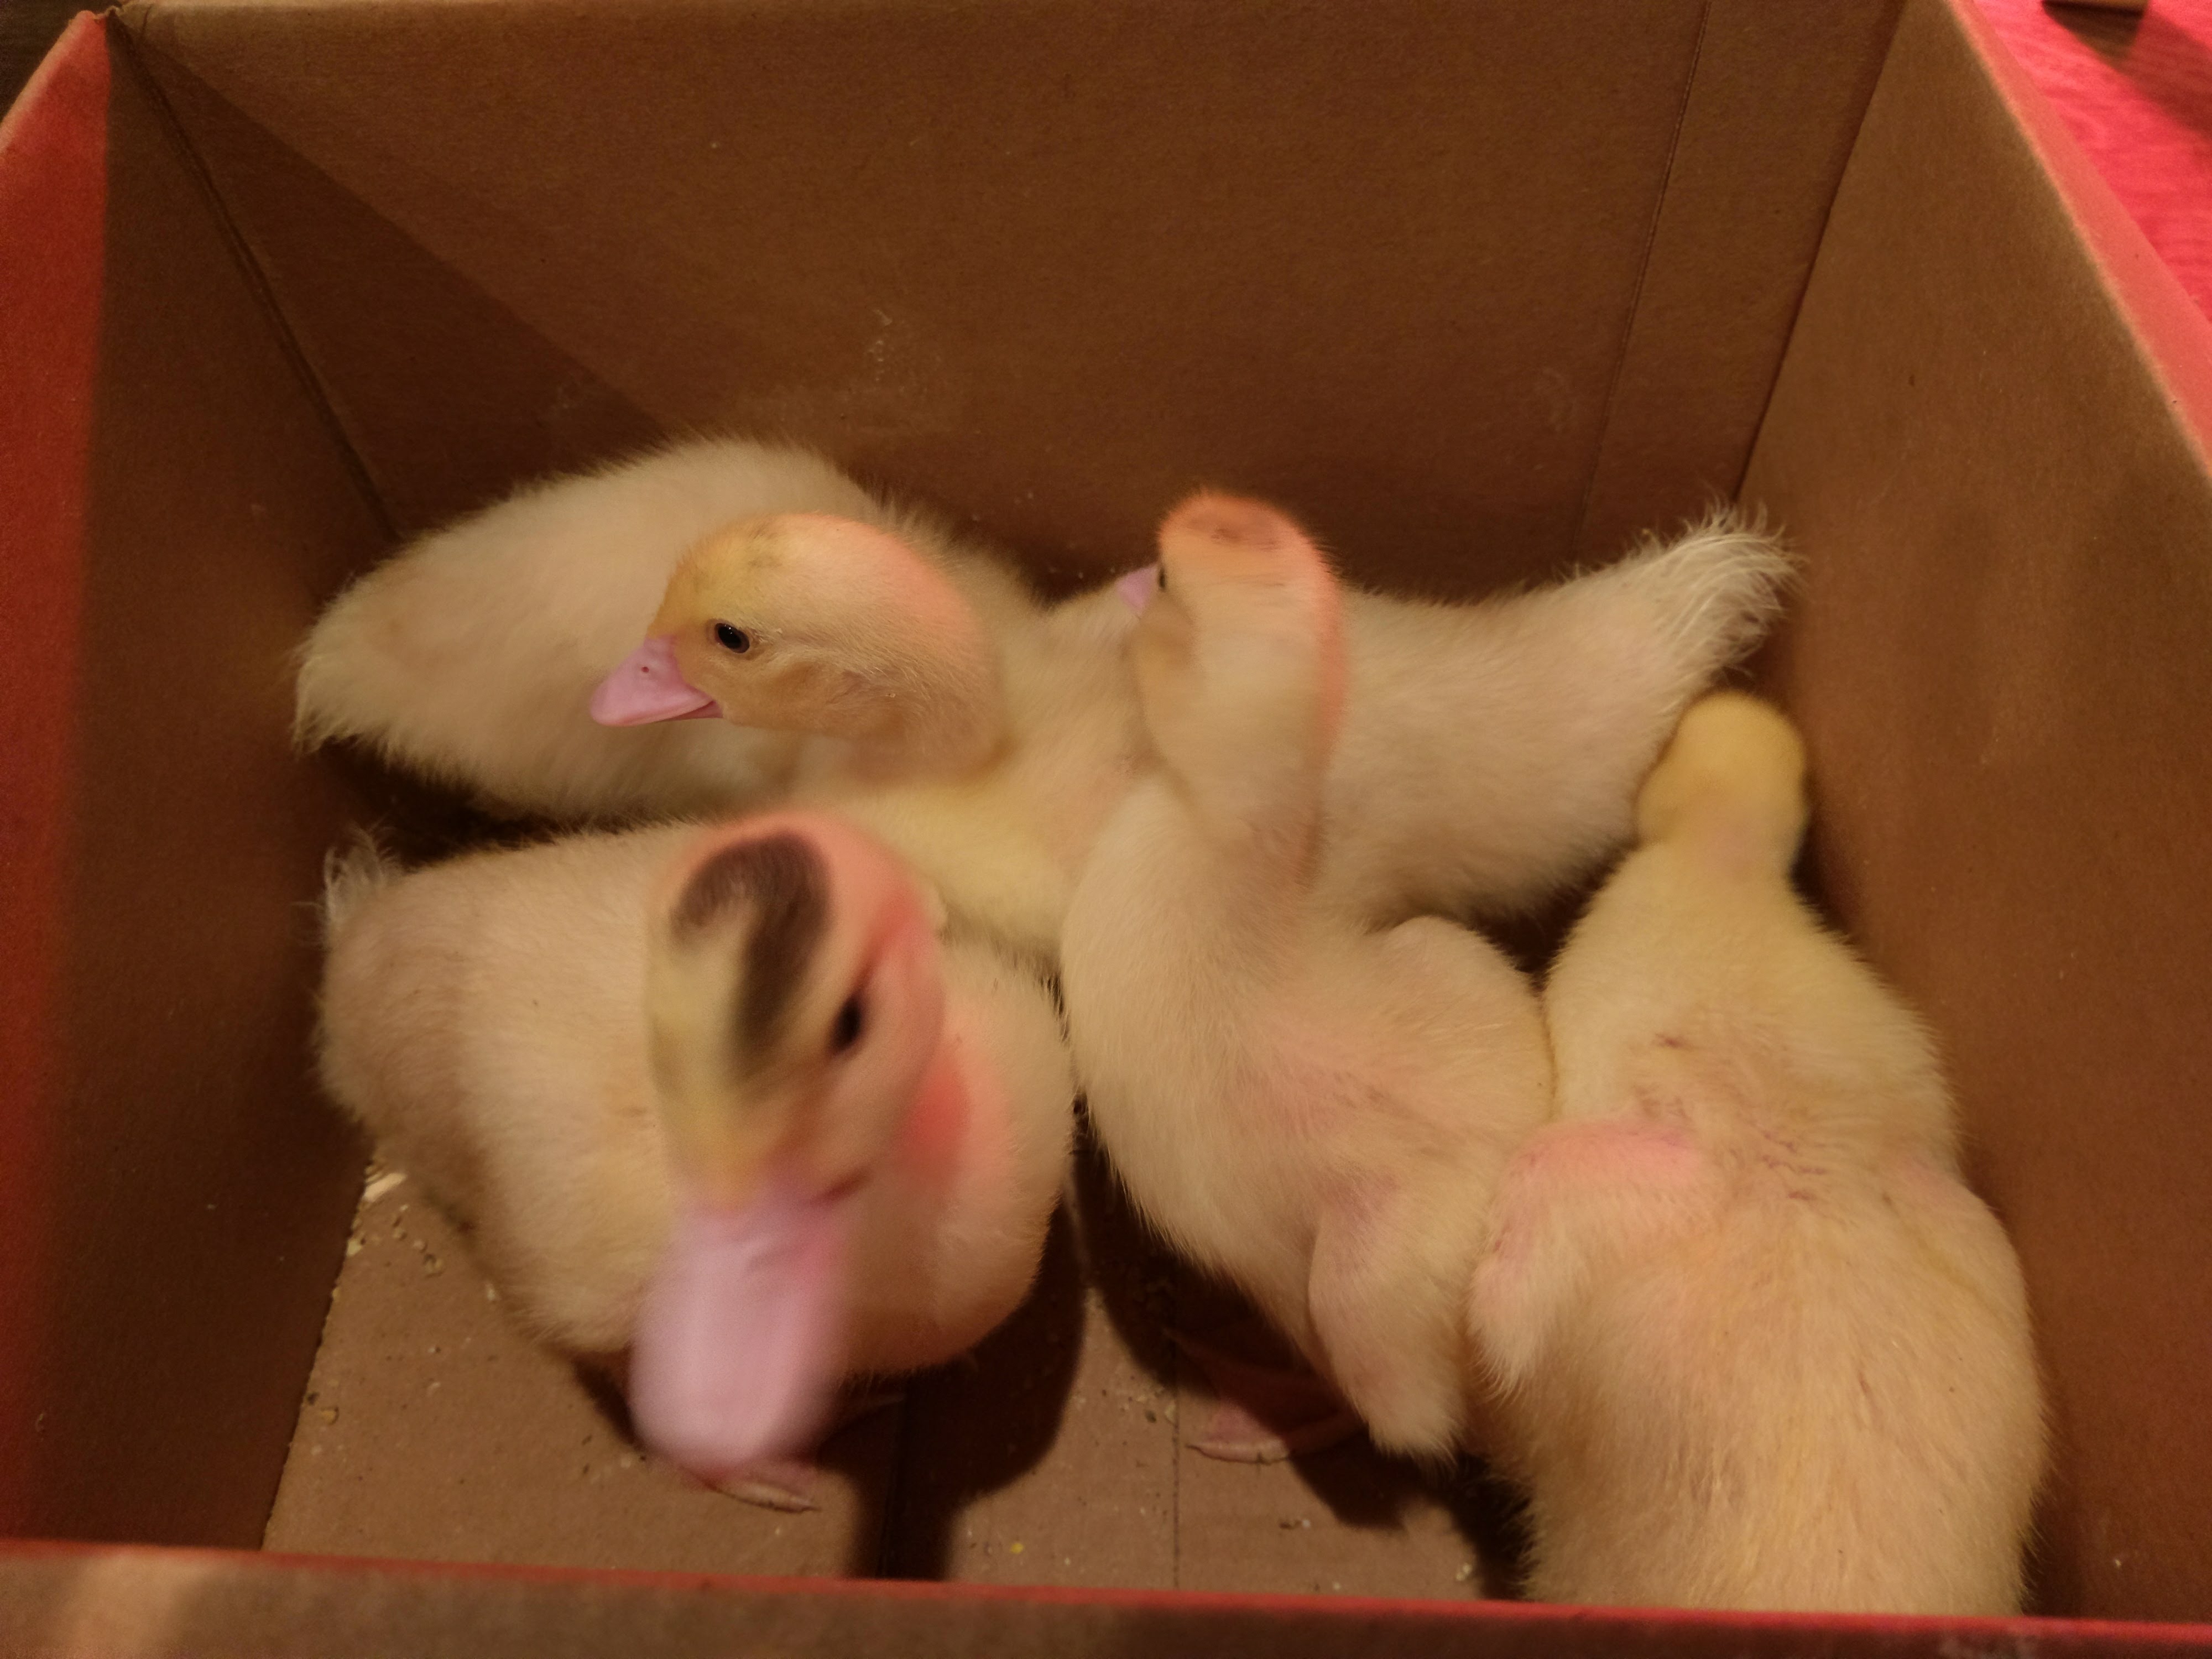
The first thing I learned about raising ducks is that they stink! They are very wet, drinking a lot of water, and very dirty. I needed to clean their enclosure daily.
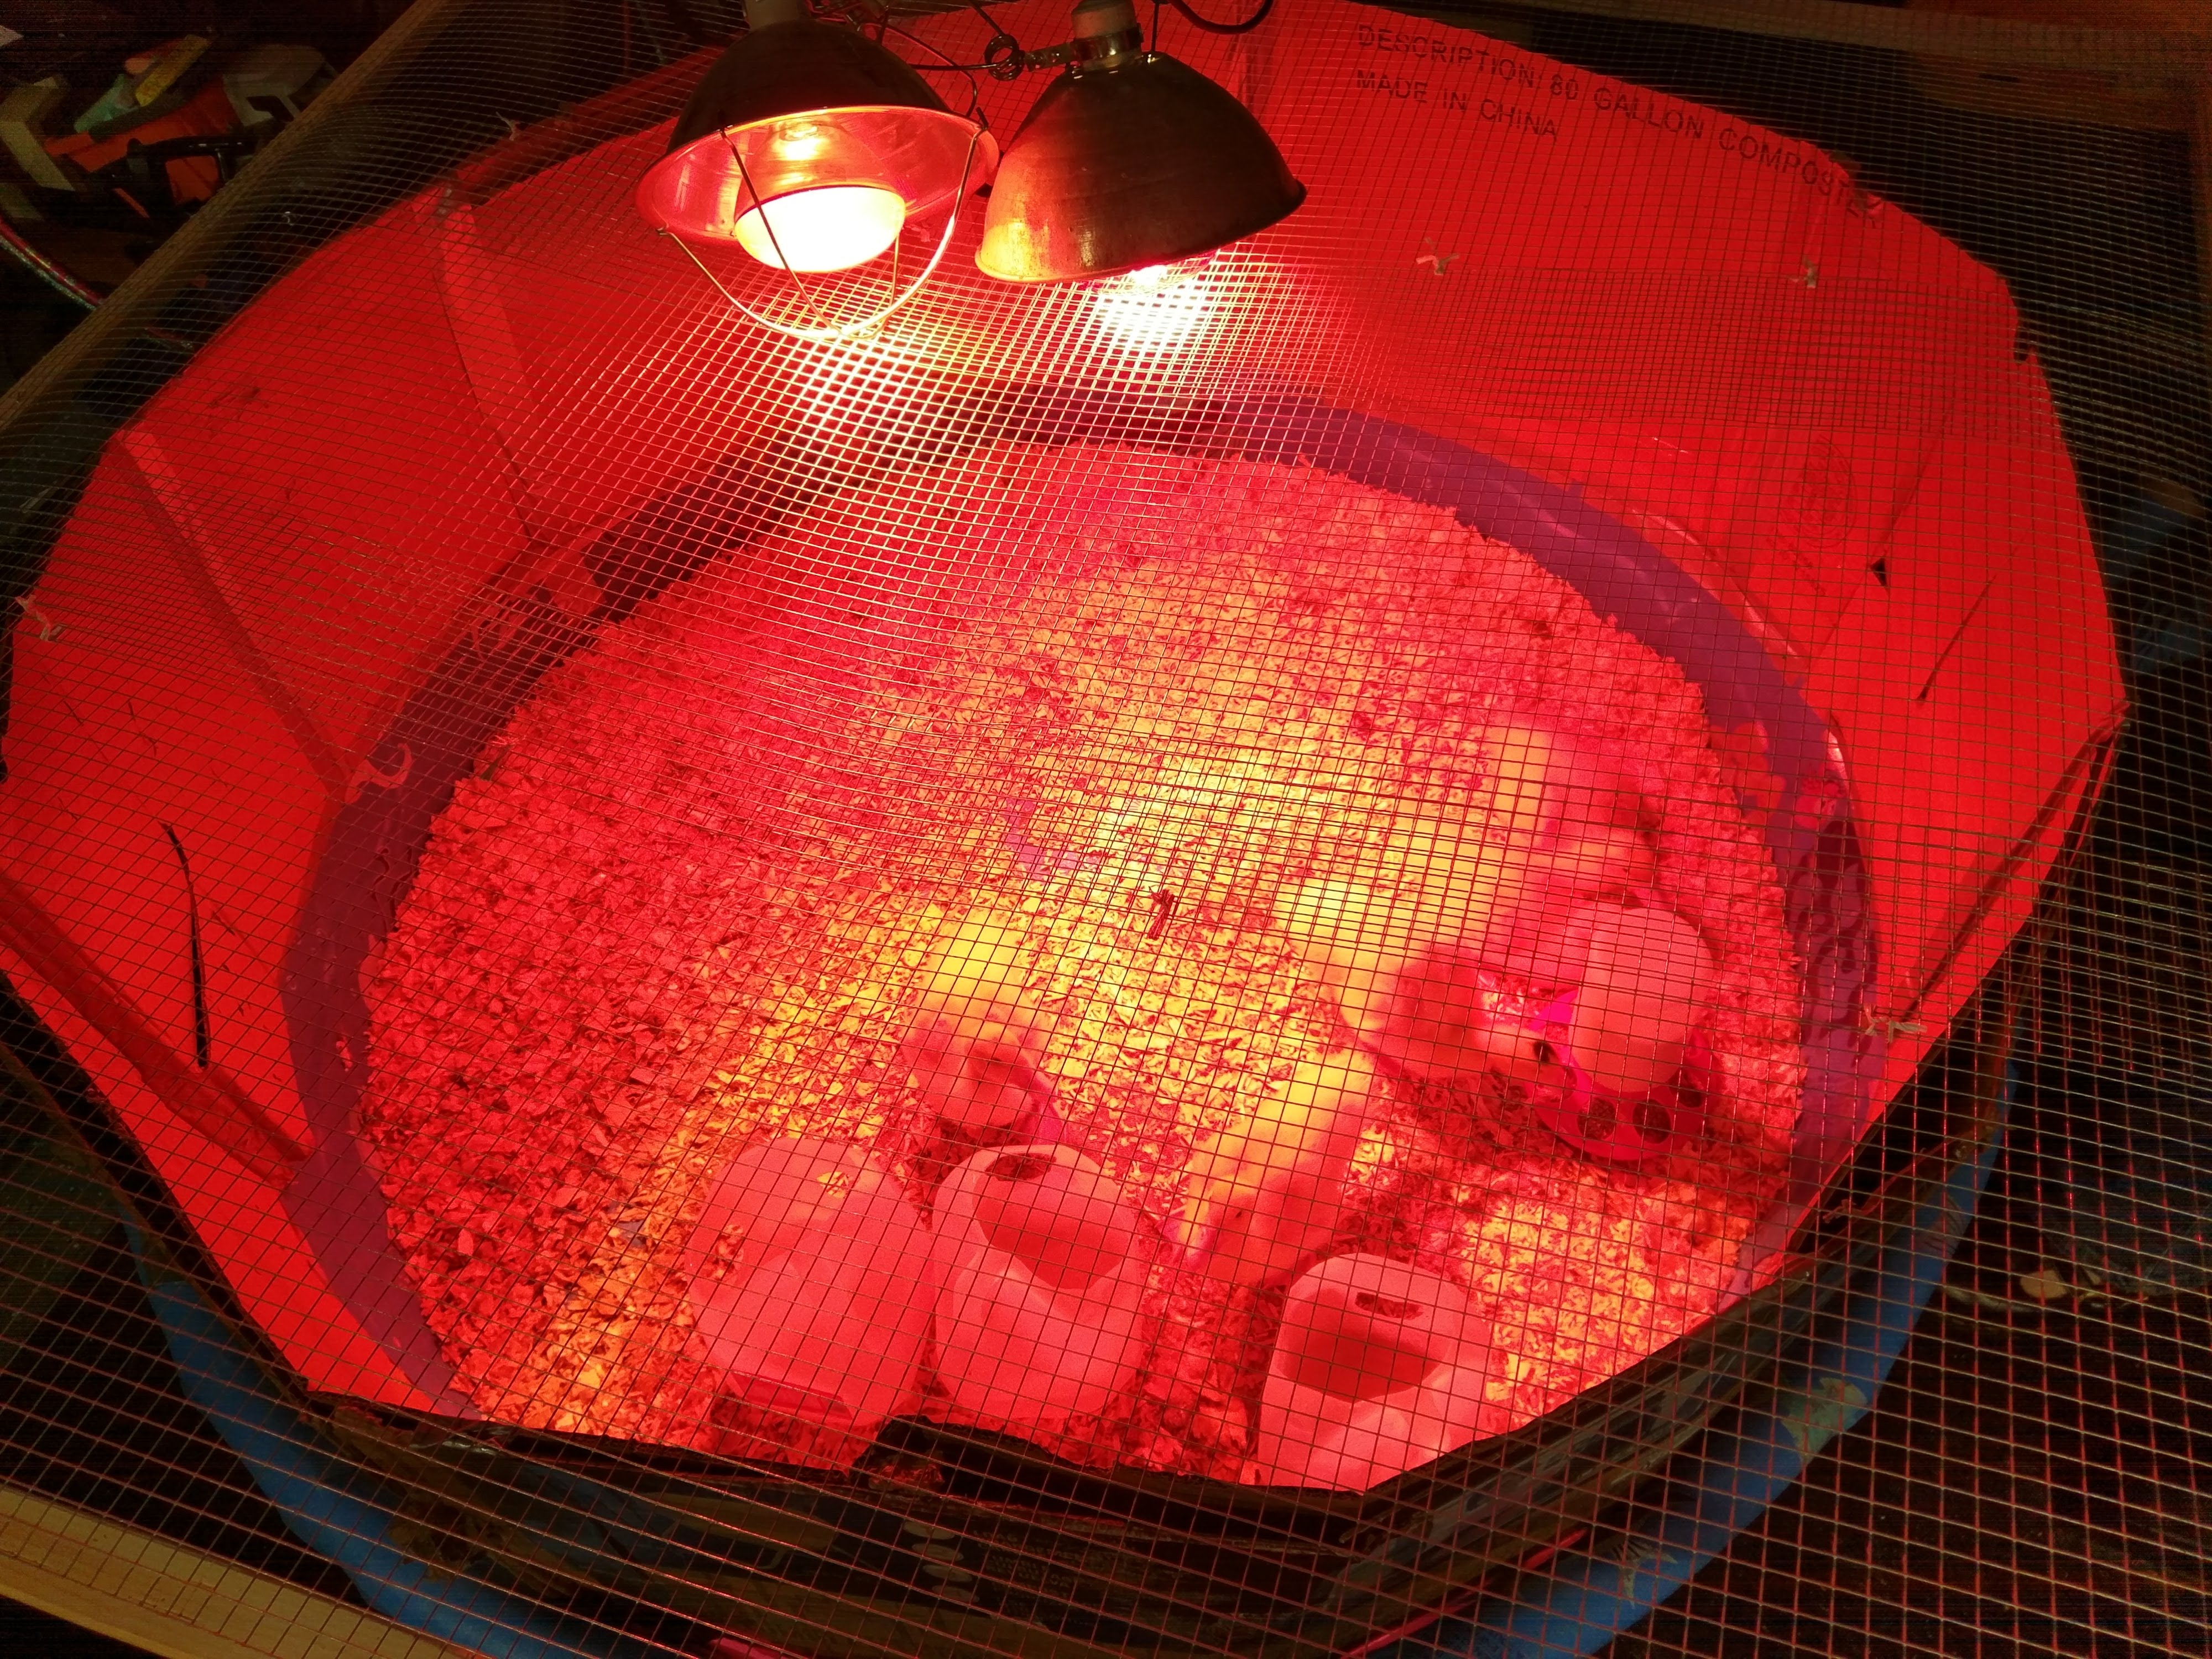
I began by placing them under a heat lamp in a kiddie pool as seen above. They grew very quickly.
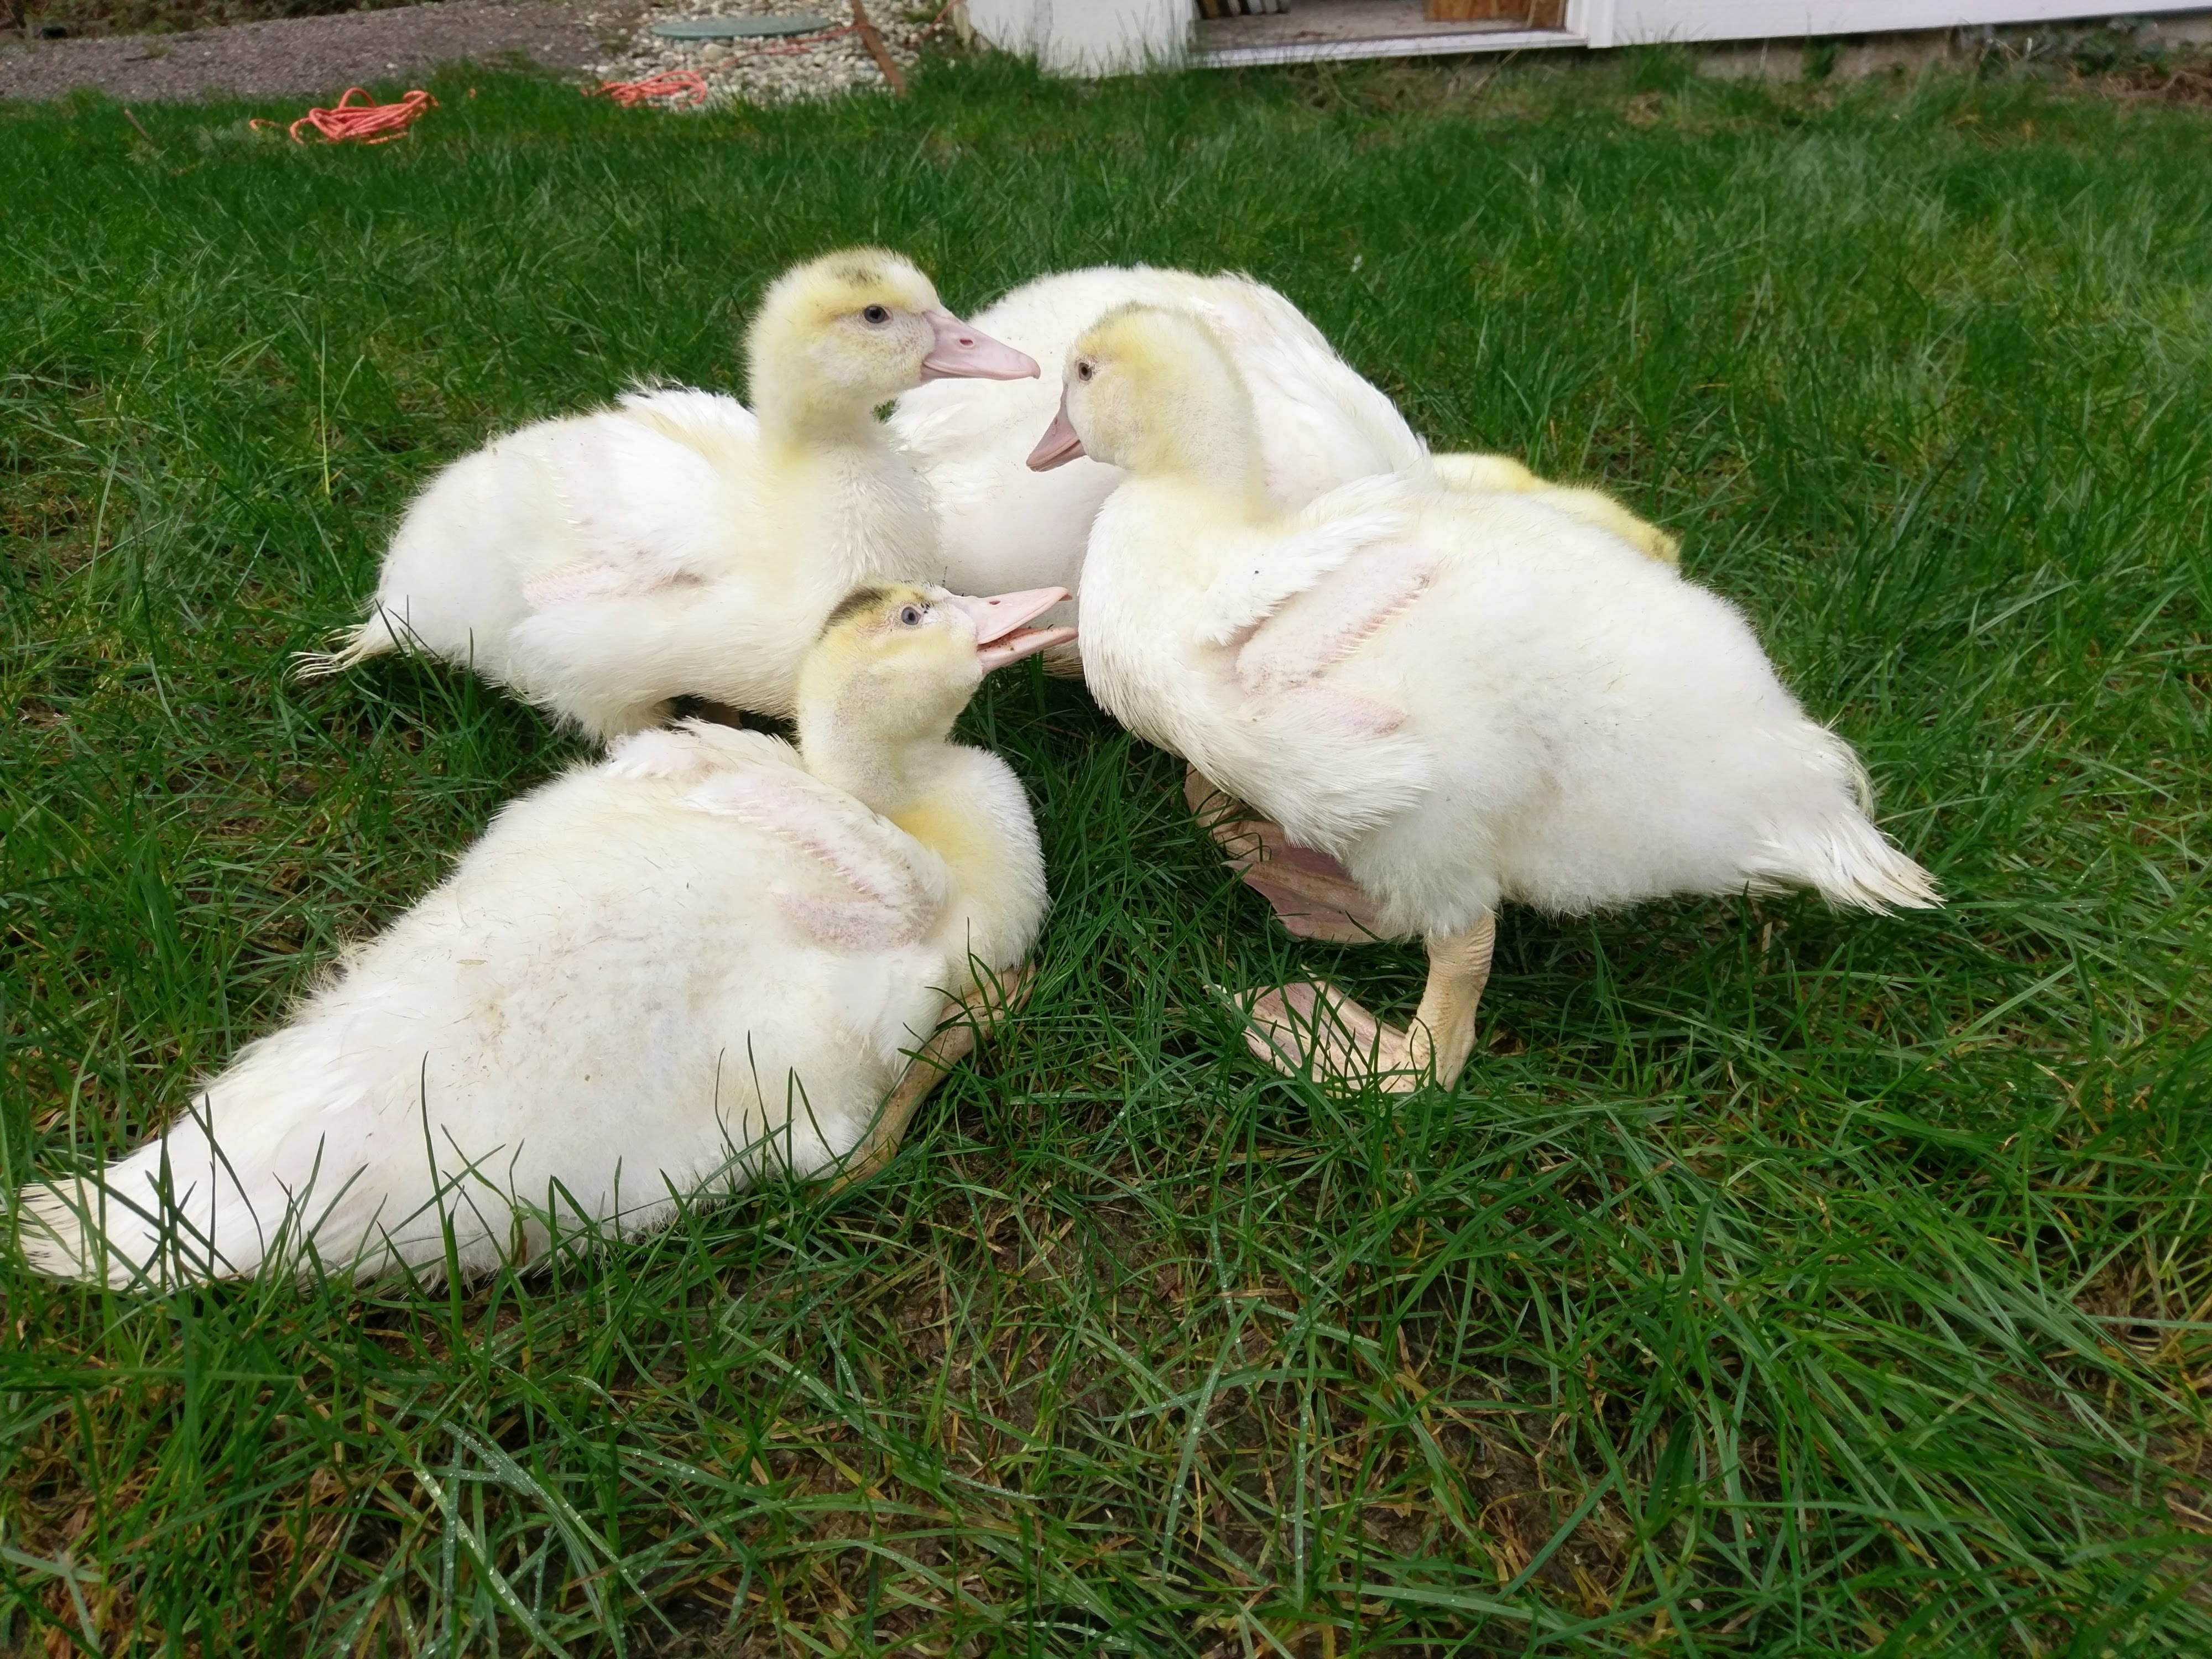
Before long they were ready to be moved into a coop. I had just built a chicken coop, which they used. I continued to clean it out daily. I could usually smell the ducks before even arriving at my house!

They really liked the house and the daily foraging on my property. I followed a careful feeding schedule, weighing their food each day. The goal during the pre-gavage stages, is to physically train the ducks to be able to take in a lot of food rapidly, allowing for maximum fat storage.
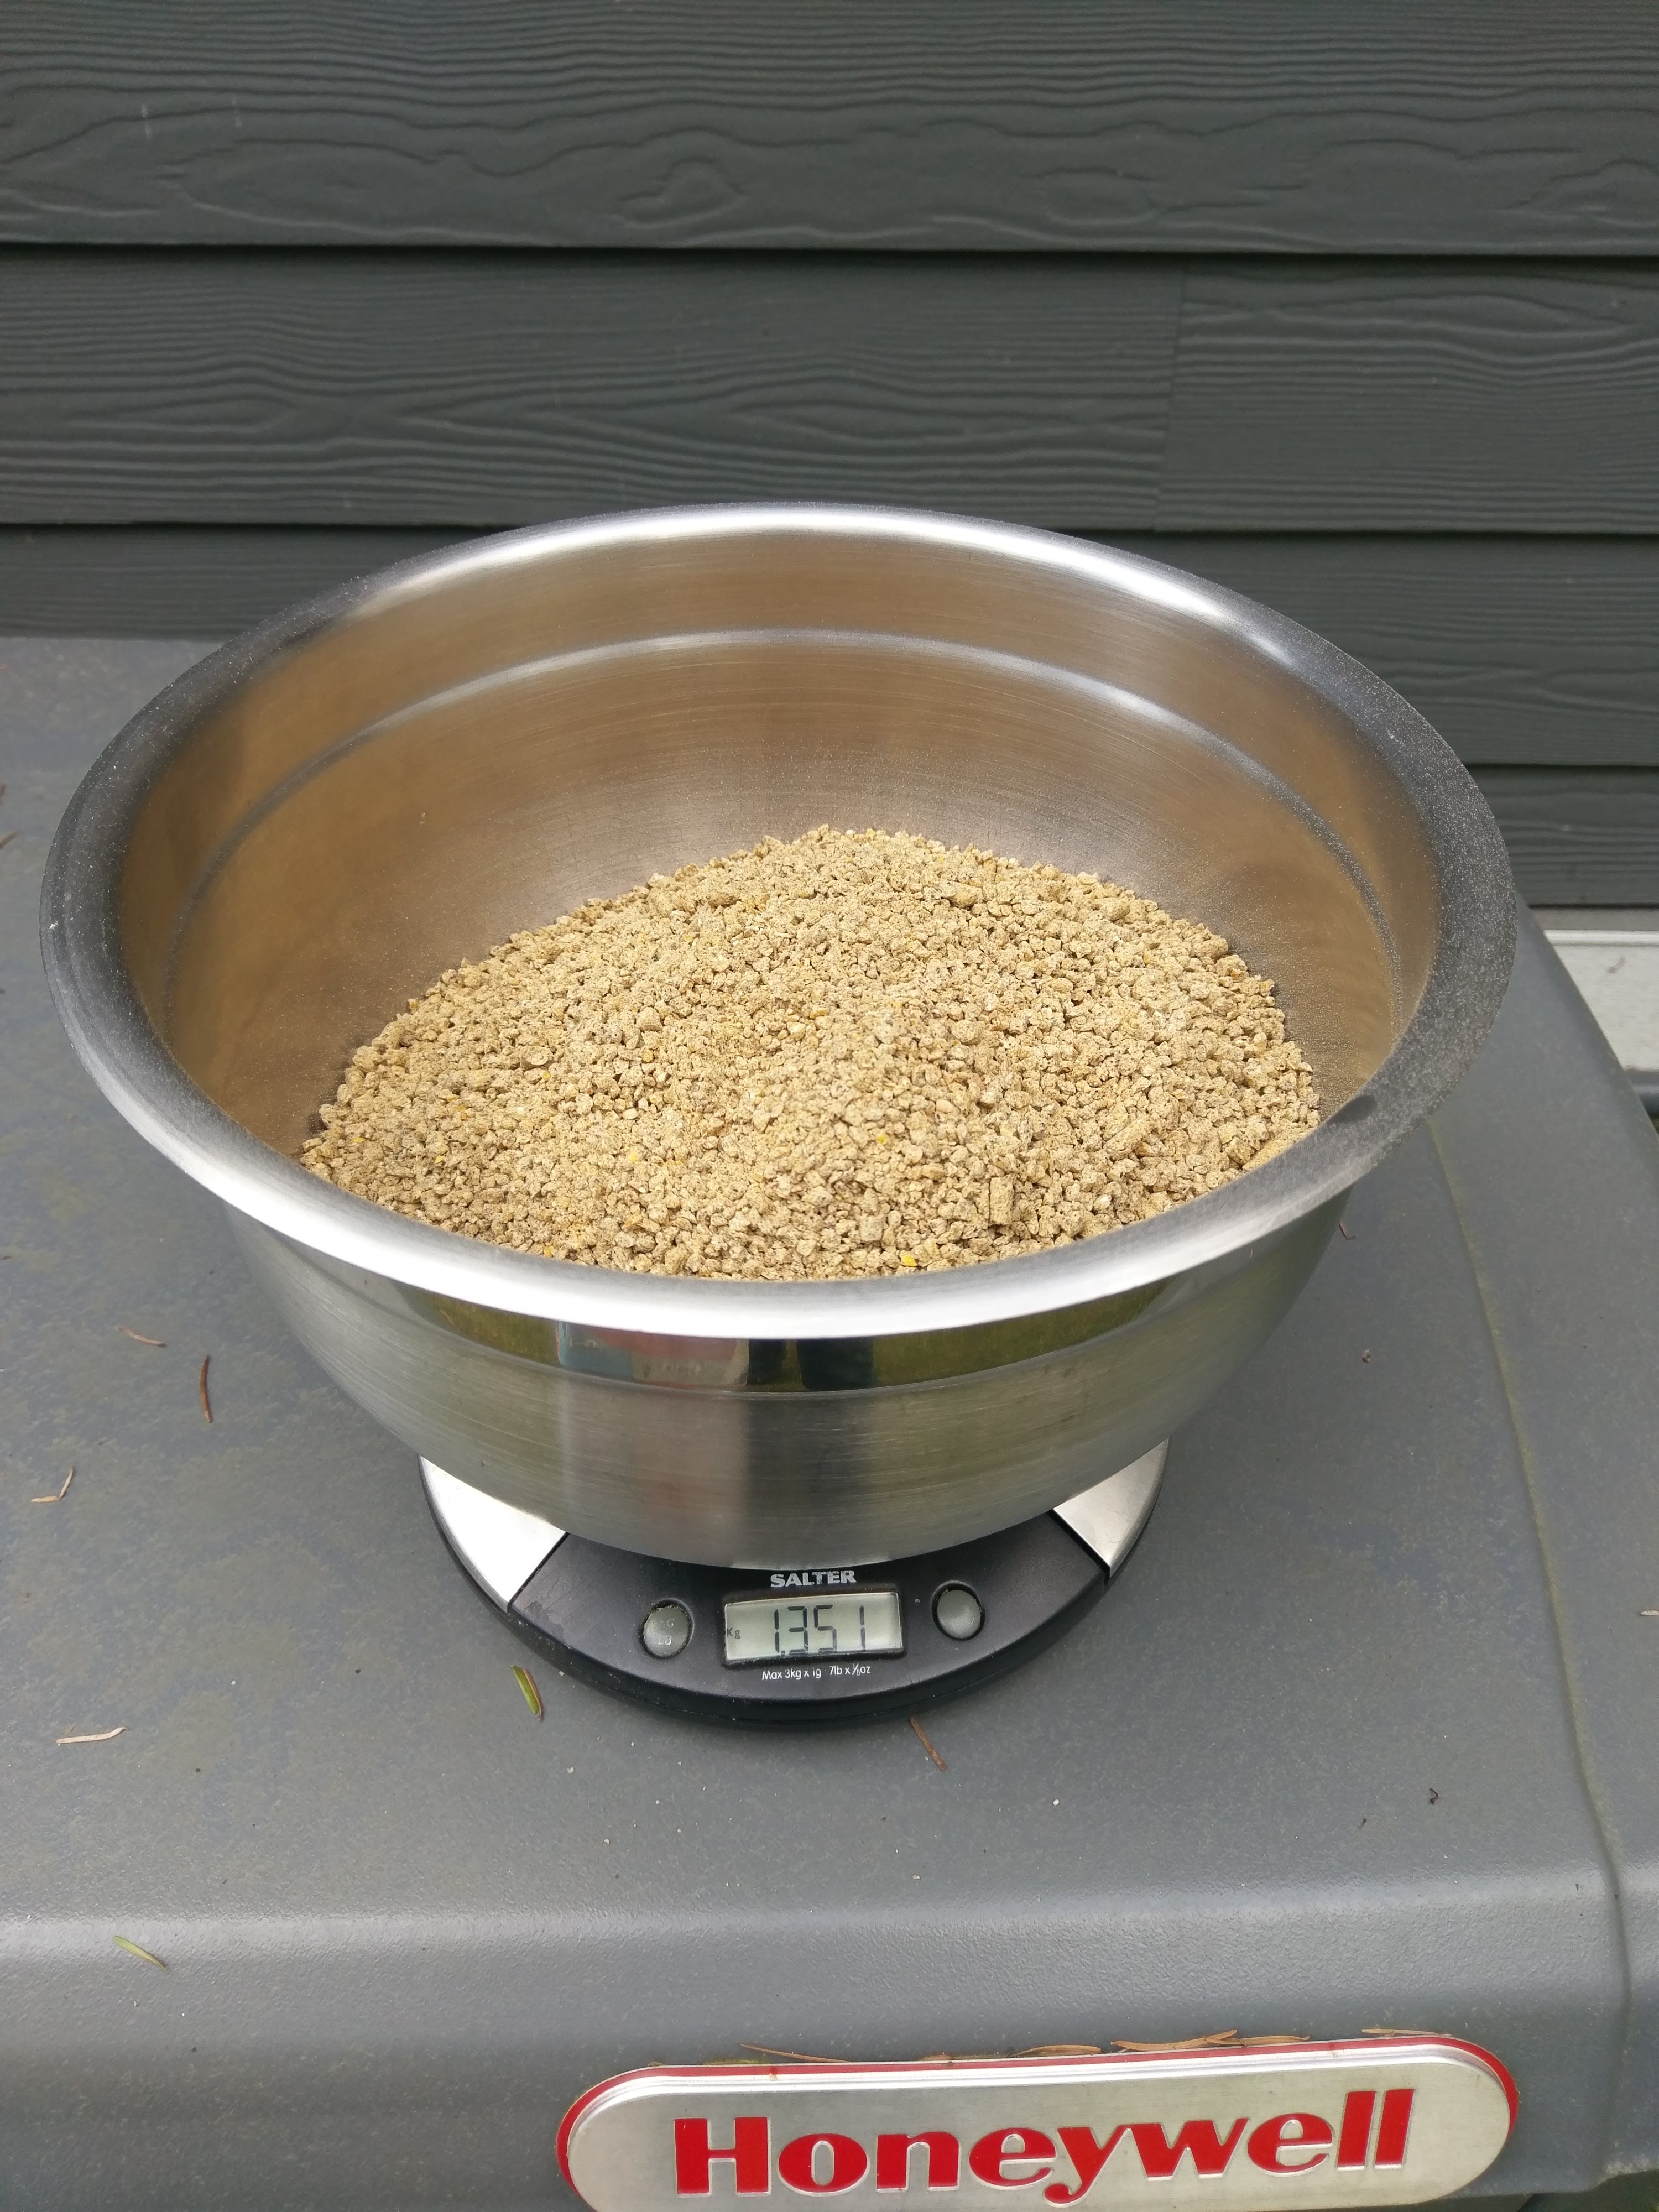
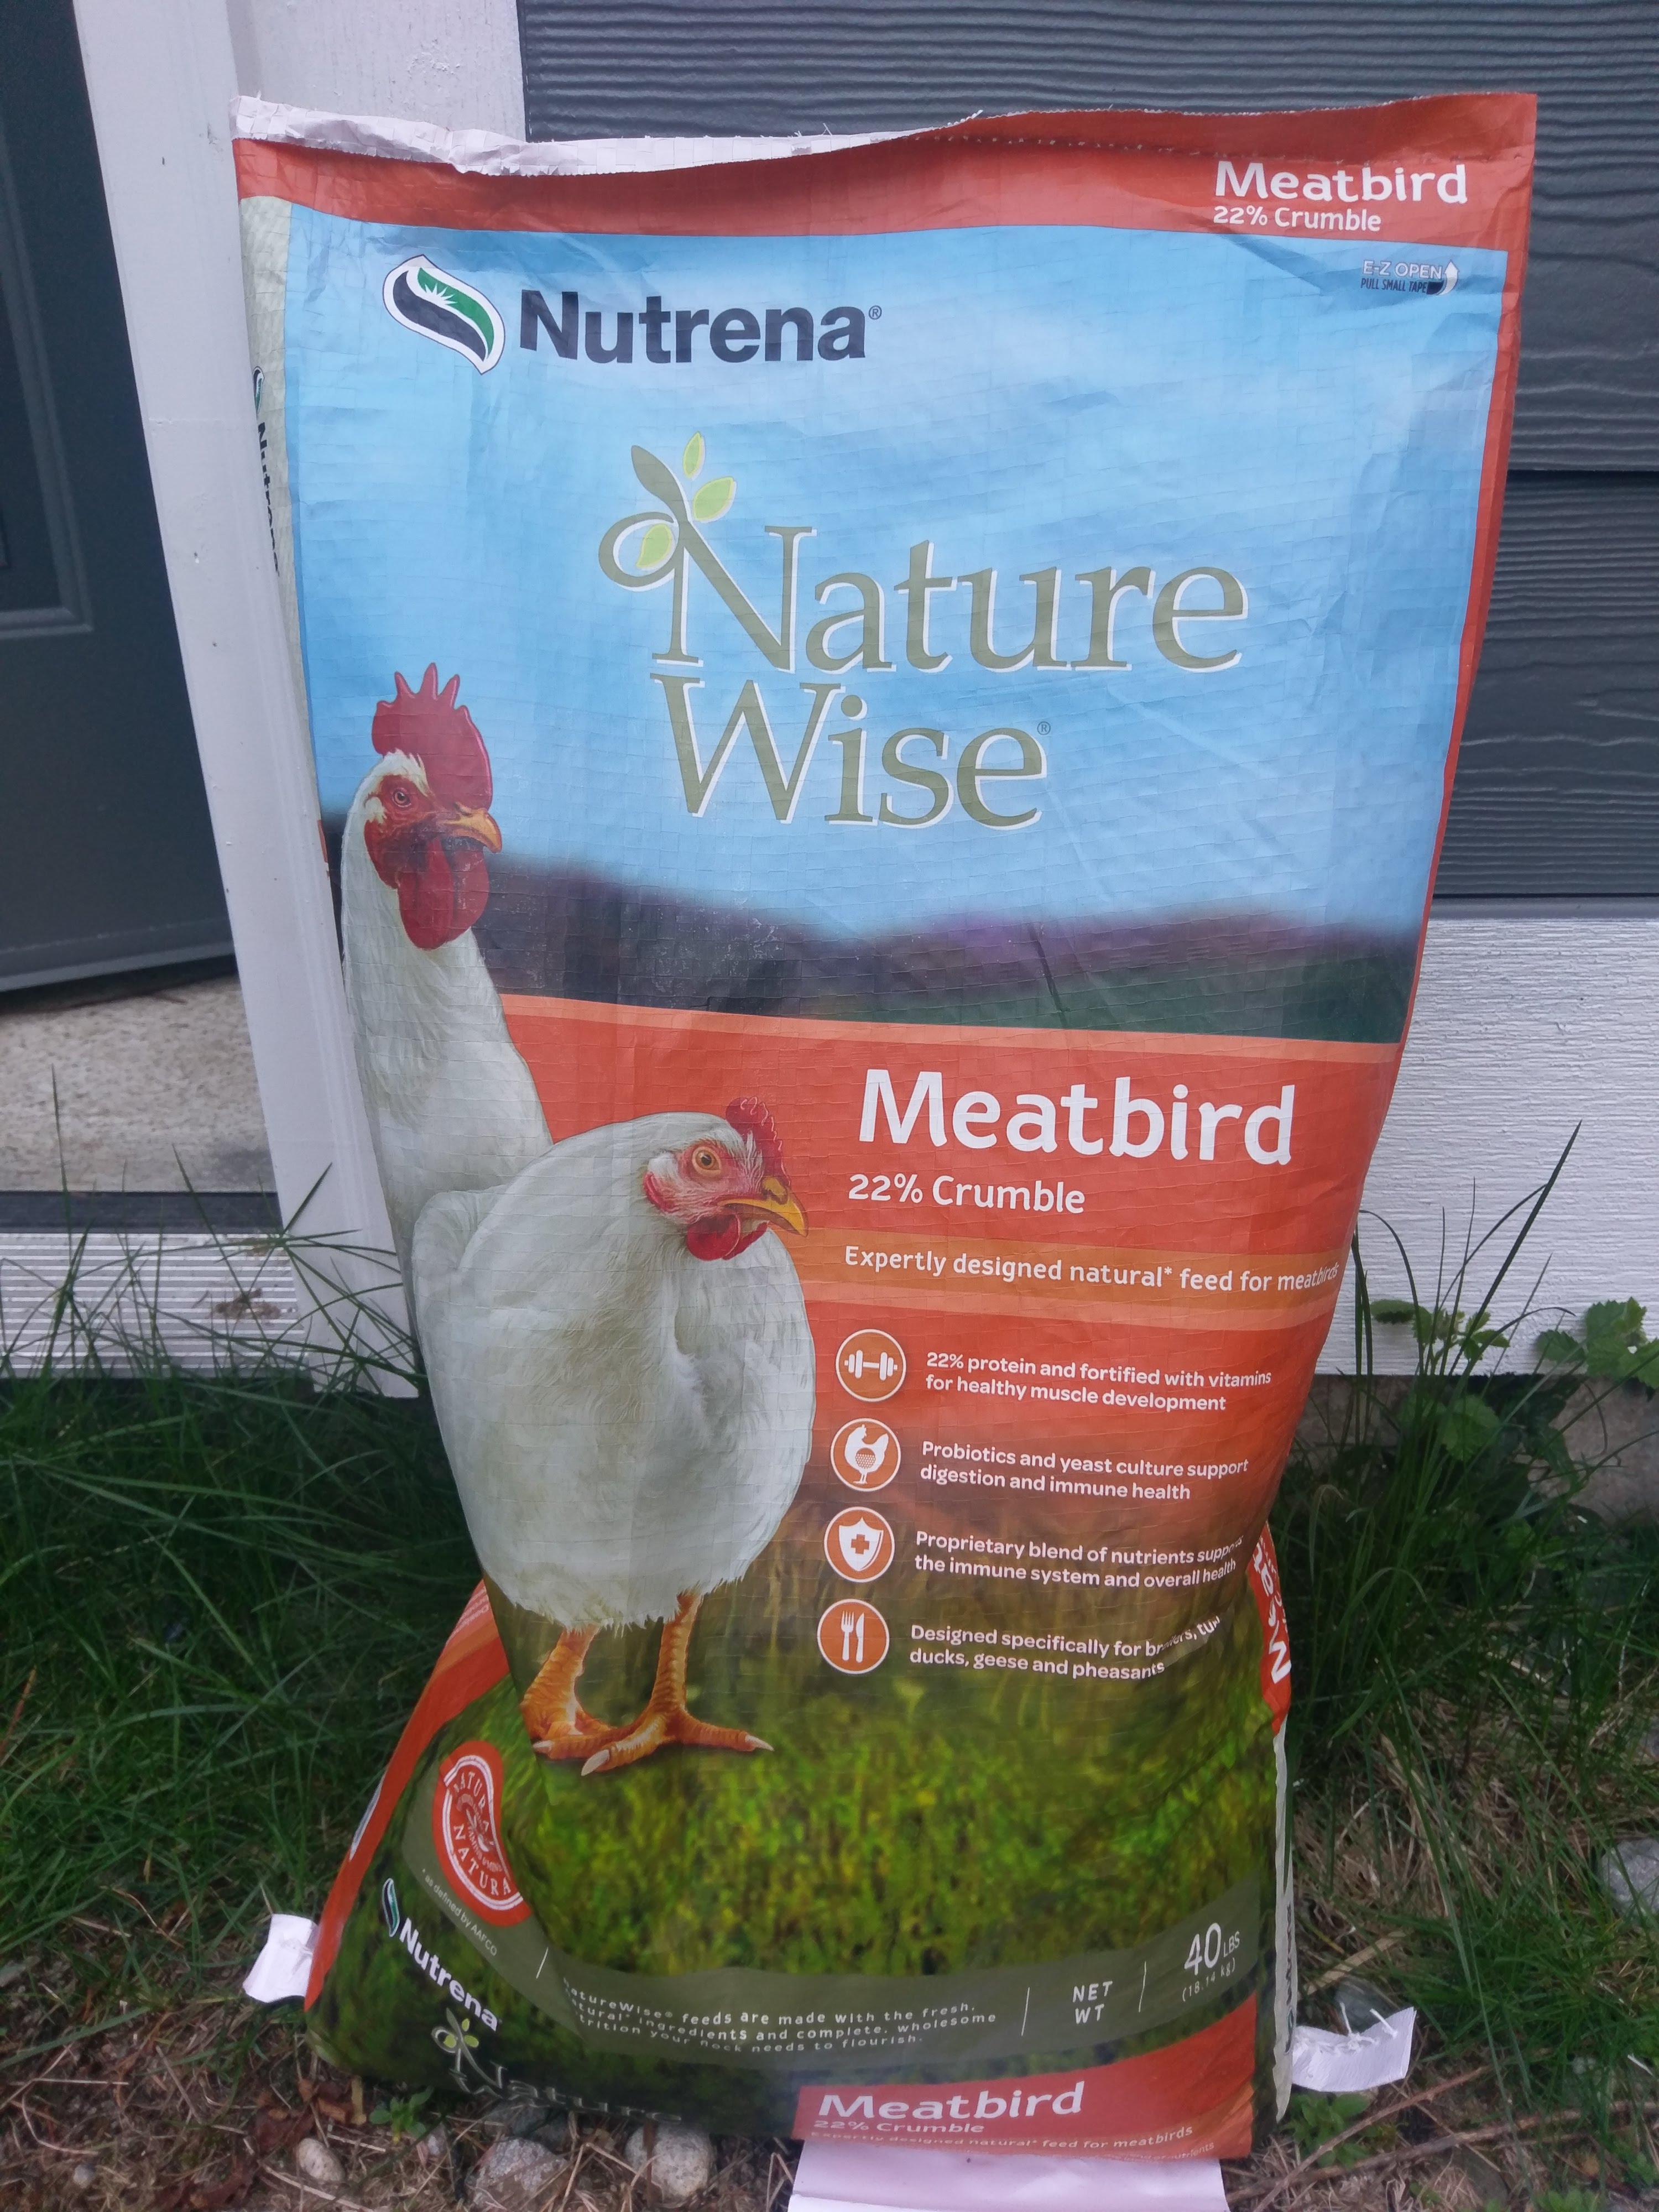
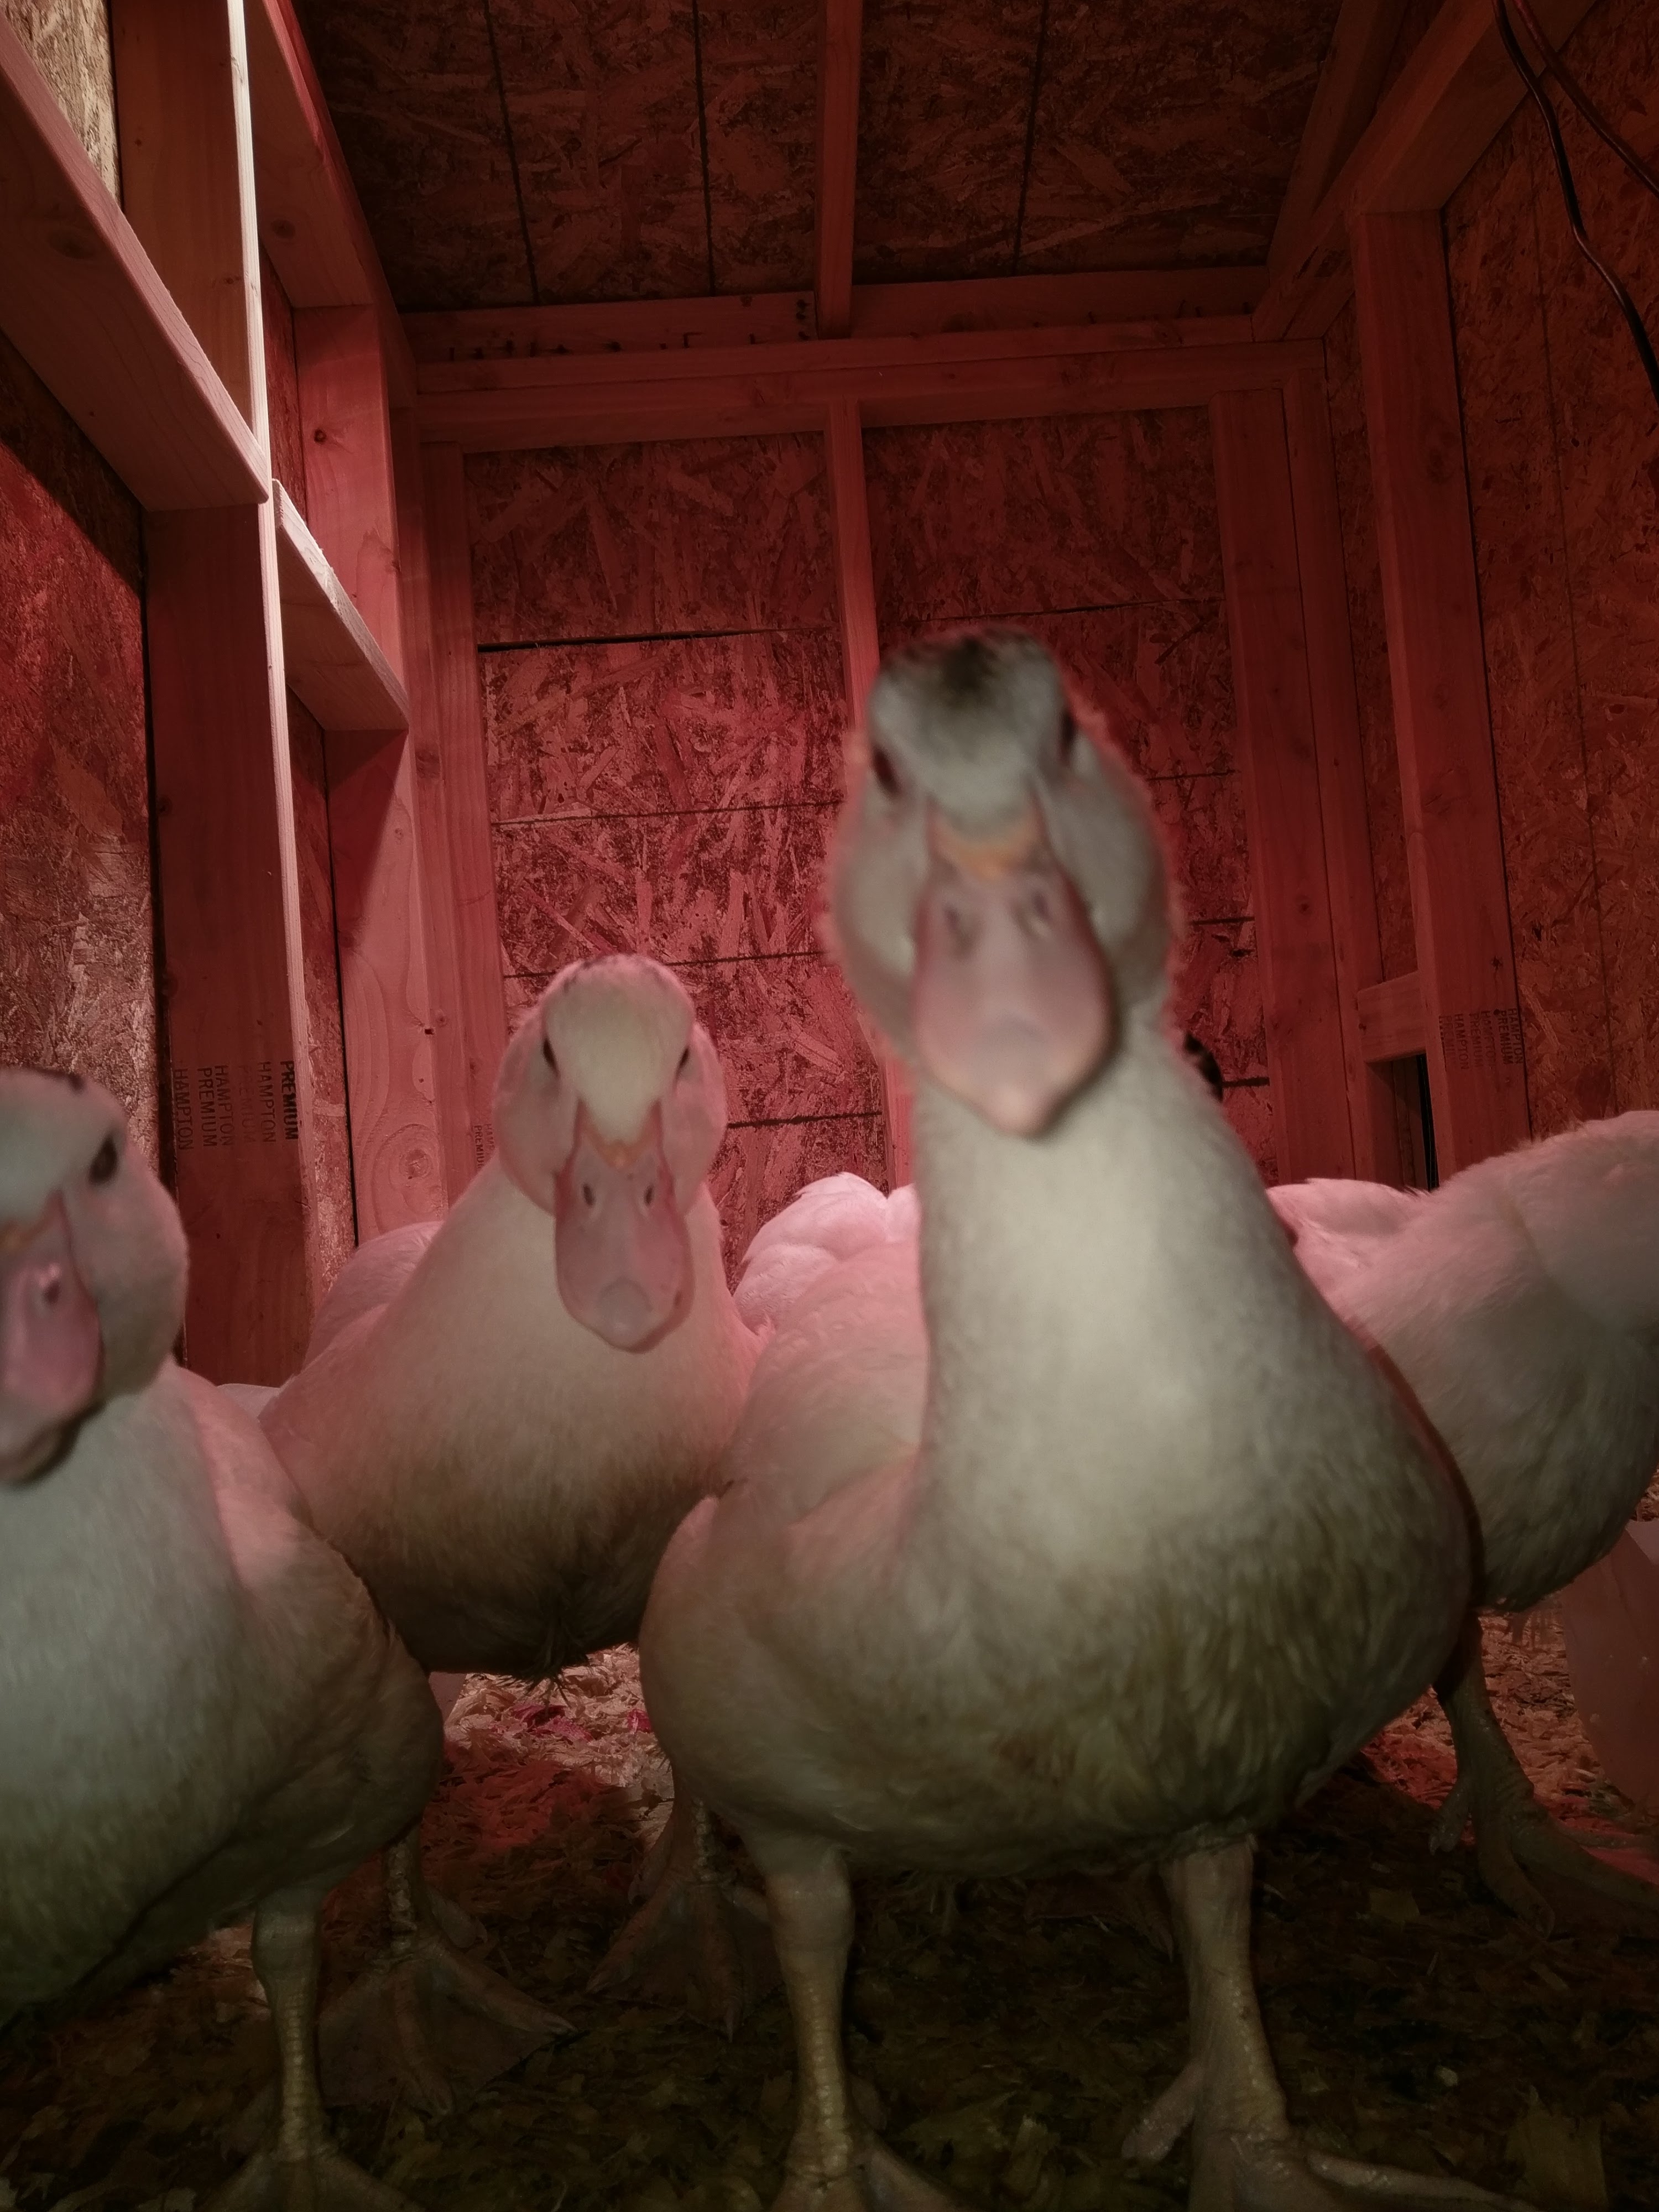
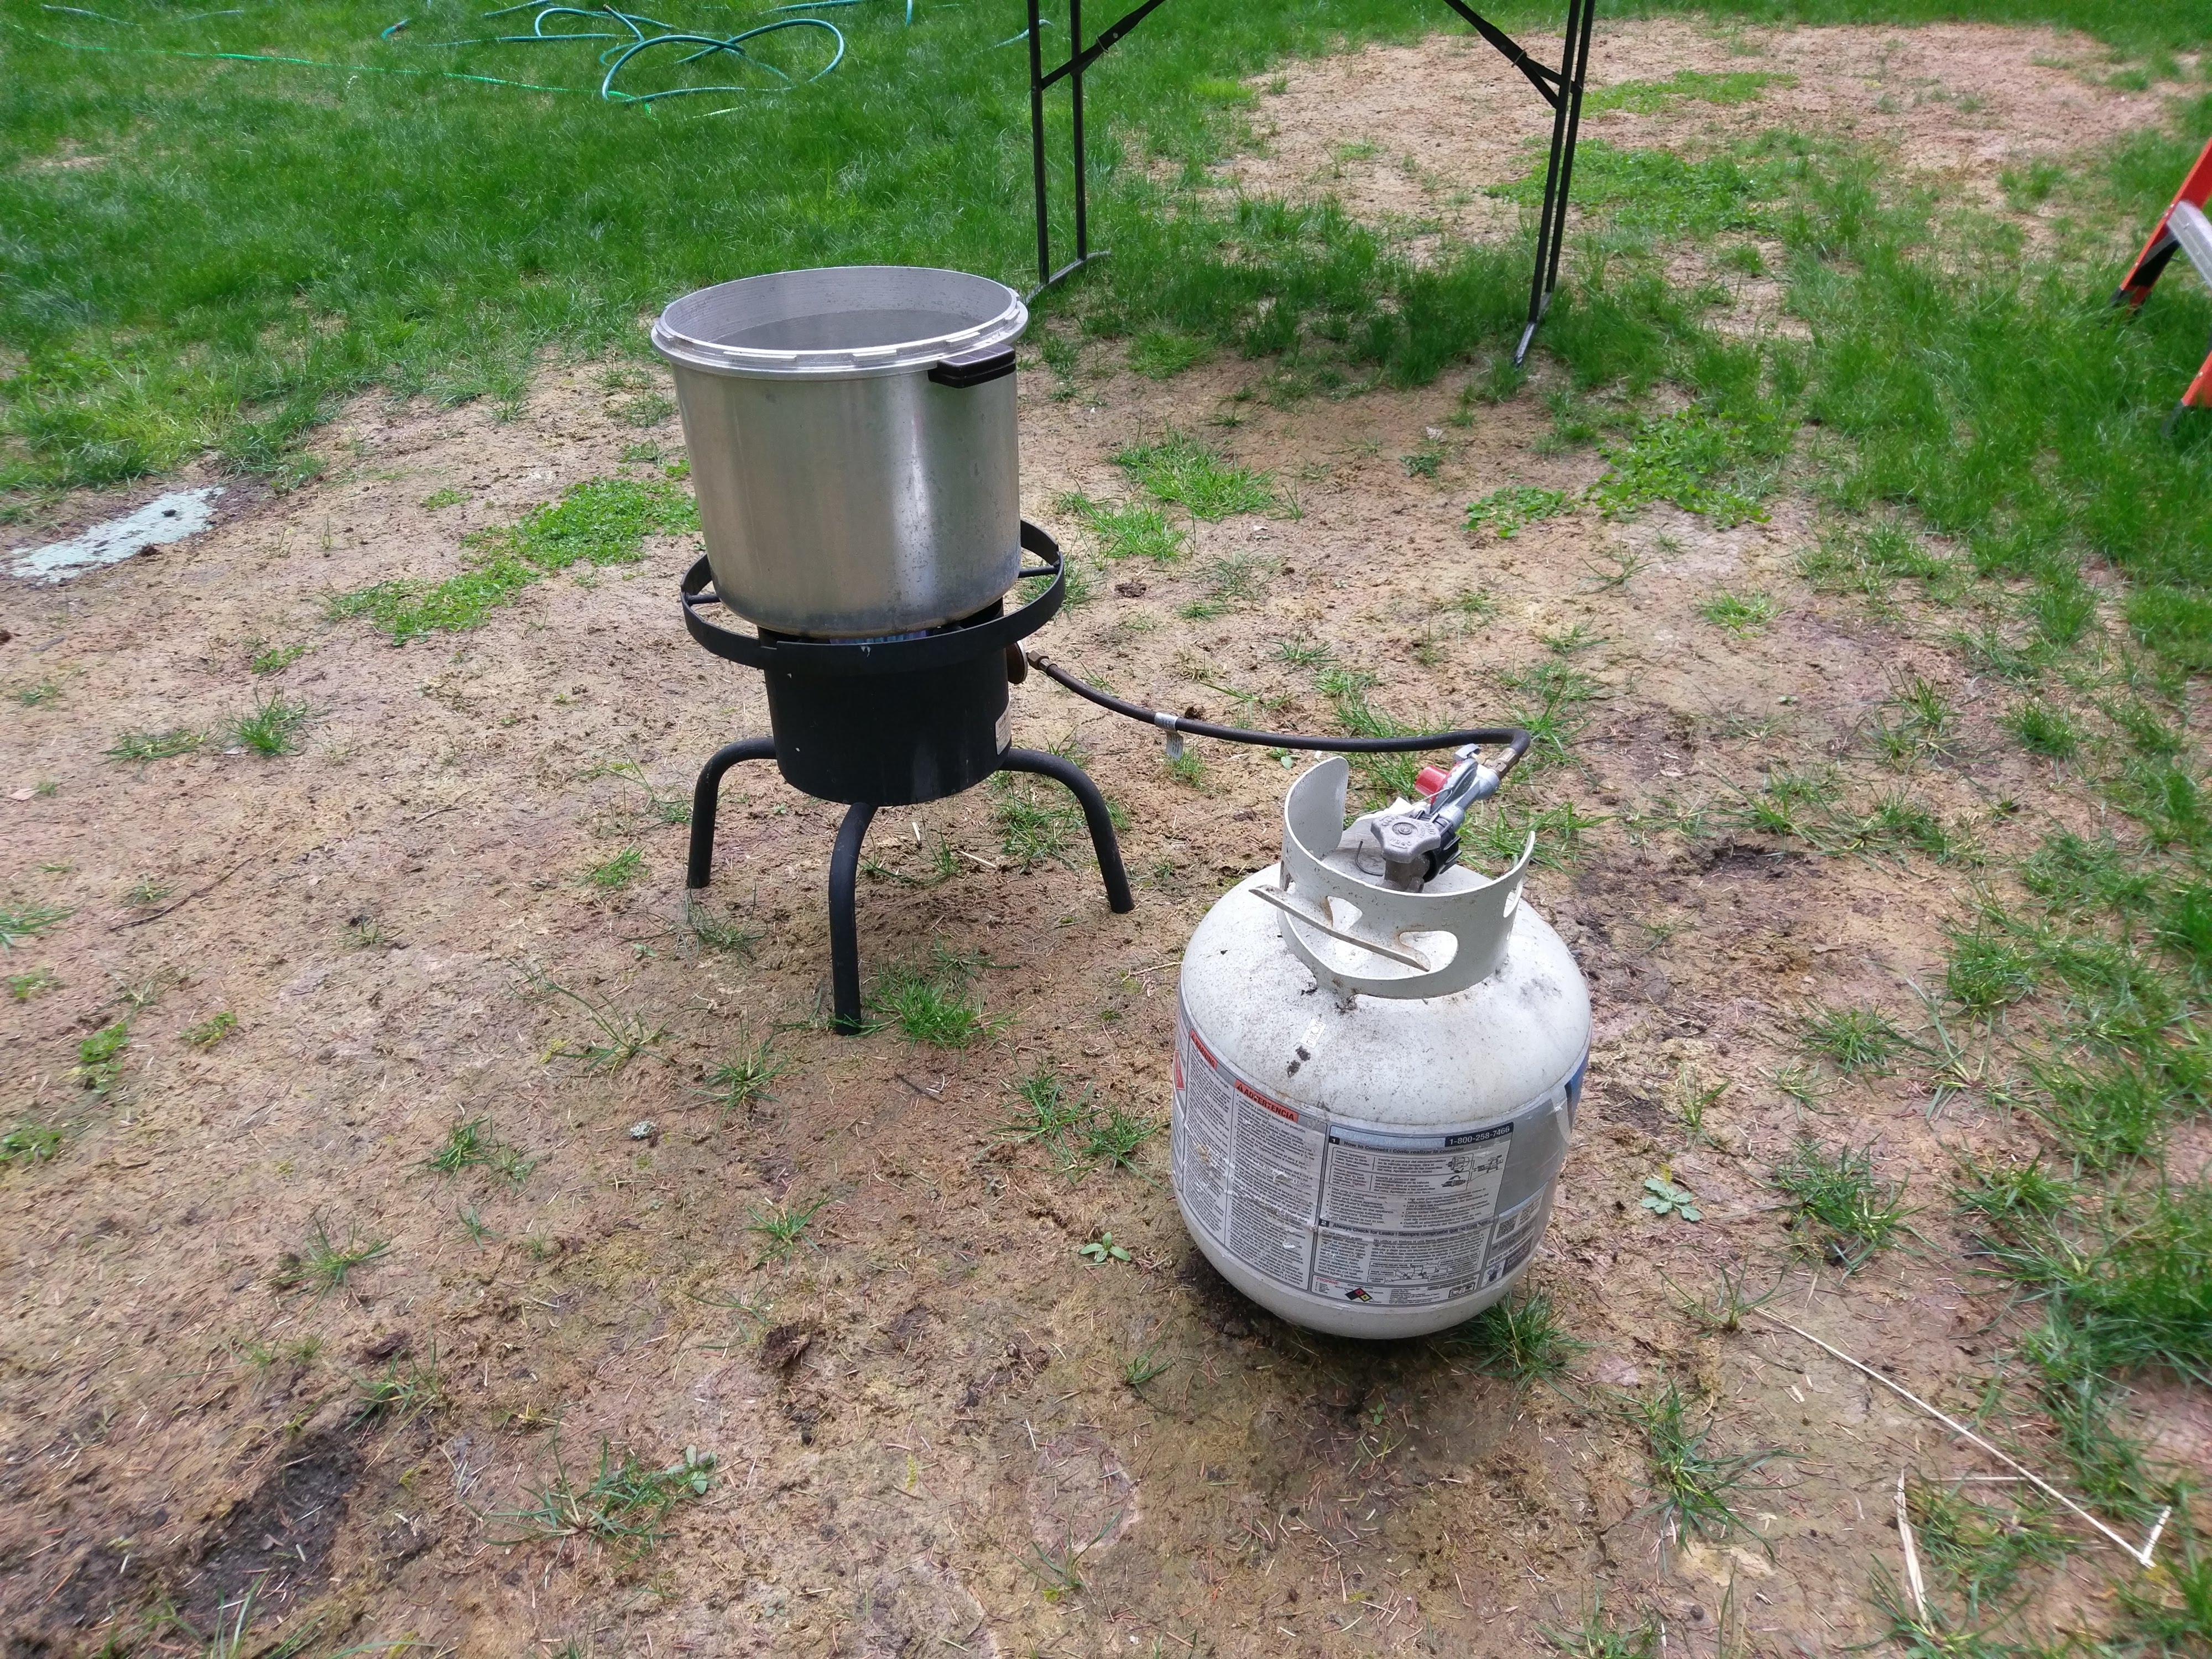
Eventually, the time came to begin the fattening phase. At this phase, the ducks stop eating normal high protein meal and switch to a corn mush. Ironically, this is similar to the modern American diet, where massive fat is stored by eating too much high carb, low protein food.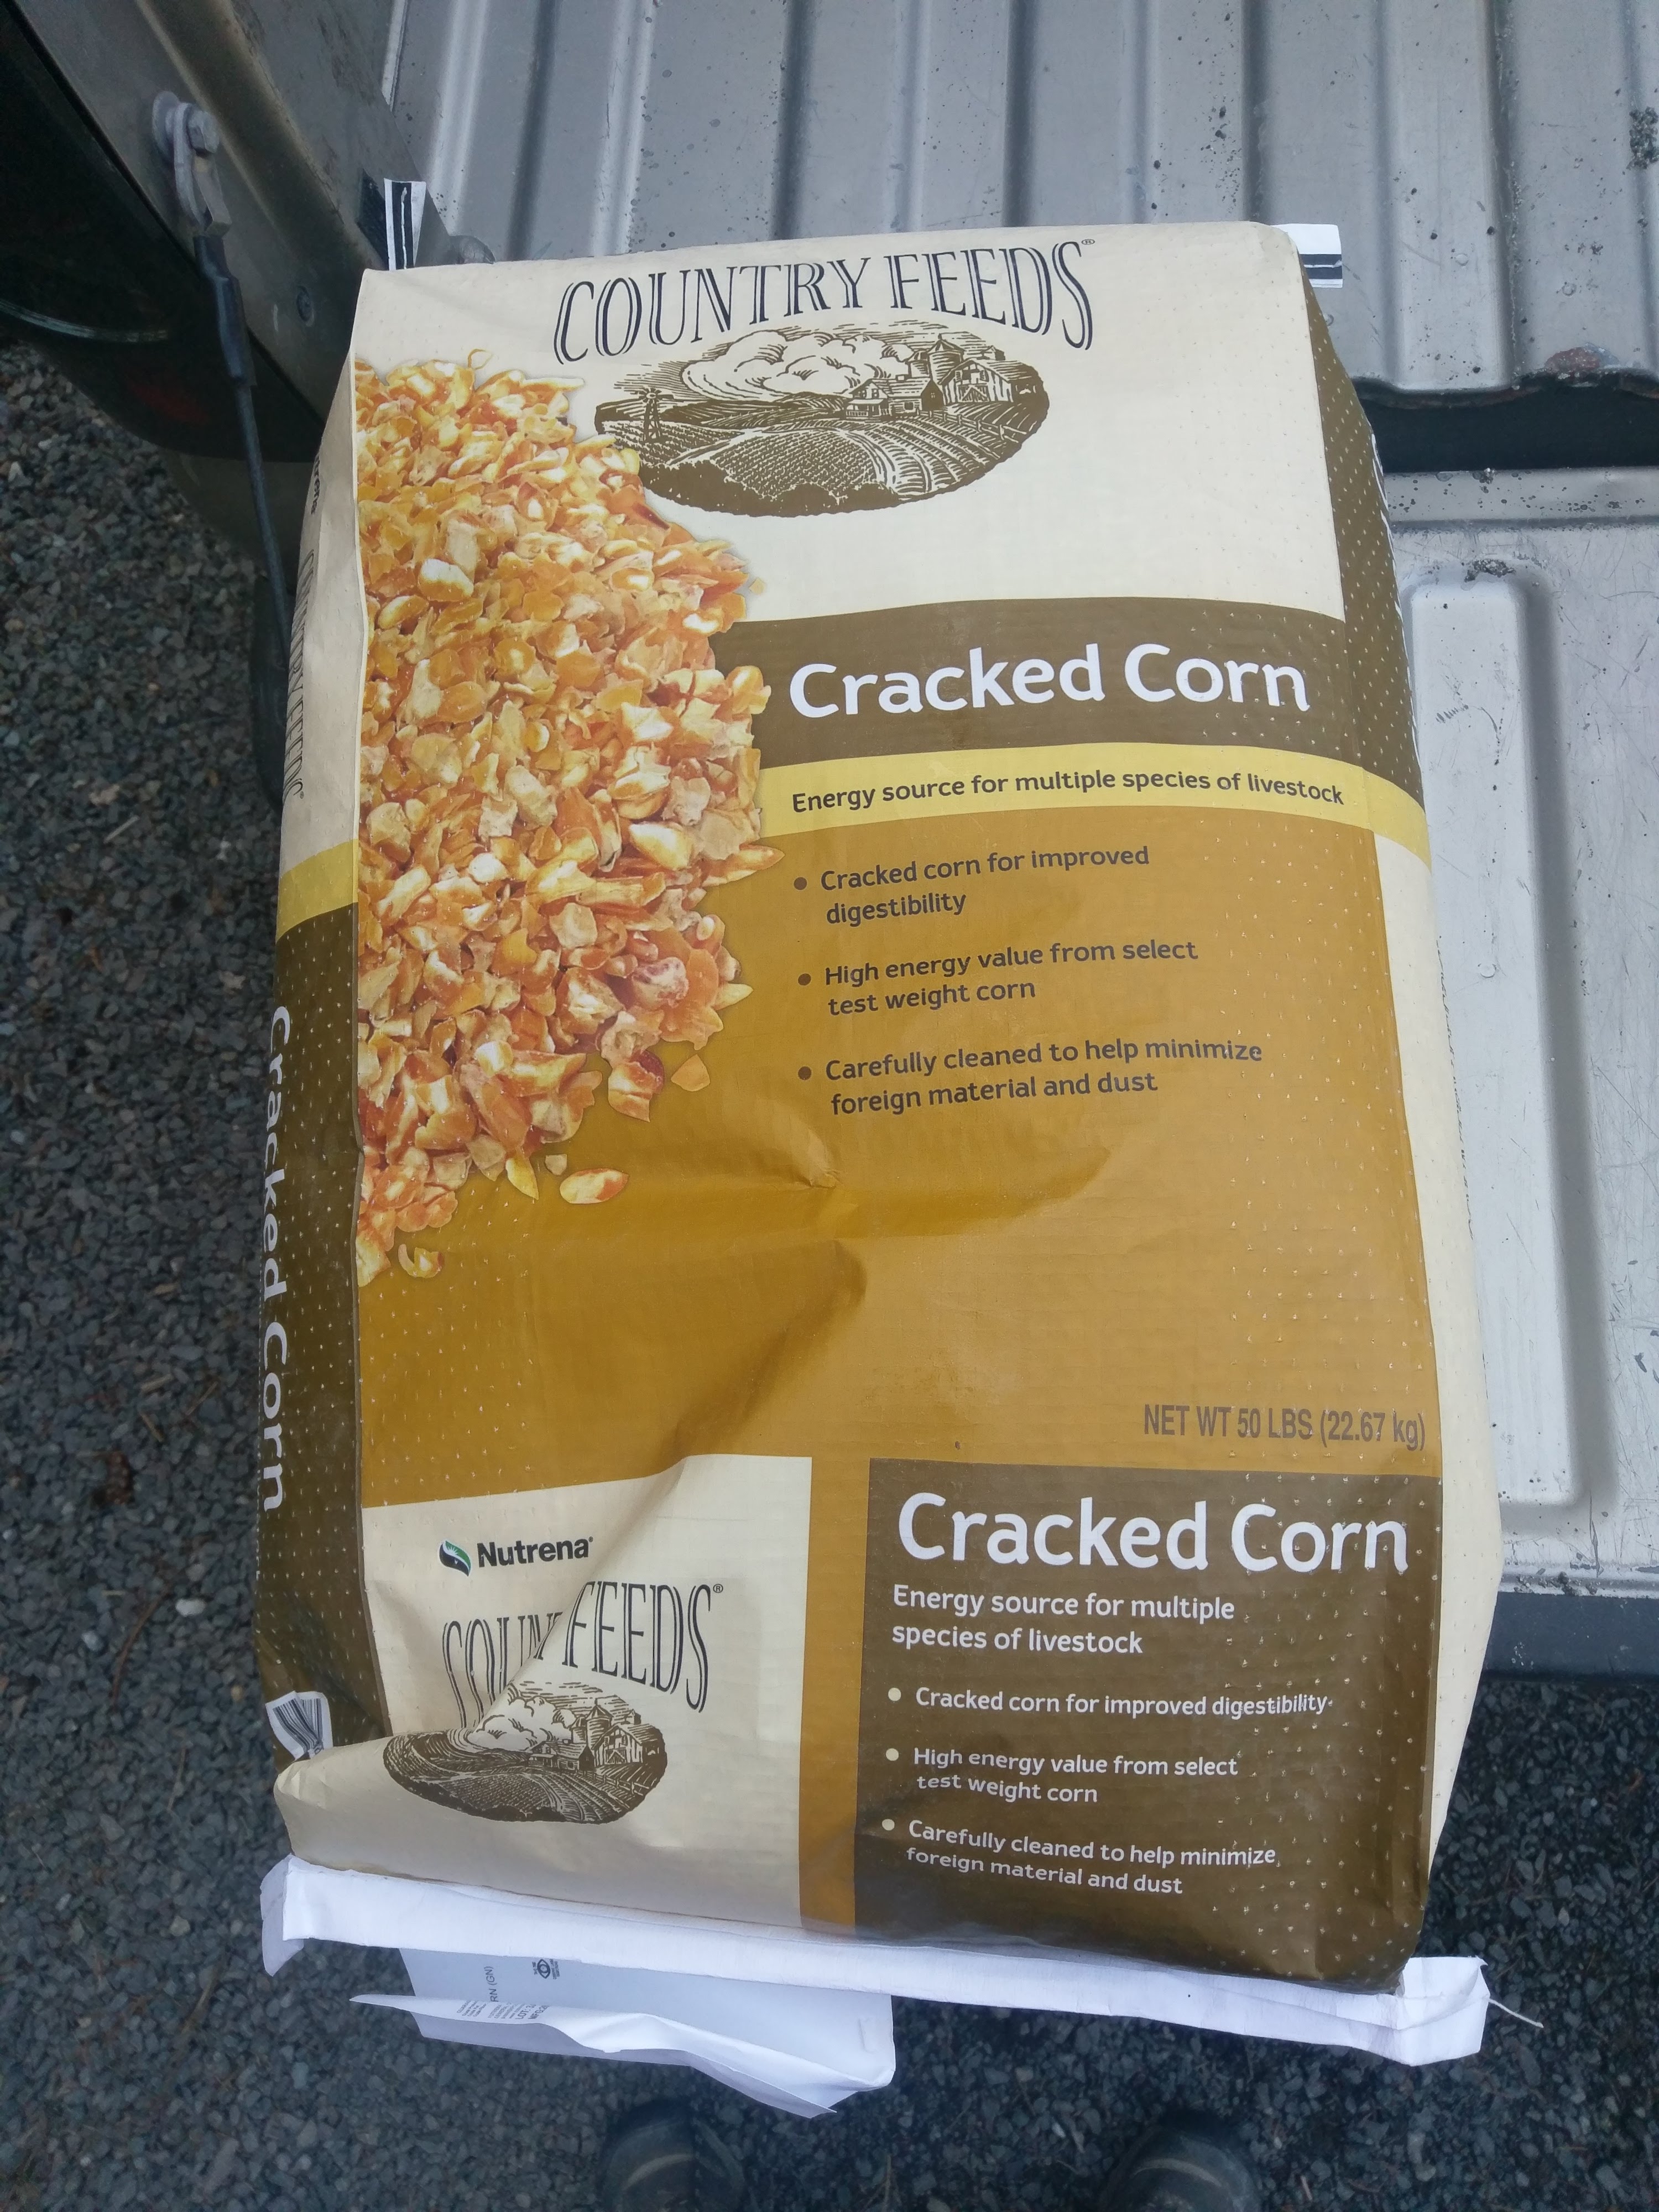
I attempted to gavage for the first 5 feedings (2.5 days). The ducks physically were not distressed, though I don’t think they enjoyed the process. The goal of gavage is to trigger a duck’s natural migration preparation. I noticed on the third day of gavage feeding, that the ducks were eating as much food as I could give them, and still nipping at the scraps on the ground afterwards. The next meal, I gave the ducks the mush directly. They ate it all immediately! Within a few days they were eating far more than was scheduled. I stopped on gavage activity and let them eat on their own.
I’m certain that foie gras can be produced without force feeding. It was amazing to see the ducks take down the food as fast as possible. The amount they were ingesting towards the end was almost double the expected amount.
Eventually, their day had come.
Skip the next section if you are sensitive to meat processing.
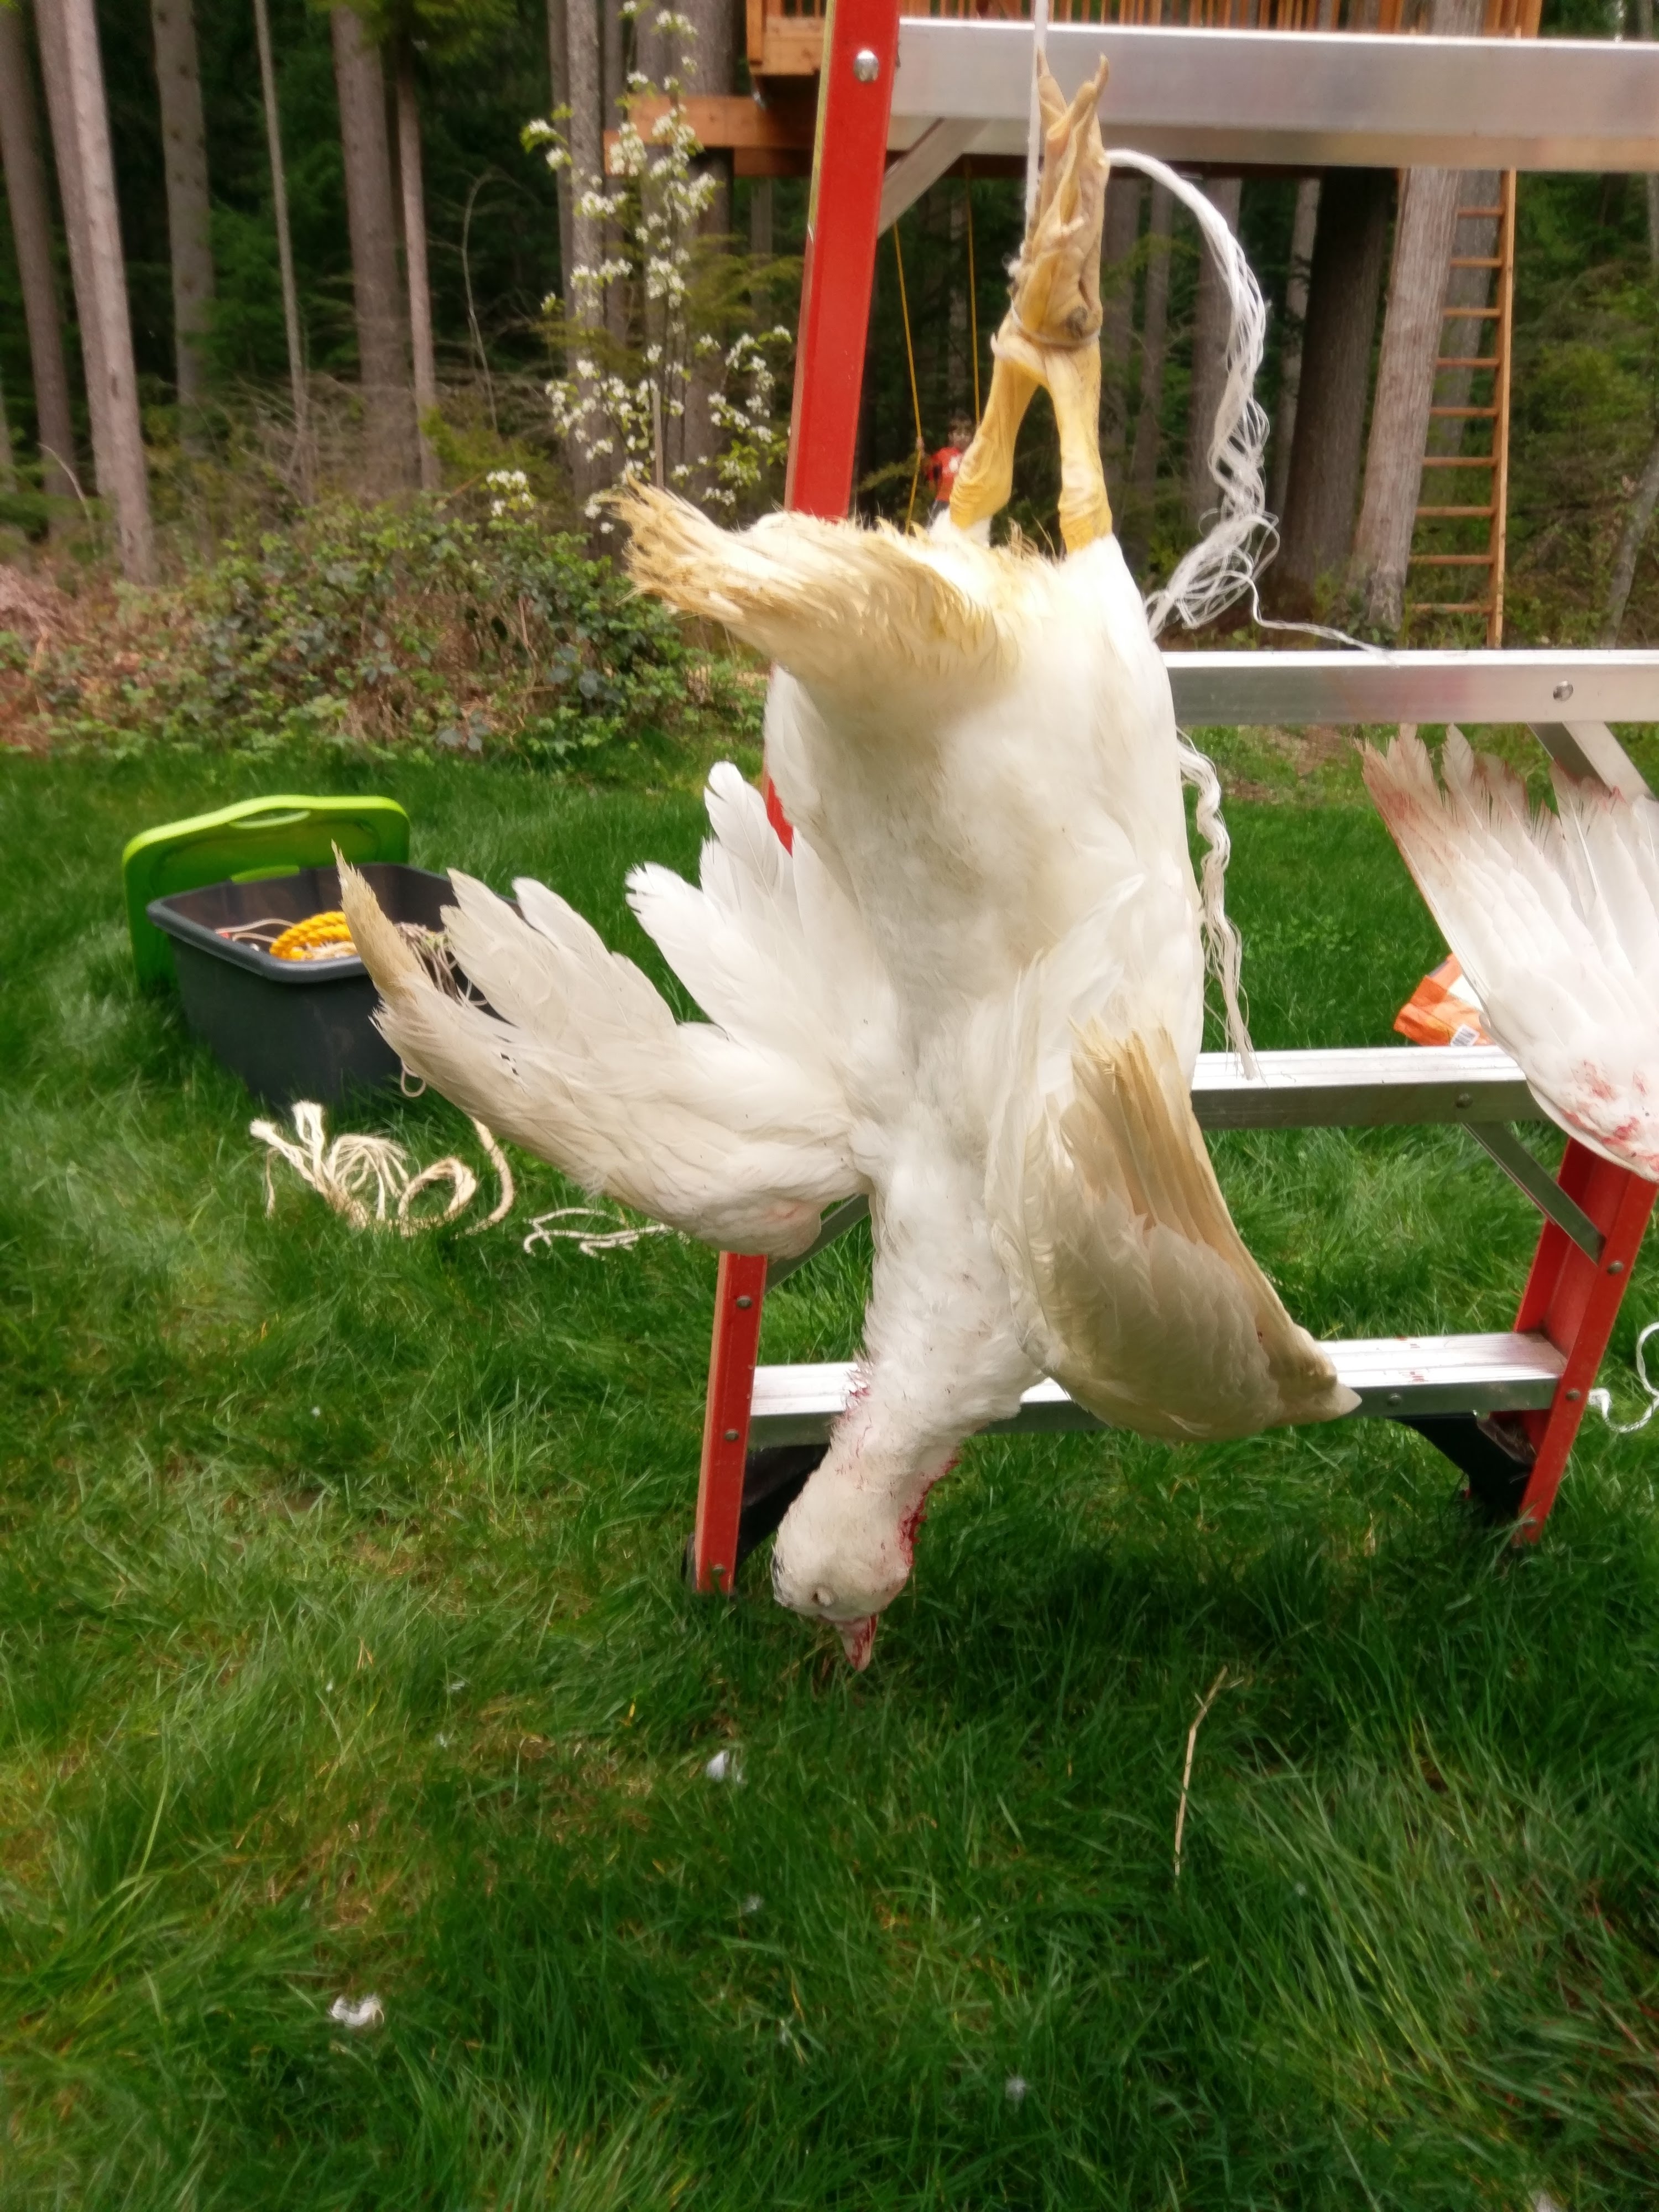
I did my best to butcher my ducks as humanely and painlessly as possible. I like to say my ducks had very happy lives, with a lot of space, foraging, and comfort…with just one bad day.
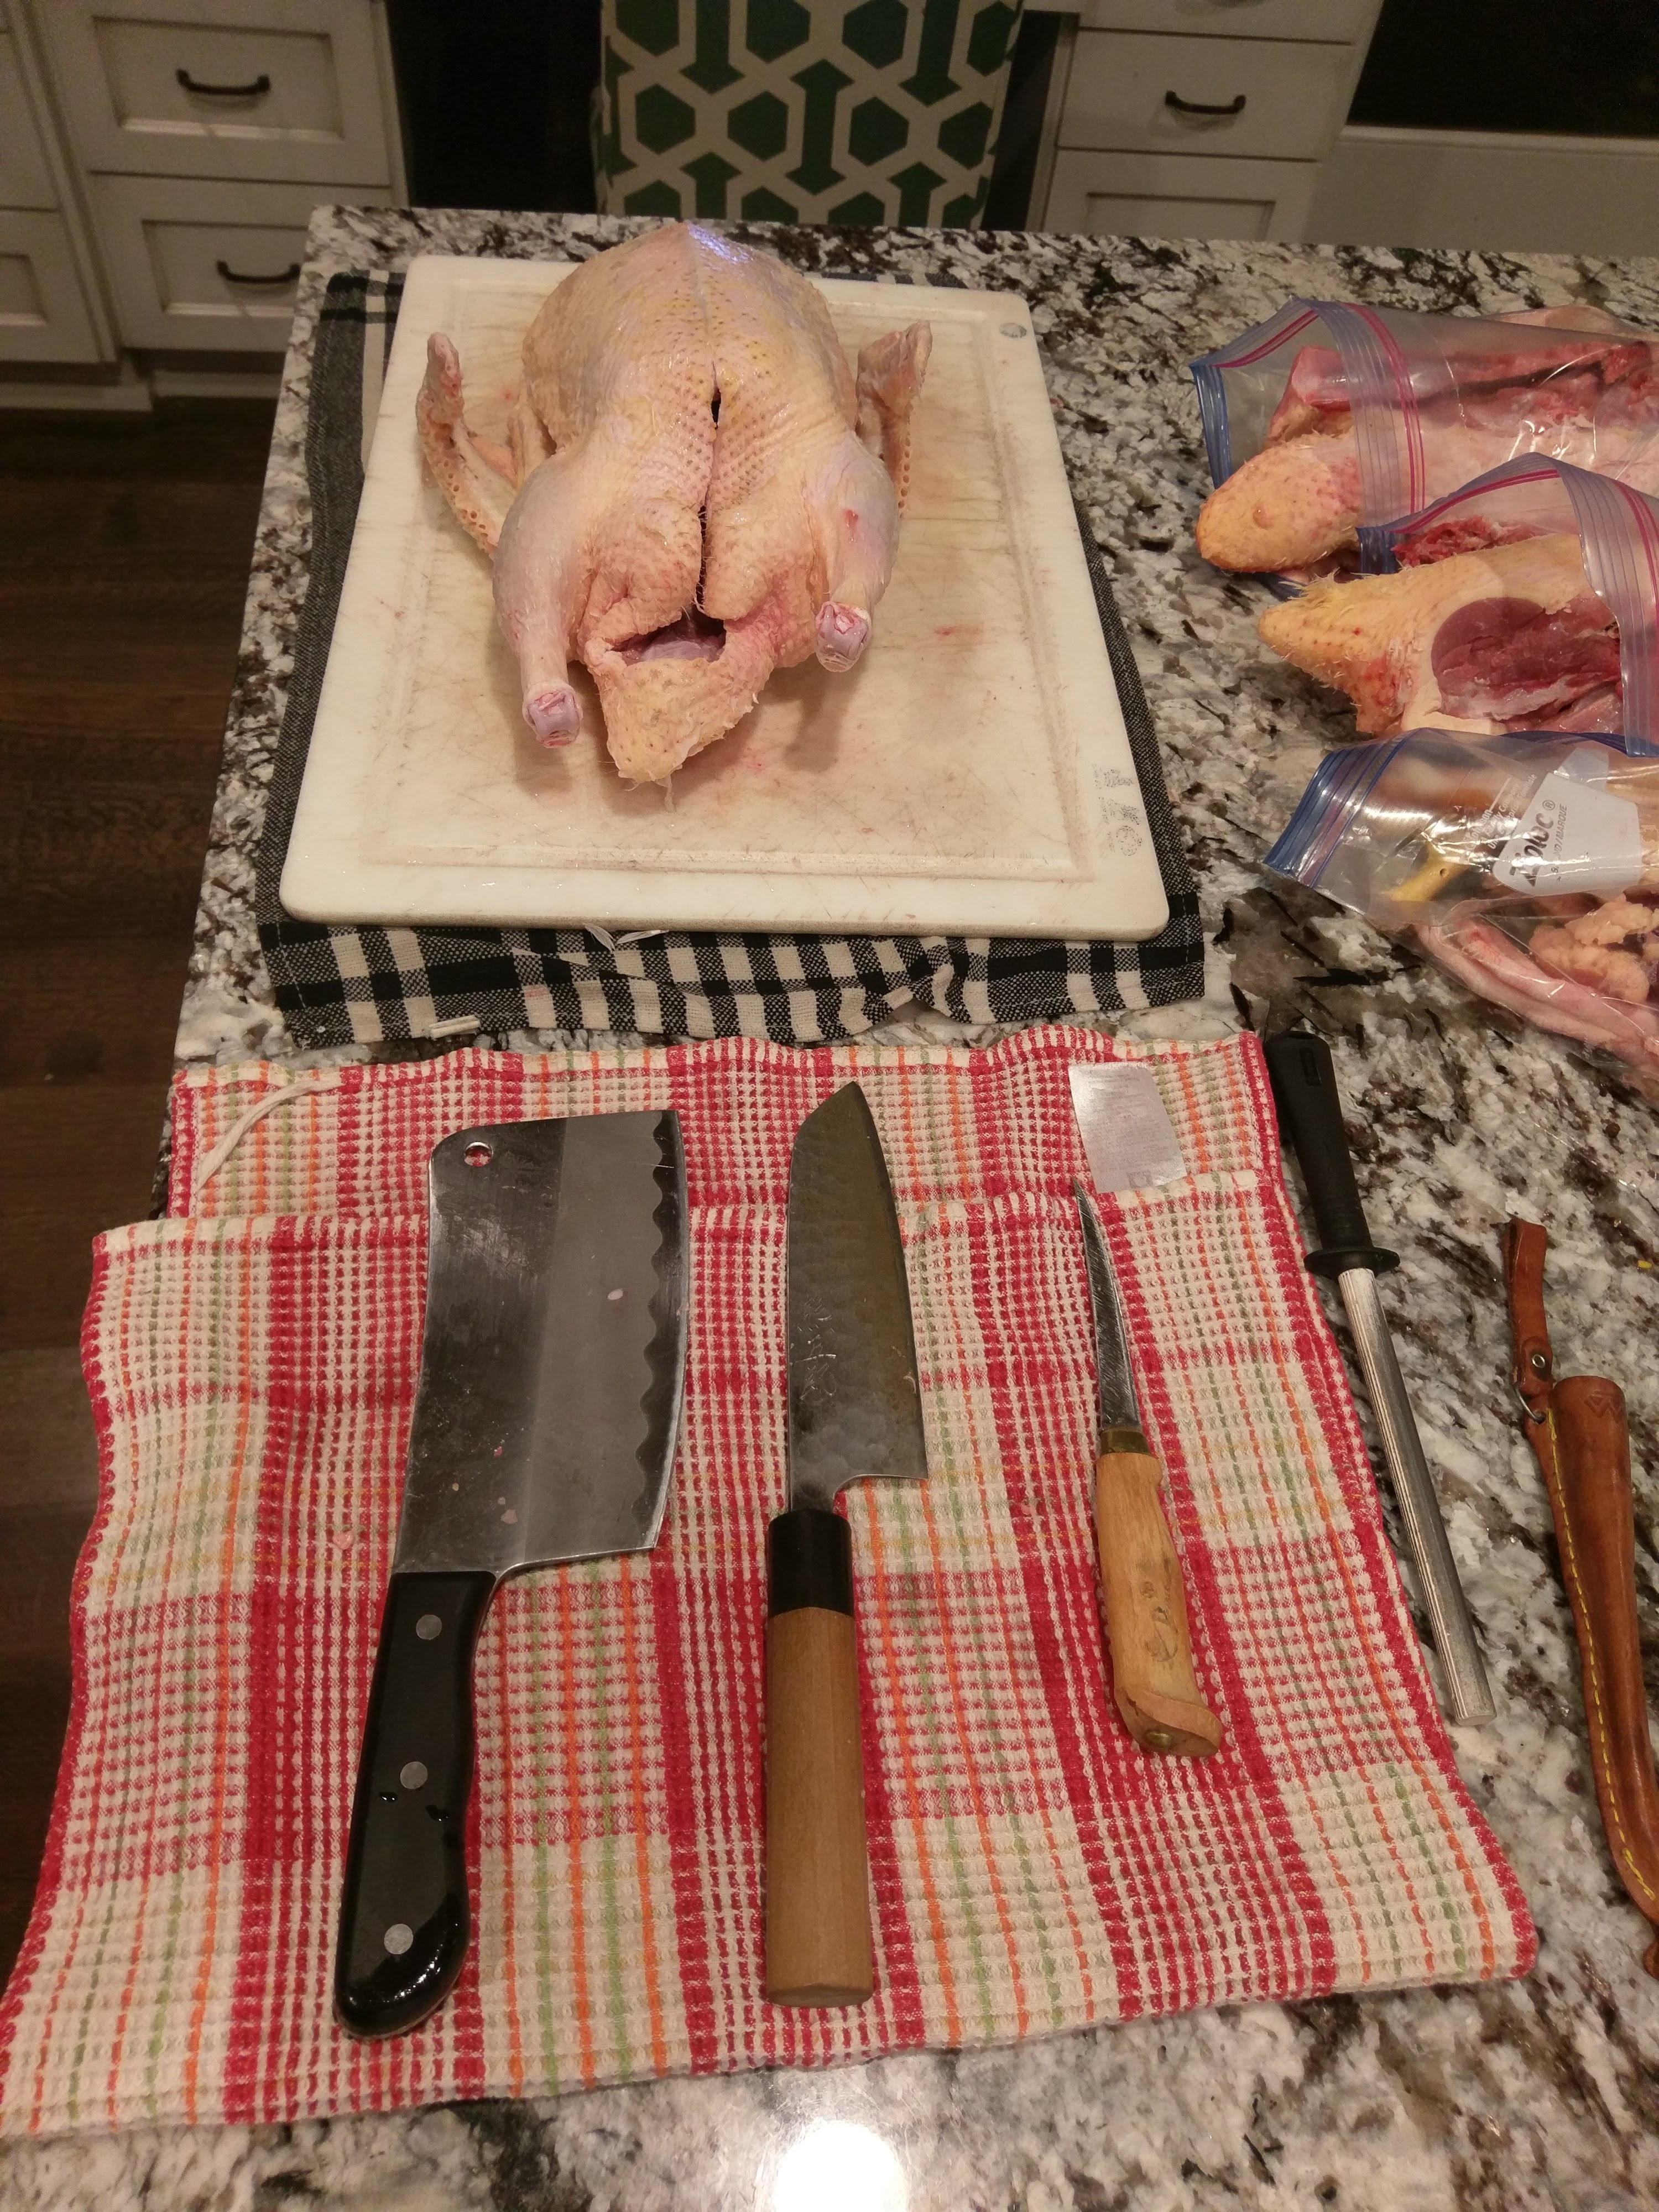
Processing the ducks proved to be quite difficult. I have processed chickens in the past, but the oil on the ducks made plucking and cleaning them very time consuming. Once they were cleaned, I broke down each duck and vacuum sealed the meat to be frozen.
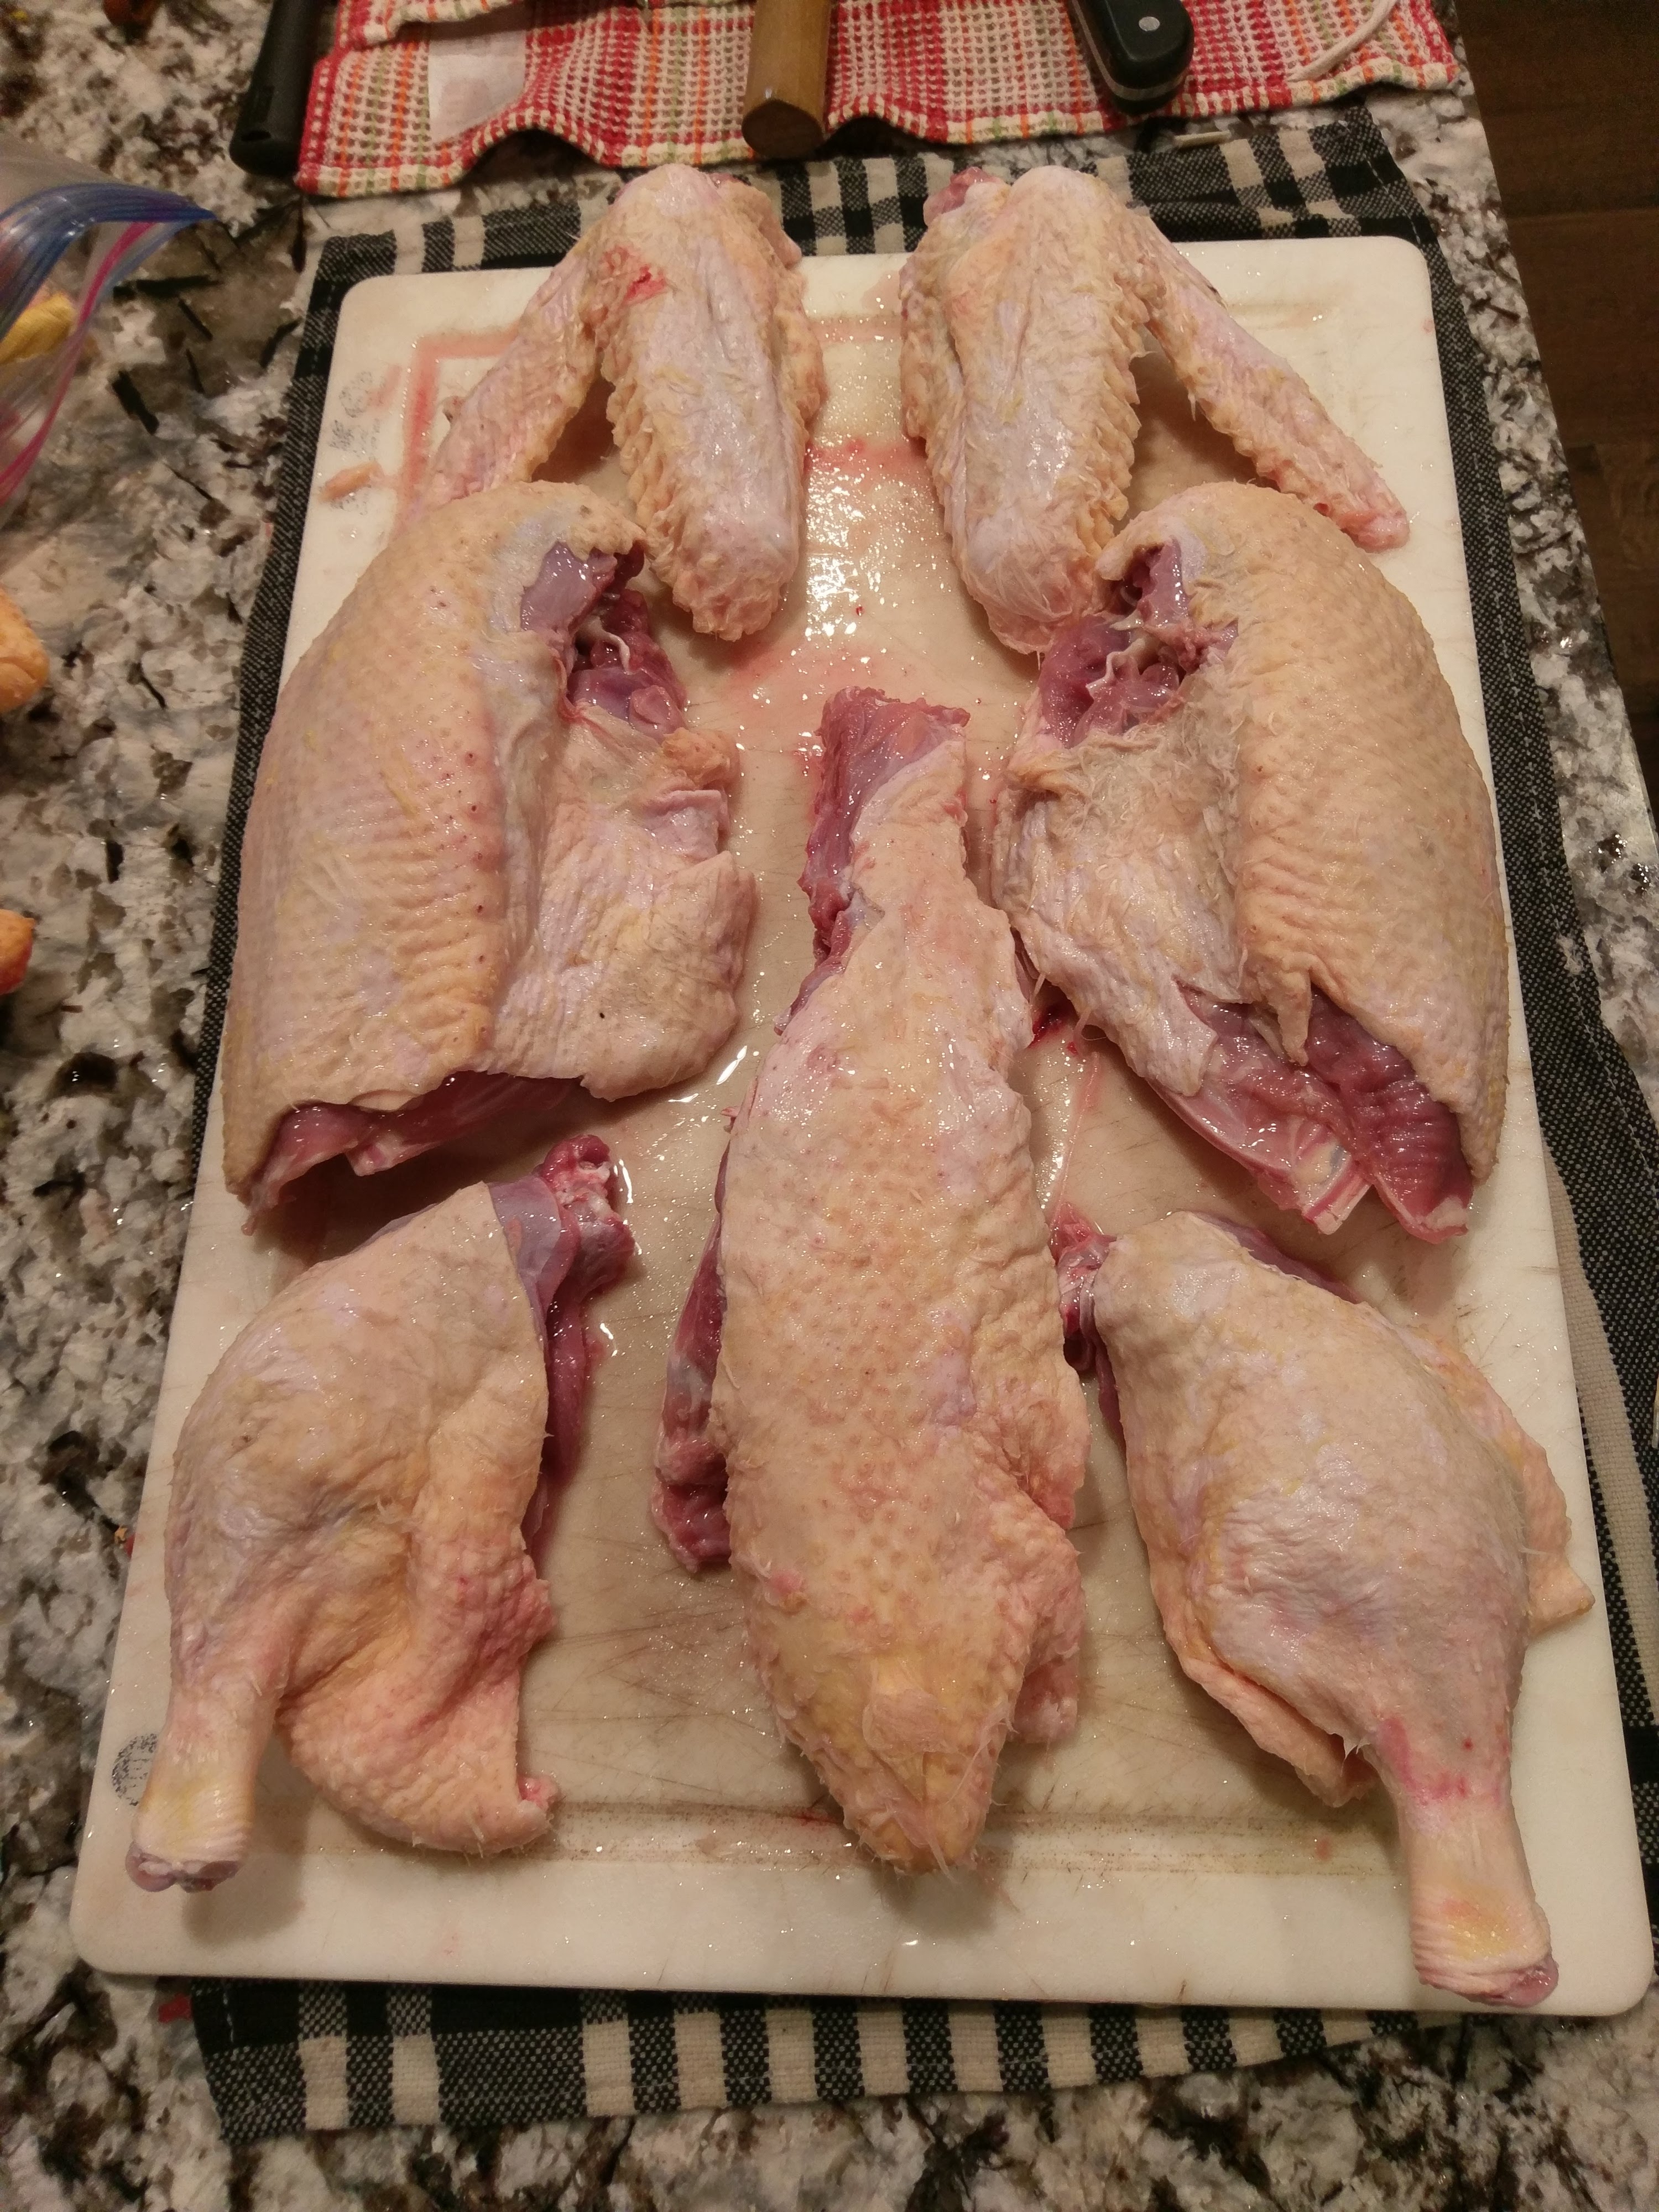
I have used every usable piece of the ducks. The livers, breasts, and legs will be used for all sorts of dishes, as seen in my upcoming Fall dinner. The carcasses were also used for stock. All the remaining usable bits have been added to make duck rillettes.
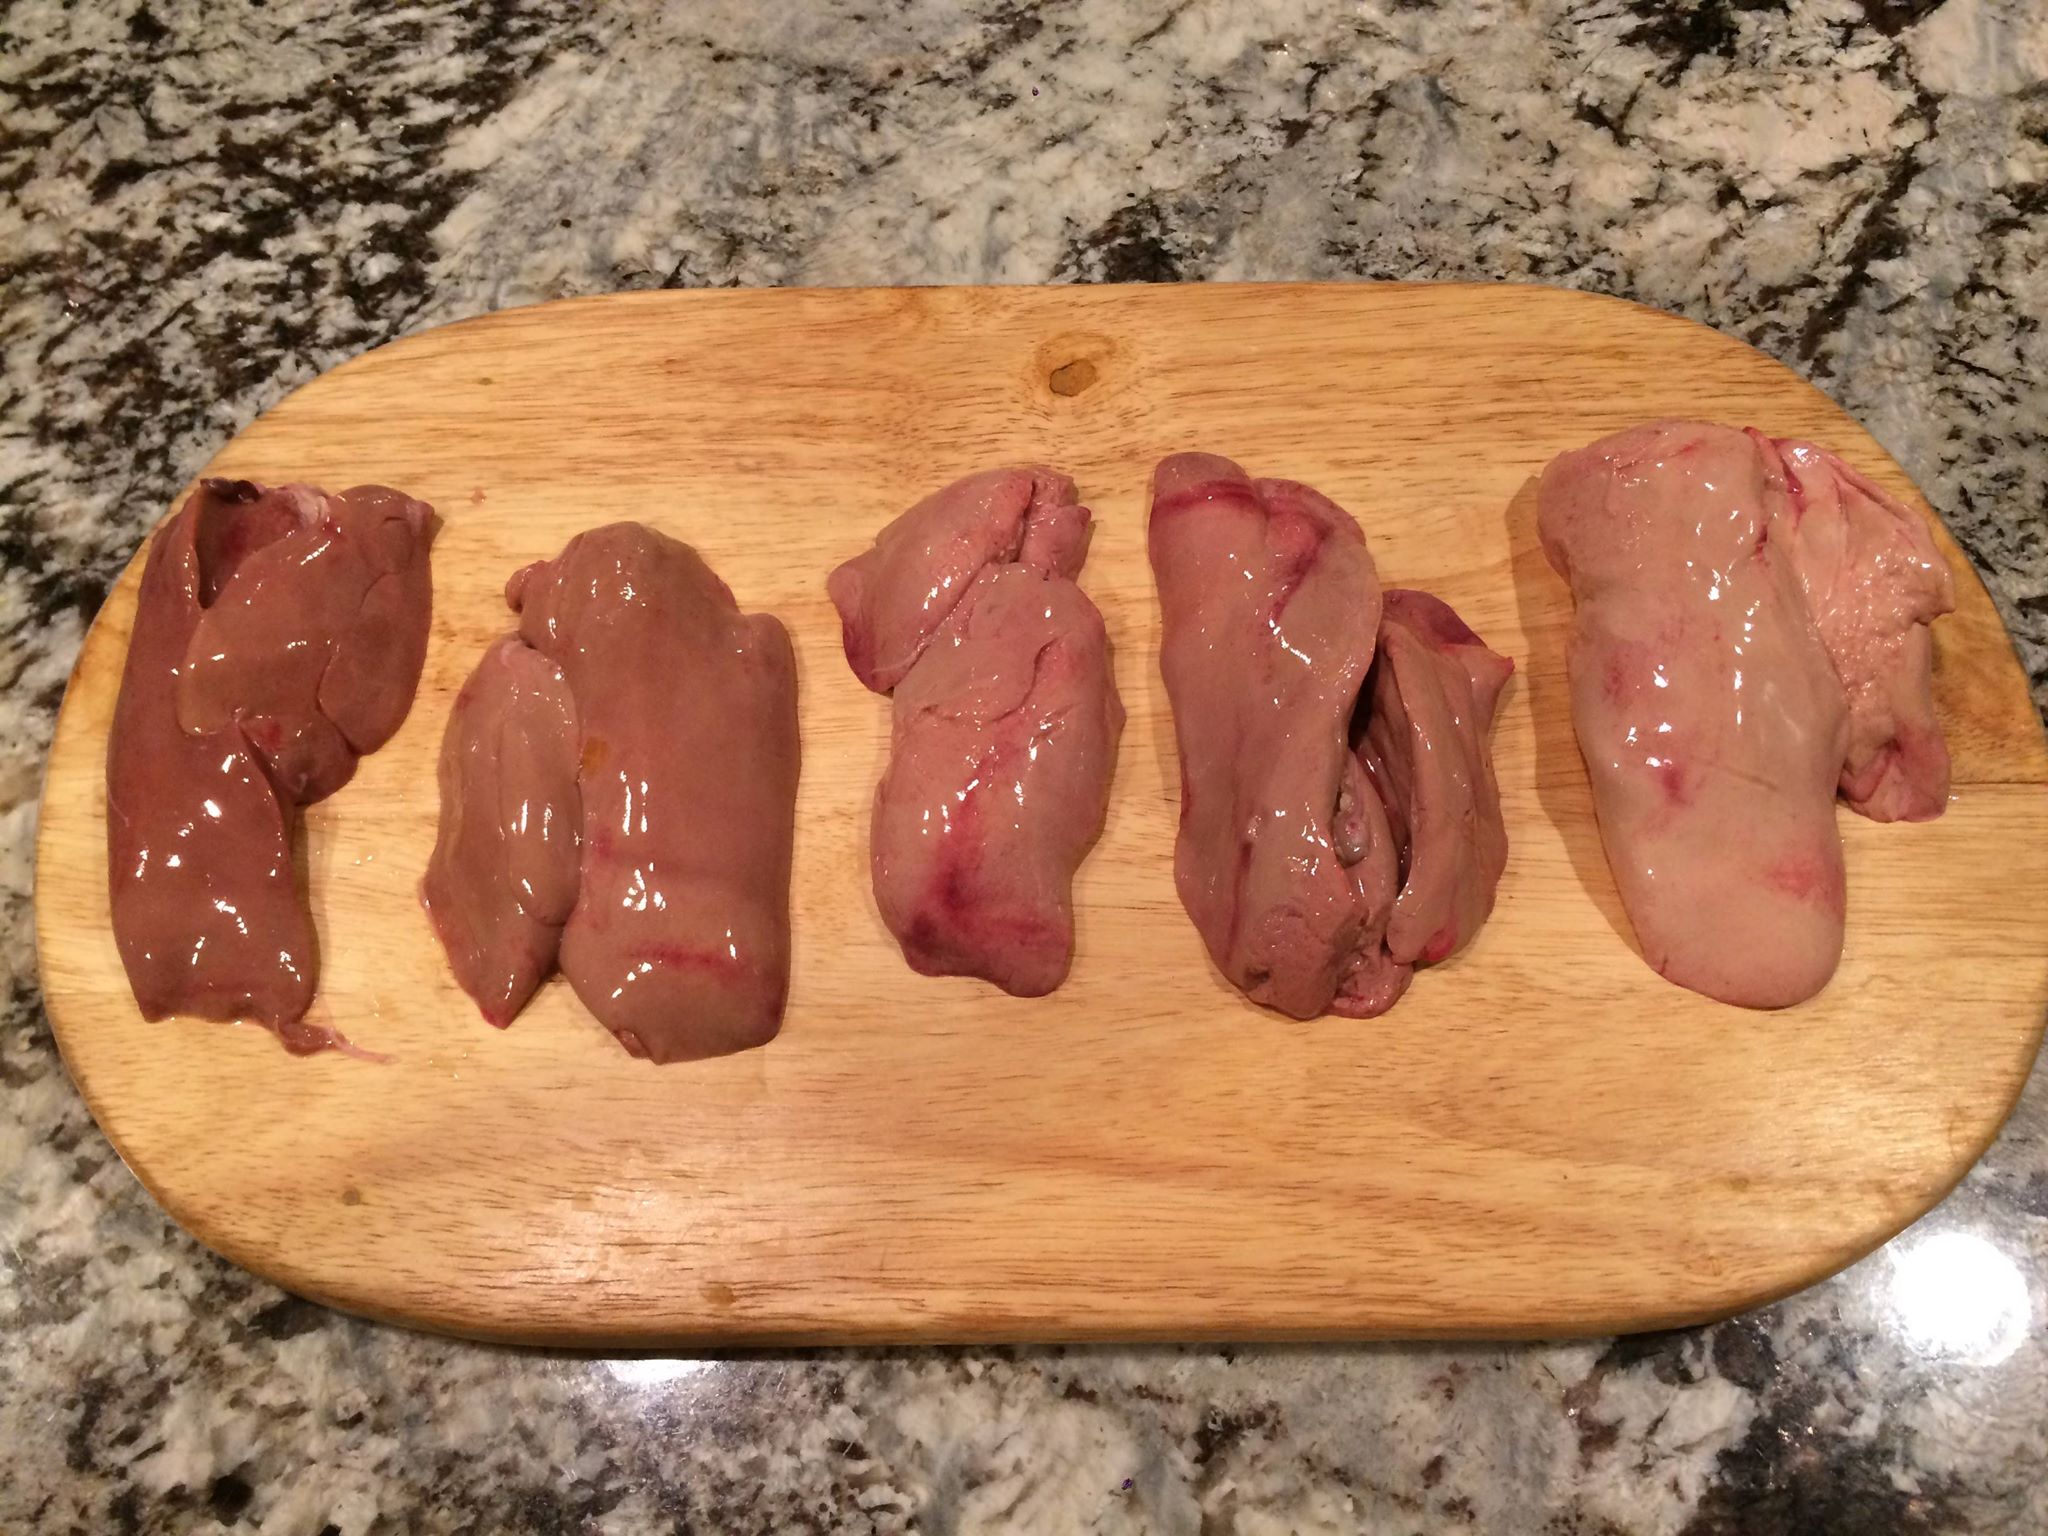
Here are my final livers. As you can see, there was huge variance in the quality. I had one grade A (maybe a grade B) and the grades went down from there. My theory is that once I let the ducks self feed, I didn’t separate the ducks. This would mean that the alpha ducks would have eaten the most, while the other ducks were likely not getting enough, even though they were all eating a lot. I would recommend separating the ducks and allowing them to eat alone during the fattening phase to correct this problem.
Was this an interesting experience? Yes. I feel like I learned a lot and grew a bit closer to the food I eat.
Would I do this again? Not likely. The ducks were messy and not particularly friendly. They smelled awful and were hard to clean. I’ve raised chickens for years without problem, but found ducks to be much more challenging. What I did learn was that foie gras can be produced humanely and I applaud those who are continuing to search how they can improve the methods of doing it.
